We’ve always had a ski quiver that rivaled the arrow selection of a Shoshone hunter. And never enough bindings for them all. So using different skis frequently involves time consuming binding swaps. Hence, I’ve always been interested in binding attachment “insert” systems such as the inserts K2 provided for a few seasons in their telemark skis. Thing is, with the vast combination of binding models and boot sizes, no commercial insert system could work that well at this juncture in binding and ski design. Enter the aftermarket.
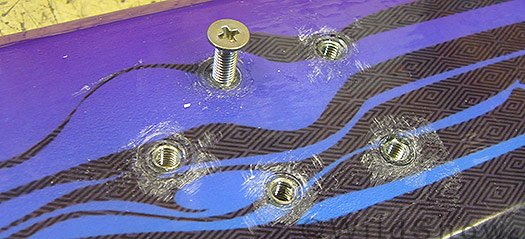
Quiver Killer inserts installed for Dynafit backcountry skiing binding toe unit.
Quiver Killer makes and sells a facile do-it-yourself insert system. After doing an install myself, conclusion is if you’re handy with tools and have a functional workbench system you can put inserts in skis. But the process is probably a 7 on the 1-10 DIY scale, so my advice is give your insert project to a professional ski mechanic unless you’re used to doing things like binding mounts yourself. Follow along.
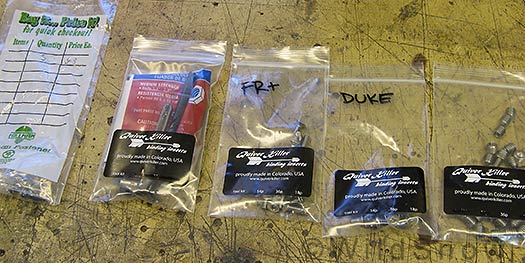
The inserts arrive with a selection of fasteners for your type of bindings. Quiver Killler’s data for different binding/fastener sets is ever expanding, but in my case I had a few hardware store trips to get what I needed for my Dynafits.
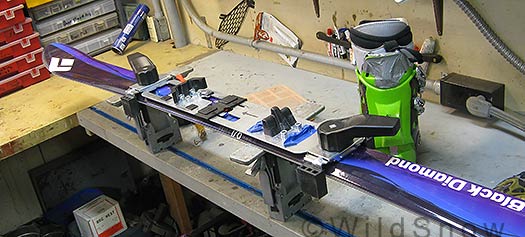
If you don’t already have binding screw holes in your ski, first step is to drill a set of accurate holes. It’s advisable to actually mount the bindings to check for perfect alignment, then de-mount and do the insert install.
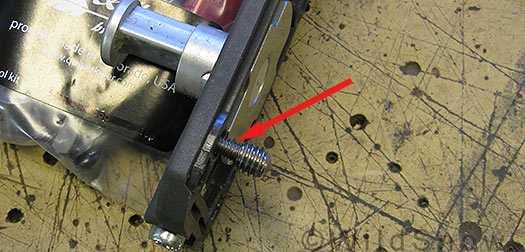
To check for fastener length, I simply placed a screw in the binding and threaded an insert on to make sure it seated nicely up against the binding. In photo above, if the insert is bottomed out the fastener is obviously too long, as arrow indicates.
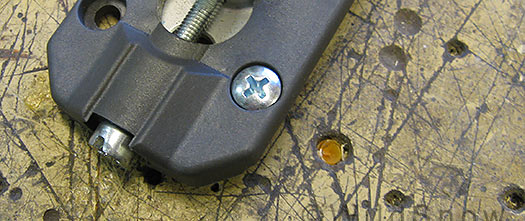
Turned out the best fastener for Dynafit heel unit was a pan head screw. The inserts are stainless steel and you Loctite the screws in, so I wasn’t worried about fasteners rusting in. Thus, at the hardware store I opted for a regular zinc coated fastener rather than weaker stainless, but the stainless fasteners provided by Quiver Killer work as well, you just have to be more careful of bunging up the philips head. (I used stainless fasteners in the toe unit.)

The heel unit fastener I chose, M5 .80 x 10 pan head
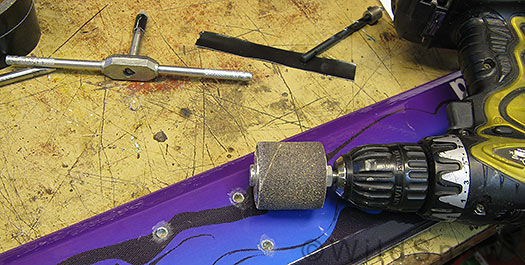
After drilling with the provided drill bit and stop (visible to upper right in photo), the top skin of my skis had burred up a bit too much for solid binding seating, so I skived the burr off with the edge of a course sanding drum chucked into my cordless drill.
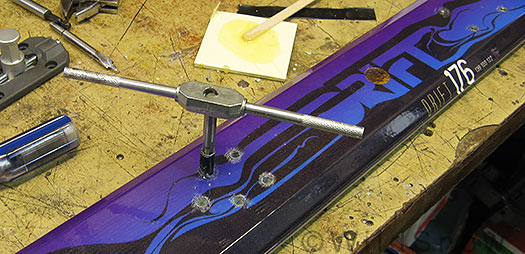
Drilling the holes is easy, but thread tapping is definitely the crux of the process. Problem is you need to keep the tap aligned perpendicular to the top of the ski, and doing so by hand is tricky at best. Technique is to view the tap from several different angles as you insert, and correct the angle as you go. Quiver Killer suggests using a drill press (rotating it by hand) to do the tap. I’ve got a drill press, but opted for the handheld method to see just how difficult this would be for those of you out there who don’t have drill presses. Conclusion: If you’re careful and good with hand work, it is doable.
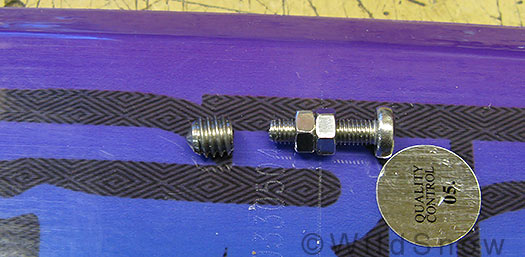
You install the inserts with a simple tool made from a longer fastener and stop nuts. This part of the process was easy, as the insert followed the tap threads with little effort (though I still had to watch alignment as it went in). Epoxy is involved, of course.
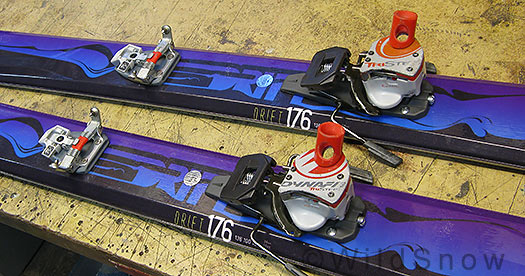
My Dynafits (yes, these are a frankenbinding built from spare parts) went on fairly straight, but just as with a regular type Dynafit mount, it was necessary to ‘true’ the binding by placing a boot in the rig then pressing the heel to left and right until the toe unit shifted slightly and made the heel align perfectly. This was done before the epoxy hardens, as the inserts will shift slightly just as regular binding screws do.
I’m happy with how quick and relatively easy the Quiver Killer install process was. Once you’ve done it once, the work really shouldn’t take much longer than a regular binding mount. Downsides are few, but exist. Mainly, the inserts take up a lot of real estate, thus making it more difficult to place additional binding holes in your ski for other types of bindings, or for changing binding position for and aft. Another concern is that the machine screws don’t have as much side-to-side stability as an epoxied binding screw. Thus, it is important to tighten them enough (but not too much), and perhaps locate a few dabs of epoxy under the toe unit and corners of the heel unit to give a bit more sideways stability (that’s just theory, and perhaps unnecessary). The process is somewhat forgiving. For example, you can remove the inserts by heating to soften the epoxy then rotating out with an easy-out.
I’m looking forward to installing inserts in more of our quiver, thus saving time with our seemingly endless binding swaps.
(One tip: While doing this I discovered that one of the bushings on my Dynafit binding jig is off by a millimeter or so (in the rear, so it throws off the angle of the heel unit unless I’m careful. Disappointing. Next time I’ll probably use my paper template for the heel. If the paper template is used with care and a sharp center punch, it is easily as accurate as a mechanical jig.)
WildSnow.com publisher emeritus and founder Lou (Louis Dawson) has a 50+ years career in climbing, backcountry skiing and ski mountaineering. He was the first person in history to ski down all 54 Colorado 14,000-foot peaks, has authored numerous books about about backcountry skiing, and has skied from the summit of Denali in Alaska, North America’s highest mountain.
