Wildsnow, in your opinion, what is the defining feature of Beast compared to other tech bindings?
Elasticity. Otherwise known as return to center force (RTC). Check the photos and video below.

In the event of a possible binding release to the side (lateral), turntable toe rotates under control of spring loaded heel unit. The boot eventually pops out, but not before the binding strongly and smoothly attempts to return to center -- thus absorbing force and vibration more effectivly than any other tech binding to date.

Another view of Beast toe, circular arrows indicate how the turntable rotates. Blue arrow indicates slot that the side-release lock uses.

During lateral release, heel rotates as indicated while under spring tension. It wants to return to normal position, hence providing shock absorption. Most tech bindings do this, but Beast 16 does it better due to the toe unit being mounted on a turntable that allows unimpeded movement.
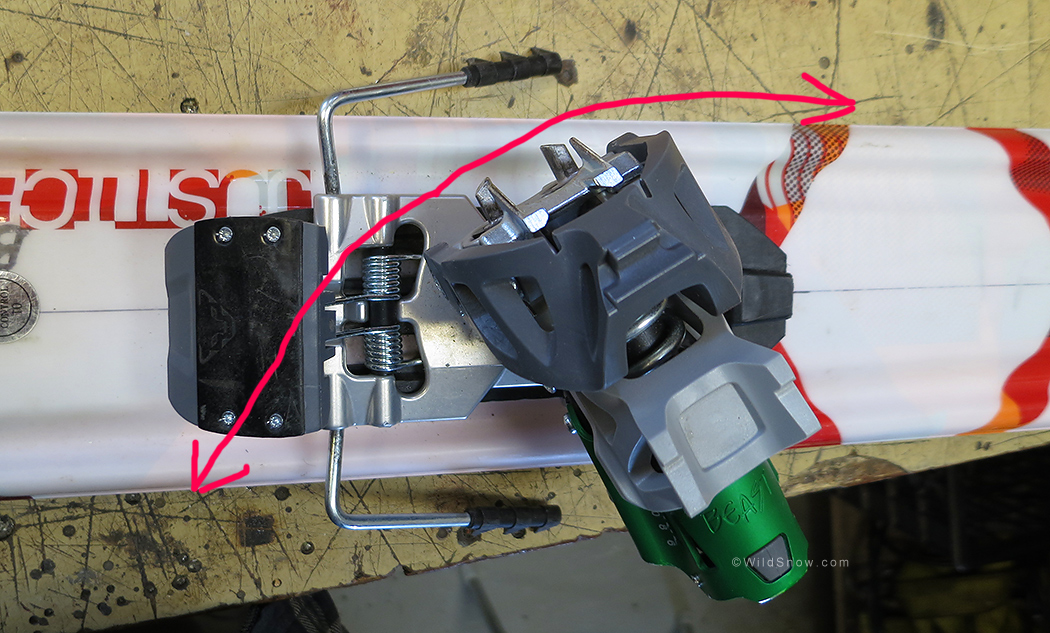
Does the Beast have a release lockout like most other tech bindings?
Yes, like virtually all other tech bindings it is necessary to lock Beast while in touring mode. This is done with a black plastic lever that simply drops into corresponding slots. As a downside of the binding, it is all too easy to lock when you intend instead to leave unlocked to allow lateral safety release. When learning the binding take time to memorize how this works.

Beast with lock lever in forward position, locked! Twist your leg and it'll break!

Detail of Beast side release lockout. Black plastic tab simply drops into slot. Elegant.

Touring lock, locked, black plastic dropped into slot. Our only concern with this system is we wonder if dense snow could lift and disengage the lever.
How do you enter and exit Beast Binding, much different from other tech bindings?
Pretty much the same entry/exit procedure as other tech bindings:
Open toe jaws by pressing opener tab at front of binding (see photo). Clean out the toe sockets in your boots. Step into toe while lining your boot toe sockets with the binding pins. Step down at toe to press the “trigger” and close the toe jaws. Step down at the heel to engage for downhill, or if touring flip the heel lifter down first, then step down at the heel to retract the brake (see photos and video.)

To enter or exit Beast ski binding, press the opener tab down with a ski pole tip or with your hand.
I don’t have boots with the special heel fitting, how do I install?

Beast heel fitting is easily retrofitted to most boots with pre-existing tech fittings.
Installing the Beast fitting on the heel of your boots is easy. First, you need tech compatible boots. You then remove the screw holding the original heel fitting, and pry out the fitting with a flat blade screwdriver. Clean up the plastic that was under the original fitting using a toothbrush or whatever. Dry-fit the Beast fitting to make sure you won’t run into any glitches. To install, dab a tiny amount of JBweld in the holes where the original fitting nested. Place the Beast fitting on the boot and tap with hammer to seat it. Insert the rear screw first, being careful not to over-tighten and strip. Lastly, drill small pilot holes for the pair of side screws and insert. Check inside boot for screws protruding into the passenger space. Usually, if they protrude they’ll do so below your heel or such a small amount they’ll just press into your liner. If you can see the ends of the screws, cover with some duct tape to prevent damage to your liners. Photos below clarify all.

First, remove original fitting screw and pry fitting out of boot heel. A few models of boots have fittings molded in -- you won't be able to do this mod on those types of boots.

With a tiny dab of epoxy underneath where the original holes are in the boot, tap fitting with brass hammer to seat it.

After inserting the rear screw to lock fitting in place, drill pilot holes for side screws using a small drill bit, 1/16 diameter works fine.

Lastly, insert side screws. Probably best to do these by hand instead of with power driver, they strip easily.
WildSnow, that brings up the question, can I use these beefier fittings with any tech binding?
Possibly, at your own risk. See this blog post.
It is obvious from the weight and look that Beast is sturdy, what internals in the heel make it strong?
While the toe units on most of today’s tech bindings are plenty strong, strength failures in heel units are known to occur. One of the weakest links in the generic tech binding spec used for everything from Plum to Dynafit Radical is the heel unit internal spindle post. This component is majorly beefed on Beast.
More, and this is a real esoteric “insider” take, the earliest Dynafit tech bindings were actually designed with a cool “ledge” inside the top of the plastic heel unit socket where the spindle rests. The idea was the aluminum spindle would have a flange that rotated into the plastic heel socket and locked the heel from coming off the spindle vertically. For some reason, while the spindle does have a flange on top this design feature was never fully implemented, and even the internal ledge in the socket was eliminated in the Comfort and Vertical models. (The plastic thimble bushing is what resists upwards force from pulling the heel unit up off the spindle.)
This excellent “keyed socket” feature has returned in the Beast 16. It feels good. When you install the heel unit rotate it and feel it key into position, then lock — that’s even before you insert the thimble bushing, which provides even more resistance to upwards forces. Check out a few photos.
 and Beast (right) heel internals.")
Dynafit Radical (left) and Beast (right) heel internals. Added diameter of the Beast center spindle is indicated by red arrows. It is 5 mm wider in left-right cross section, or perhaps about 30 percent stronger! The flange on top of the aluminum heel spindles is also visible in this image, with Beast, the flange keys into an internal slot or ledge inside the heel unit socket.
 and Beast rear spindles (viewed upside down) showing larger size of Beast as well as top flanges on both units.")
Radical (left) and Beast rear spindles (viewed upside down) showing larger size of Beast as well as top flanges on both units. Click images to enlarge.

View inside Beast 16 rear unit from underneath, socket where heel post-spindle inserts. Slot or ledge that aluminum flange locks behind is easily visible at tip of pen, indicated by red arrows.