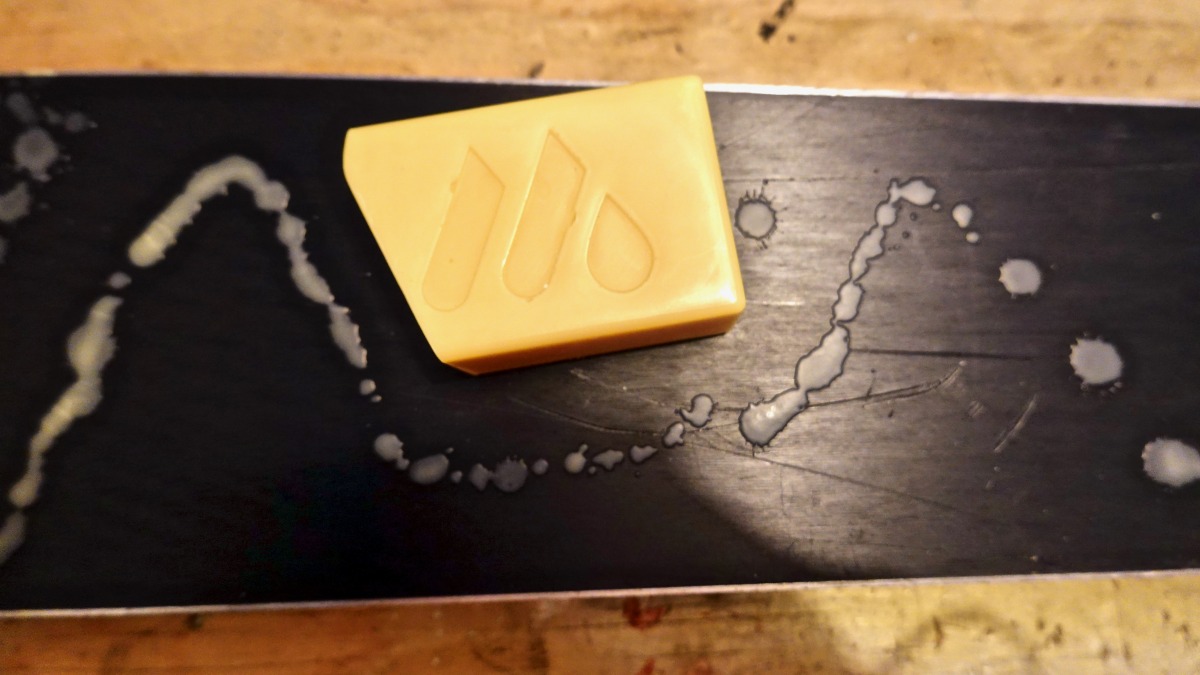
The wax smells nice when melting, and is probably better for you to inhale.
I grew up with an Army vet Dad who liked to yell out a favorite maxim from his West Point days: “Proper prior planning prevents poor performance!”
When I asked Joe Howdyshell, head coach at Summit Endurance Academy and former West Pointer, for his tips for this article he responded with a ski variation: “Prior preparation prevents a piss-poor powder pageant!”
I don’t know if either of those mnemonics are going to stick with the backcountry community, but folks are getting out skiing (or at least getting ready to once their base fills in), so it’s a great time to consider your “proper prior preparation” for a long, fun, and safe backcountry ski season.
Even pulling your gear out of storage is a great first step, but if you’re ready to dial your kit in more systematically, here’s a checklist of big-ticket items to get you started ensuring your gear is ready for the season ahead.
Boots
Liners: Did you pound your liners into dust last season? You may be able to do a heat molding on your existing pair to breathe some life back into them (depending on your brand and model). If they’re truly dead or heading to the grave, order a backup pair now as there’s no guarantee they’ll be in-stock midseason.
Binding Fit: It’s never a bad idea to check your boot/binding fit before you click in for the first run of the year. You might be thinking, “Why would that have changed?” I skipped this step a few seasons ago, skinned up a few miles only to realize I had grabbed my backcountry “rock skis” which were still set up for my old boots. It was a field-repairable mistake but it could’ve been avoided with a simple check in the garage.
Bolt/Screw Check
For both boots and bindings, check for any missing or loose screws. Splitboarders, especially, take heed and take the time to look for weak points in your setup. Don’t be shy with threadlocker to prevent them from working themselves out again. The normal Loctite Blue 242 is fine but keep in mind that curing times are longer if you’re working outside in the cold.
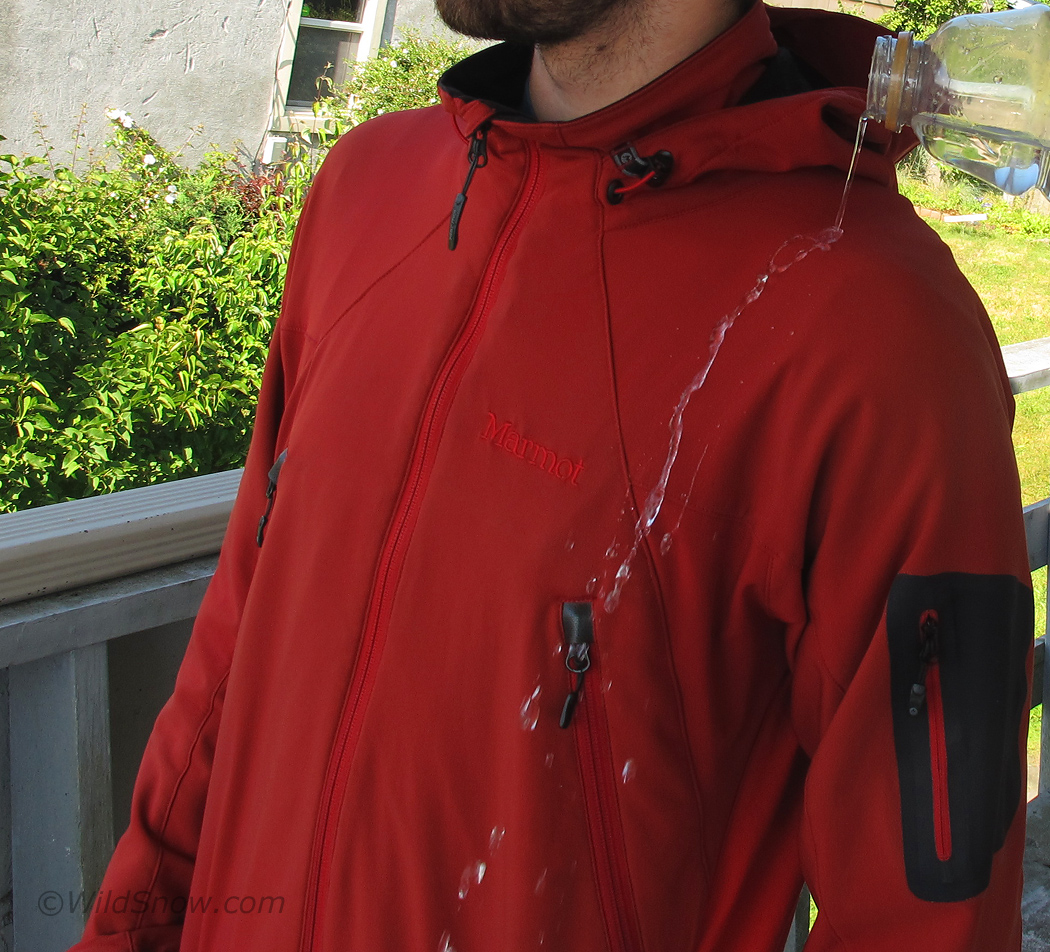
After. Nikwax treatment passes the water bottle test.
Apparel/Layers
Lay out your full kit as if you’re heading out for the first tour of the year to make sure you haven’t stolen layers for other seasonal activities. Once I have everything in-place, I like to run it through the laundry. Even if I remember to wash my gear before putting it away for the summer, odds are everything has that odd garage/basement musty smell. For Gore-Tex-type outerwear, I usually check the manufacturer website to make sure they don’t indicate any special care requirements, but most often run a separate load with the classic Nikwax Tech Wash and TX.Direct combo. If you have down layers that are feeling deflated, definitely give them a thorough cleaning. Again, I default to the manufacturer recommendations here, but the Nikwax Down Wash is usually a safe bet.
Gloves
There’s a simple decision tree here. Do I need new gloves? If yes, buy. If no, perform maintenance. Wash if needed, but usually this is just an opportunity to refresh waterproofing on the gloves with Sno Seal or Nikwax Leather Waterproofing.
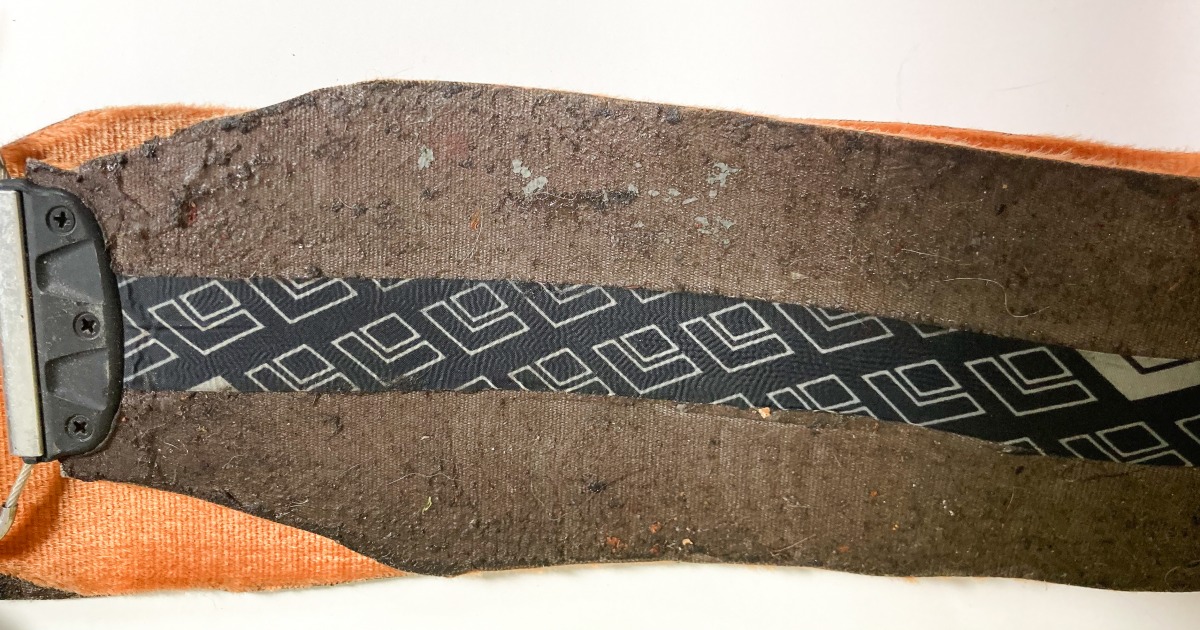
Shameful: despite years of service, these skins have had no love. Time for a cleaning and a reglue.
Skins
I asked Coach Howdyshell about how he decides when it’s time to re-glue or replace skins and he noted that, “Spring touring is pretty hard on skins and glue. The ice, the pine needles, the water, the goat shit. If your skin glue looks like you took it to your local ice cream shop and dipped in the their wood sprinkles (hey, it’s a weird ice cream shop), then it’s probably time to re-glue them.”
I’ve been able to milk years out of a single pair of skins by regluing them, but the regluing process is not for everyone. If you have a strip of tape down the middle of the skins still (common in Black Diamond skins), you can pull that off for an easy adhesive boost.
If your problems are isolated to certain areas of the skin, you can do spot removal and replacement of glue. There’s a good summary of skin glue resources in this WildSnow article. Howdyshell likes the Pomoca glue for fast and light skins and the Black Diamond Gold Label glue for nylon and hybrid skins. Contour Hybrid Mix skin users should stick to the brand’s cleaning spray.
If your skins are beyond repair or you looked in the mirror and admitted you don’t want to deal with it, just replace them now. It’s easier to find the skins you prefer in the size you need before the season kicks into high gear than in the spring.
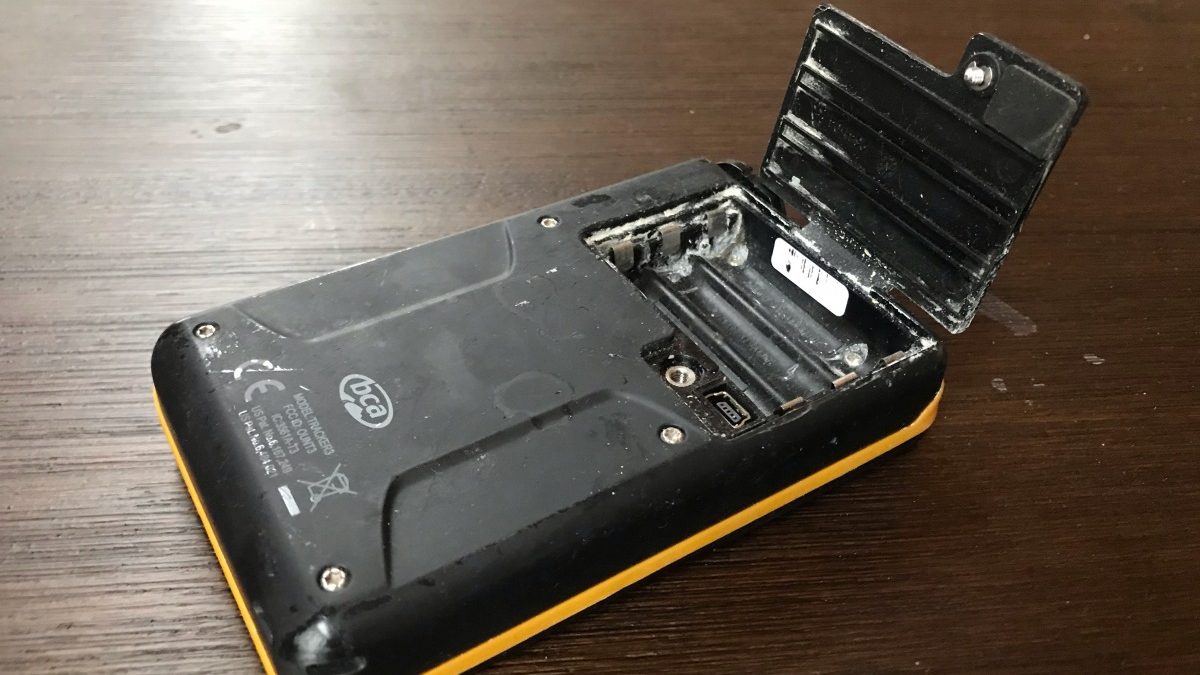
Closer inspection reveals severely corroded terminals. This beacon wouldnt turn on in this state, even with fresh batteries.
Beacon/Transceiver
- Replace your batteries. Get a fresh start for the season. Make sure to confirm the types of batteries compatible with your particular transceiver. Many modern transceivers are compatible with lithium batteries which have better cold-weather performance but are not recommended for all brands and models. If in doubt, use fresh, classic alkalines.
- Check your terminals: We did a post last year highlighting the importance of clean terminals inside your unit and how to clean them.
- Check for software updates: Most transceivers are able to receive software updates so check the manufacturer website for details on how to check for and implement updates if necessary. Same post from last year has links.
Probe & Shovel
Just pulling these out of your pack is a start. Assemble both and assess structural integrity before you take them out in the field.
Snack Check
I’ll admit to a practice that will probably disgust most. When I open up my backcountry pack for the season and find old, stale busted up snacks, I eat them. Then I replace them with my usual baseline of a few gels and bars. It’s a free country, you don’t have to eat old trash like I do.
But this is a good time to toss out the old if it’s spent the summer aging and make sure you have at least a few emergency calories stashed.
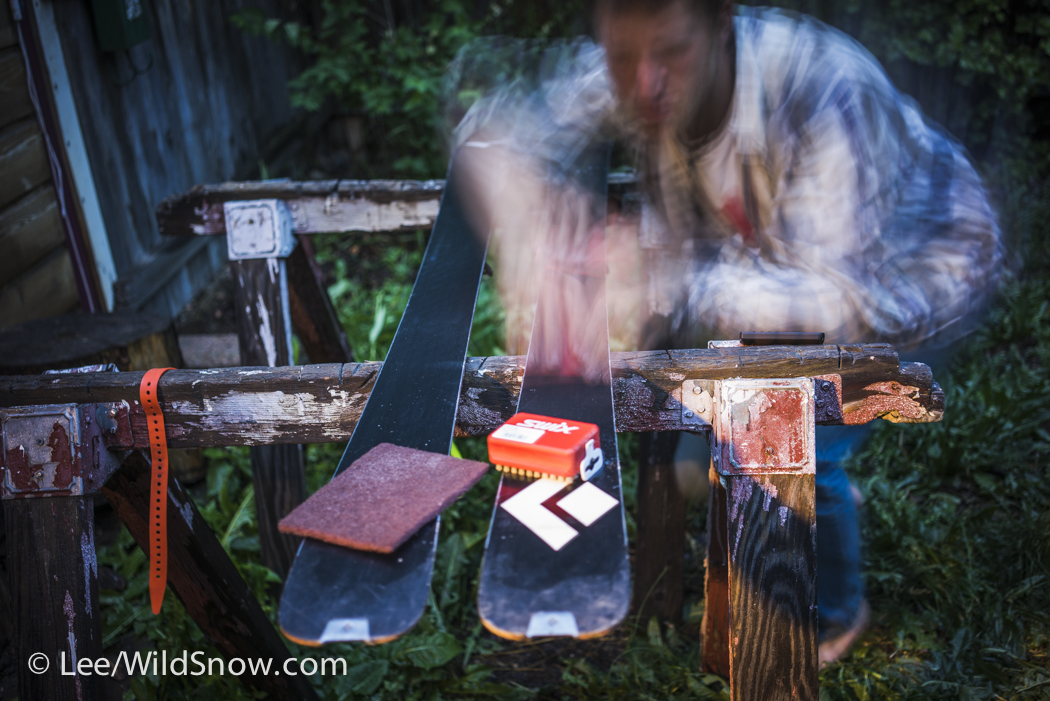
Gotta keep those skis tuned.
Ski Tune
Are your skis refreshed with potholes repaired and freshly waxed? A proper tune not only starts you off with as clean a slate as P-Tex allows, but a well-done wax job helps your skins operate at their best.
If you use a ski shop for tunes, get to them before the rush of the first true powder days backs them up. Many of my local shops offer discounted punch cards for ski tunes you can buy early to spend the money upfront to make sure you’re covered for a long productive season.
What other best practices do you use to make sure you’re ready for the touring season?
Justin Park is the Editor of Wild Snow. In 2009 while living in Hawaii, he got invited on a hut trip in Colorado. He had no backcountry gear, found Wild Snow, read up on backcountry skiing and bought some frame bindings for a pair of G3 Reverends so he didn’t have to buy touring boots. He moved to Breckenridge, CO a year later and today he skis 100+ days a year, most of them backcountry.
