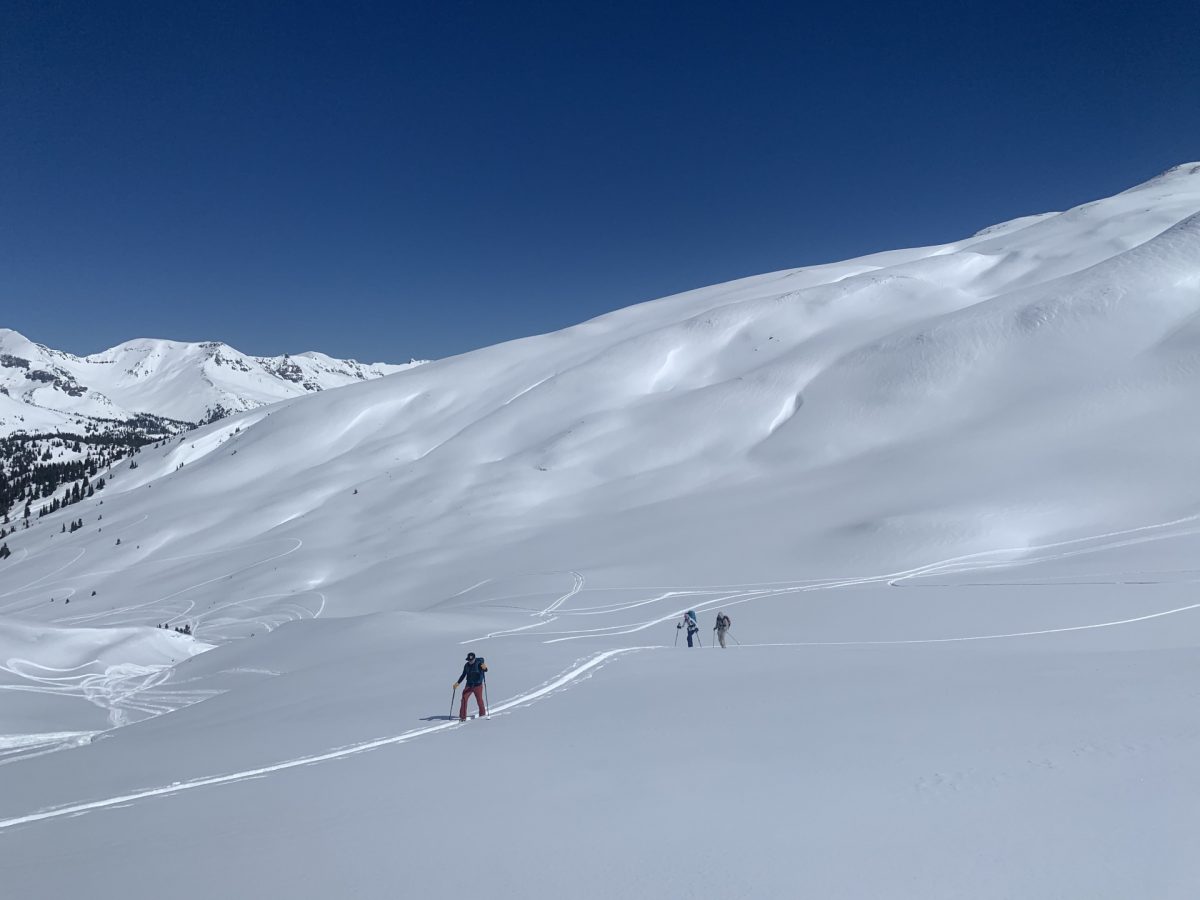
Setting down the path to becoming an AMGA Ski Guide certification process allows a third-party to train and test you to a certain professional standard. Ideally, this should increase your skills and ability to provide your clients with a rad day in the mountains. Photo: Will McKay
Will McKay brings us along on his AMGA Ski Guide Course, the first in a series of three required courses to become a certified AMGA Ski Guide in the United States. Along the way, we’ll learn about highlight reels, and making a rescue shelter slightly warmer.
I was cold, clammy, and pretty sure it was almost sunrise. I was shifting around in my sleeping bag, half of me on the sleeping pad, the other half on snow. I didn’t sleep much, couldn’t really, given that I hastily dug my snow coffin at a slight angle. My shoulder on the snow was melting through the floor, steepening my resting angle throughout the night. Call it a learning experience.
That, too, was the theme of my Ski Guide Course (SGC) taken through the American Mountain Guides Association (AMGA): lessons learned, early starts, and long days. The SGC is the first course of three required to become a certified AMGA Ski Guide in the United States. The certification process allows a third-party to train and test you to a certain professional standard. Ideally, this should increase your skills and ability to provide your clients with a rad day in the mountains. Full certification can take anywhere from three to n+1 years, depending on many personal, professional, and economic factors.
The AMGA, which has become a hot-buzz string of letters of late, is the largest certifying body of mountain guides in the United States. By passing courses and exams in your discipline, you gain the title of AMGA Ski, Rock, or Alpine Guide, respectively. If you pass exams in all three, you’ve reached the highest level of certification and are dubbed an AMGA Mountain Guide.
I know, lots of titles and letters here. So please bare with me a little bit more. The International Federation of Mountain Guiding Associations (IFMGA) also recognizes the AMGA. An AMGA Mountain Guide, by default, meets the highest training level of the other IFMGA countries. This dual cert allows some international mobility for American guides working in foreign countries.
In the spring of 2020, I set down the track of becoming an AMGA Ski Guide. I come away having learned new things and solidified previous concepts. But I went into the series courses relatively naive; I wasn’t sure exactly what to expect.
Day 1 & 2
I was quite nervous; the night before, I was staring at all my gear, unsure what or how to pack. It was like I had completely forgotten the basics of ski touring. But as I arrived and began to meet everybody, those nerves faded — it helps when everybody is psyched.
We were based out of Ouray, Colorado, mainly operating on Red Mountain Pass for this intro ski guide course. This venue was beautiful; despite having lived in Colorado for five years, I had never had the chance to ski in the San Juans, which reside in southern Colorado. Pretty wild terrain with an equally wild snowpack.
We spent the first morning having a course briefing, discussing our desired outcomes, and reviewing a rough schedule for the week. Our instructors for the course were two brothers named Steve & Jeff Banks. Both were full IFMGA Mountain Guides based out of Crested Butte, Colorado. Post-meeting, we headed up the pass and spent the afternoon practicing solo beacon rescue, client beacon rescue, and digging and analyzing basic snow pits.
We headed to a local ski resort for our second day to dial in ski movement. To gain entry into this course, each applicant submits a ski edit showcasing specific movements in various terrain. (Google AMGA ski movements, and you’ll get plenty of hits. Think of this as your “talent” video you might submit to Julliard, with perhaps a lower barrier to entry.) Helpful tip, add hilarious 70’s music to swoon the powers at be.
This was the day we had to prove we could, in fact, shimmy and jump turn and not just submit a selfie highlight reel after binging Seth Morrison videos. I’ve skied my whole life but being critiqued and watched on every turn, jump, and line choice was nerve-wracking. The other people in my group were high-end ski instructors or previous alpine racers. I was the guy who fell in love with backcountry skiing while sleeping at trailheads and destroying relationships to get my ski fix.
My fix on this day was the day’s drills; short, medium, and long radius turns, pivot in line, carving progression, jump turns, and skiing technically proficient in a super slow manner (this was the most difficult in my eyes). All went well, asides from my fear that my race-style pin binding might randomly eject me at any moment. But this is WildSnow, and we have faith in things like race bindings in non-race situations.
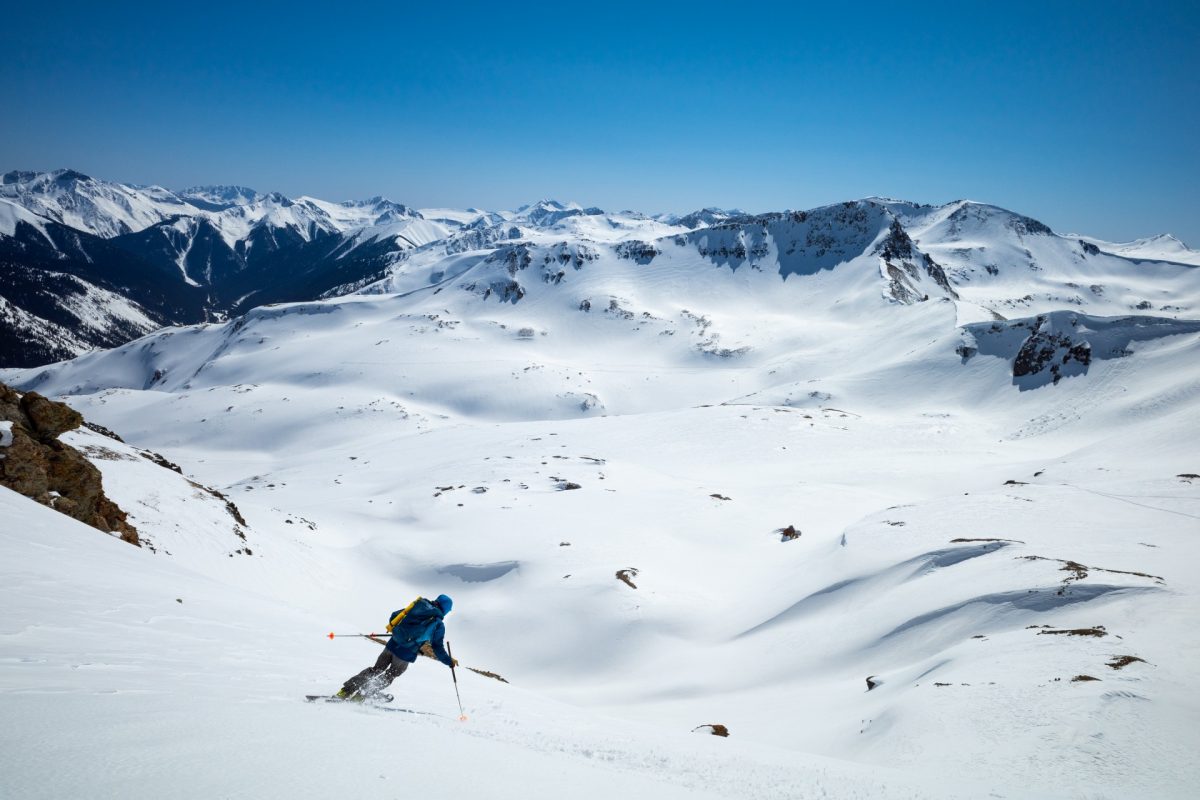
Finding the goods during an AMGA Ski Guide Course, with a deep San Juan vista as the backdrop. Photo: Will McKay
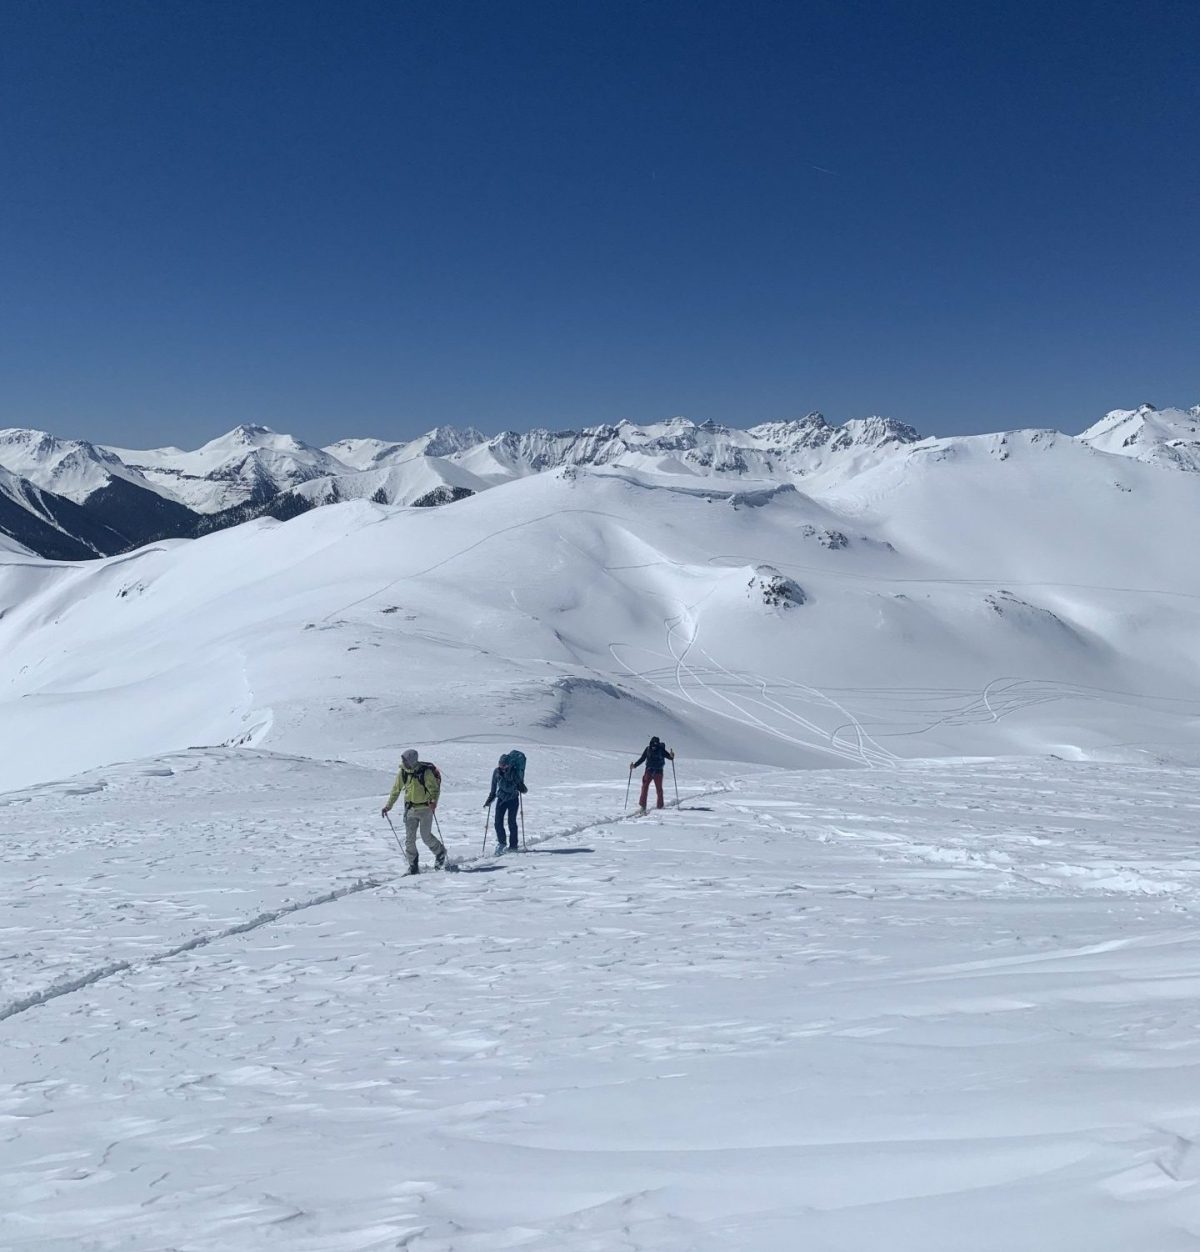
Part off the intent of the Ski Guiding Class is to allow guides in training to lead “mock” clients (their classmates) into terrain where they are responsible for making a tour plan, but also making on-the-fly modifications due to realtime observations.
Day 3 & 4
With about 6″ of fresh, relatively low-density snow, we headed up to Red Mountain Pass (RMP) for our first tour. The tour was short and didn’t have much elevation gain (a common theme throughout the week), but it was still quite fun. We discussed the concepts of tour planning, timing, and skiing techniques for clients. To finish off the day, we dug more snow pits and did some *almost* full profiles to prove we were proficient up to an American Avalanche Association Pro 1 standard.
Snow fell again that night, and we were treated to another day of inbounds skiing to work on downhill guiding techniques. These techniques include skiing to safe zones, client communication, and dialing how to use radios effectively in complex downhill terrain. Did we feel incredibly dorky skiing with radios in bounds? 100%. But the gist is this: this is the first of three ski-specific classes, and you must demonstrate the basics before enrolling in advanced ski guiding. Think of it as demonstrating basic literacy before diving into Shakespeare.
Day 5 & 6
We awoke to our first warm morning, and most importantly, this was the first day I could see the landscape, which was crucial to nail the next few days of tour planning. We took another mellow tour up to the top of a line called Powerline and honed our up-and-down guiding techniques. Our instructor had two people in our group take turns leading up and down, with the rest of us more or less acting as proficient clients.
Things began feeling real as I took the lead and guided our group the next day. Part of my task was to create a tour plan and lead the mock clients into a zone called the U.S. Basin. The idea was basic enough; ski an unnamed peak, and descend off the northwest-facing chutes and meadows.
All was relatively ho-hum and going according to plan until we entered the basin proper and spotted a day-old D2 R1 avalanche that appeared to have been remotely triggered by a snowmobile riding the flats. This observation was a bit unsettling as we had forecasted the deep persistent weak layer to be unlikely to slide with the danger trending from moderate to low. I had a backup route planned. If I hadn’t, that would have been like showing up for that audition at Julliard without your instrument of choice or, at a minimum, some sheet music. I suppose that’s a guide’s basic tenant: be prepared and expect the unexpected.
I decided to take us on a skyline tour, bumping us to a ridge and skiing some low-angle powder for 2000′. This day hammered home the idea that you should always have backup tracks, but, more importantly, you should be able to shift course instantly, taking in new information and applying it to your data set for the day.
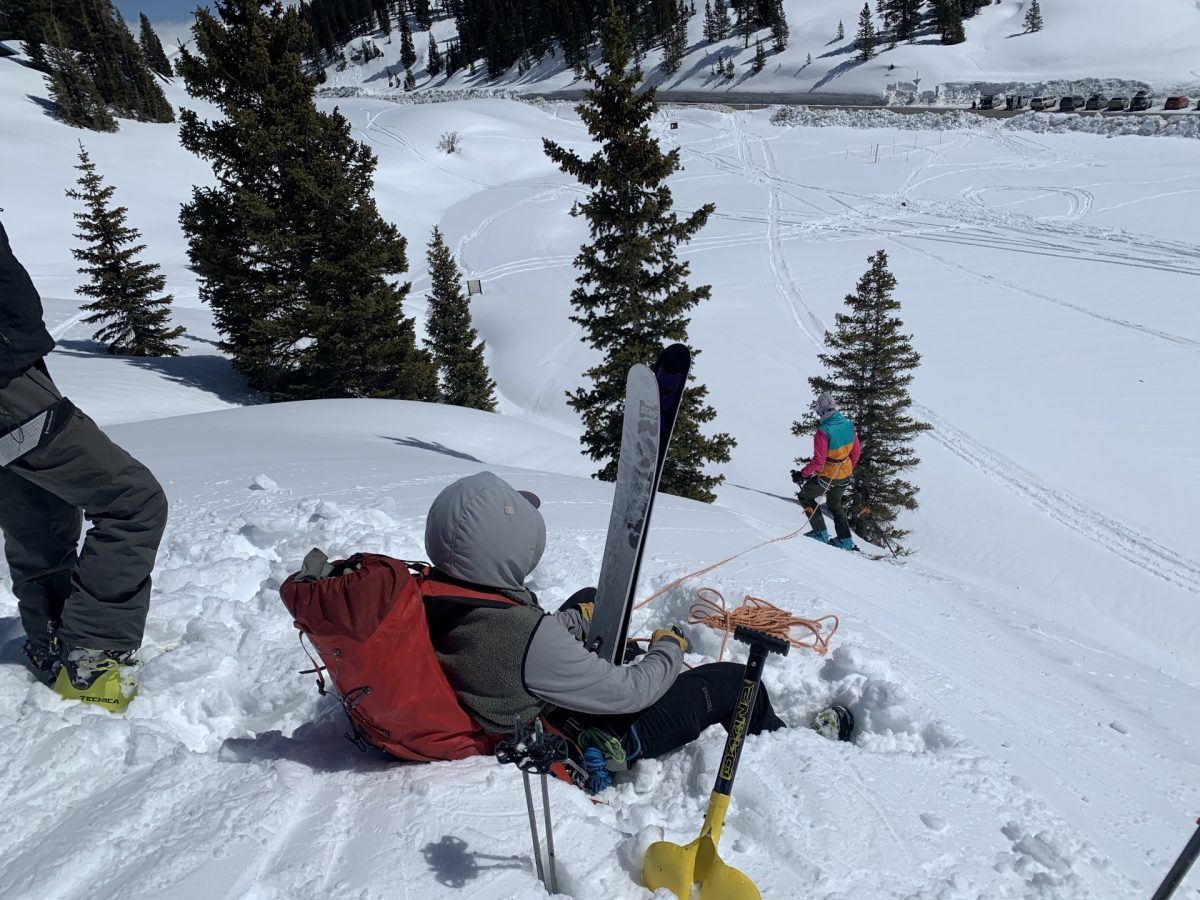
Practicing a ski belay in a low-risk low-consequence area. Photo: Will McKay
Day 7 & 8
For the next few days, we bumped to the opposite side of the pass and went for another student-led tour through some complex steep treed terrain known as Commodore Trees. I was psyched and somewhat relieved I didn’t have to take the lead that day, as the terrain didn’t provide too much good skiing. From my perspective, this was a hard zone to onsight guide, and it took a lot of attention from the leaders to adhere to the open and closed terrain discussed in the AM guide meeting. On the descent, we practiced ski cutting on steep slopes with a wet loose layer sitting on top of a thick melt-freeze crust.
The following day, in my opinion, was the most technical day of the course. We had a relaxed start; all we had on the schedule was practicing building rescue sleds, snow anchors, and a bit of belayed skiing. Rigging various rescue sleds — from bare bones to bigger, full-functioning ones, I learned quickly I never want a client or friend to require a rescue sled evac: it is a serious amount of painful work to pull a sled several hundred meters through deep snow.
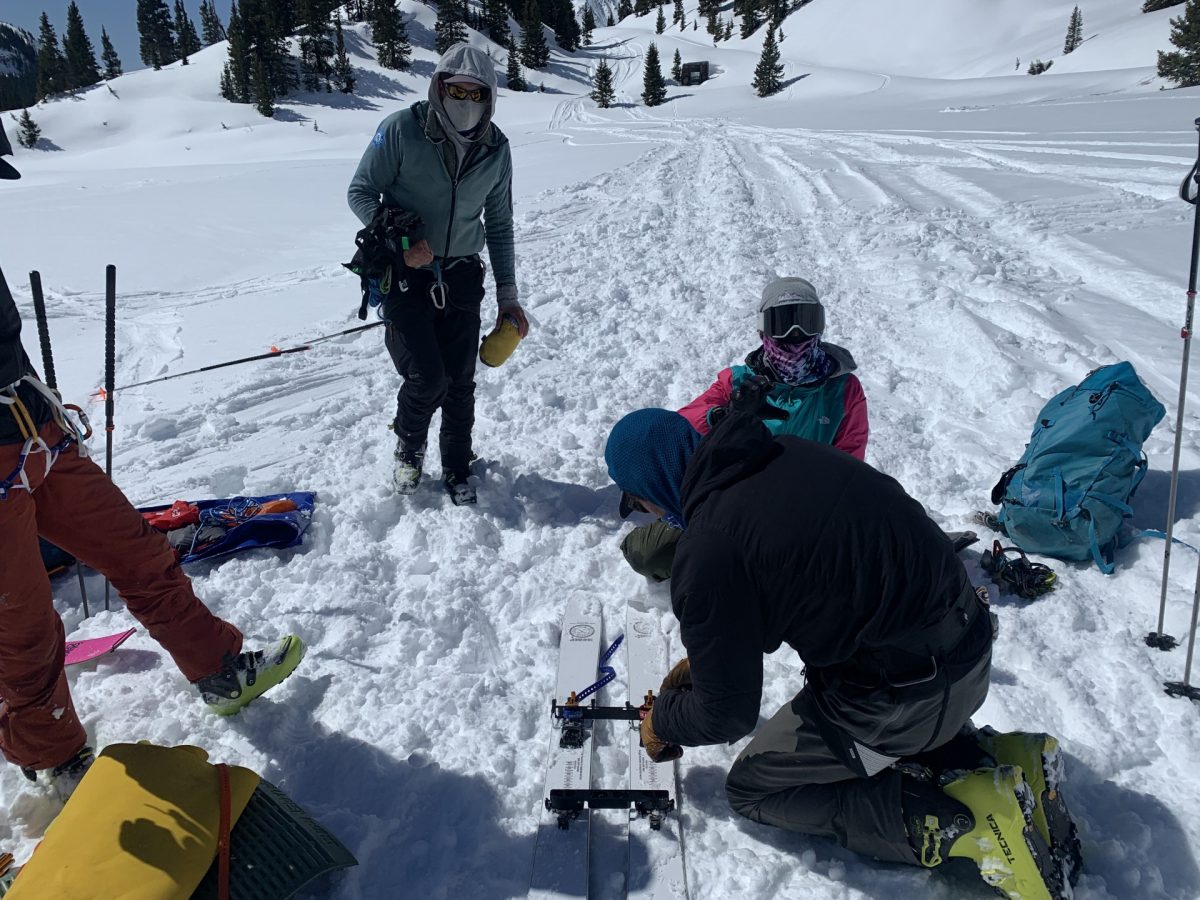
The time honored sequence of building a rescue sled and awaiting the ensuing haul. Photo: Will McKay
After wrecking my body dragging a few folks around, we covered the basics of I, H, and T trench anchors and when each might be appropriate considering snow type and application. And we dispelled the urban myth of burying a Snickers bar to rappel off of in a sea of facets — this holds for frozen Snickers too.
The rope, rescue, and dealing with gravity technicalities were in your face during the day’s rescue sled lower drill. As part of the curriculum for the Aspirant Ski Guide Course/Exam, the second course in the AMGA ski guide sequence, our experience with the sled lower was more about working through the kinks than demonstrating proficiency. The process more or less involves packaging a victim in a sled, then, with an assistant, effectively lower them down a 40-60 degree slope and then pulling the sled 200 meters. The lower is done by creating an appropriate snow anchor and working through the system to pass a knot; it’s quite technical and requires some practice.
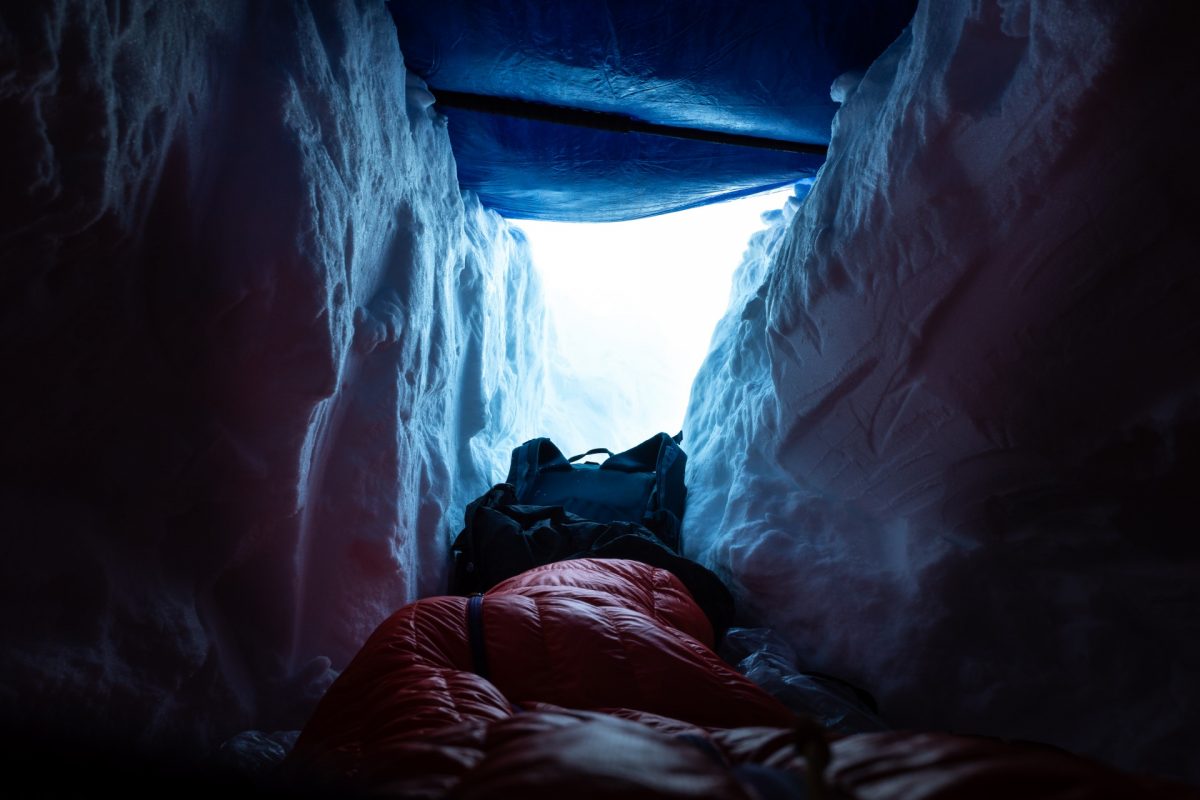
The AMGA preferred rescue shelter is essentially a narrow trench in the snow that widens towards the base. It goes something like this — excavate a trench, lay your skis and poles across the top and cover the trench with a tarp. Photo: Will McKay
Day 9 & 10
The ninth day began with another moderately late start (for the AMGA) at 7:30 am. (Be a morning person, or become one if you aspire to be a guide.) We packed for an overnight and headed into the hills for a day of spring skiing and rescue shelter training. We climbed up to 12,000′ from the parking lot and dropped our packs to get out and ski some spring lines. This day felt like the first day of real backcountry skiing during the course: getting out and skiing multiple lines in excellent conditions. Know you are enrolled to learn; that’s the expectation, not to fist bump, count vert, and free ski.
After putting tracks down throughout the basin, our goal was to head back to the packs and build rescue shelters.
The AMGA preferred rescue shelter is essentially a narrow trench in the snow that widens towards the base. It goes something like this — excavate a trench, lay your skis and poles across the top and cover the trench with a tarp. Once the tarp is on and secured to the ground, toss a bunch of snow on top to insulate, and you’ve got a slightly warmer-than-outside snow coffin.
Here’s some key beta our instructor let us in on; light two to three candles in the trench. It’s surprising, but the small flames substantially increase the trench’s warmth. As the sun set, we retreated to our trenches for a fitful night. To say I slept well would be a lie, but hey, it’s a rescue scenario.
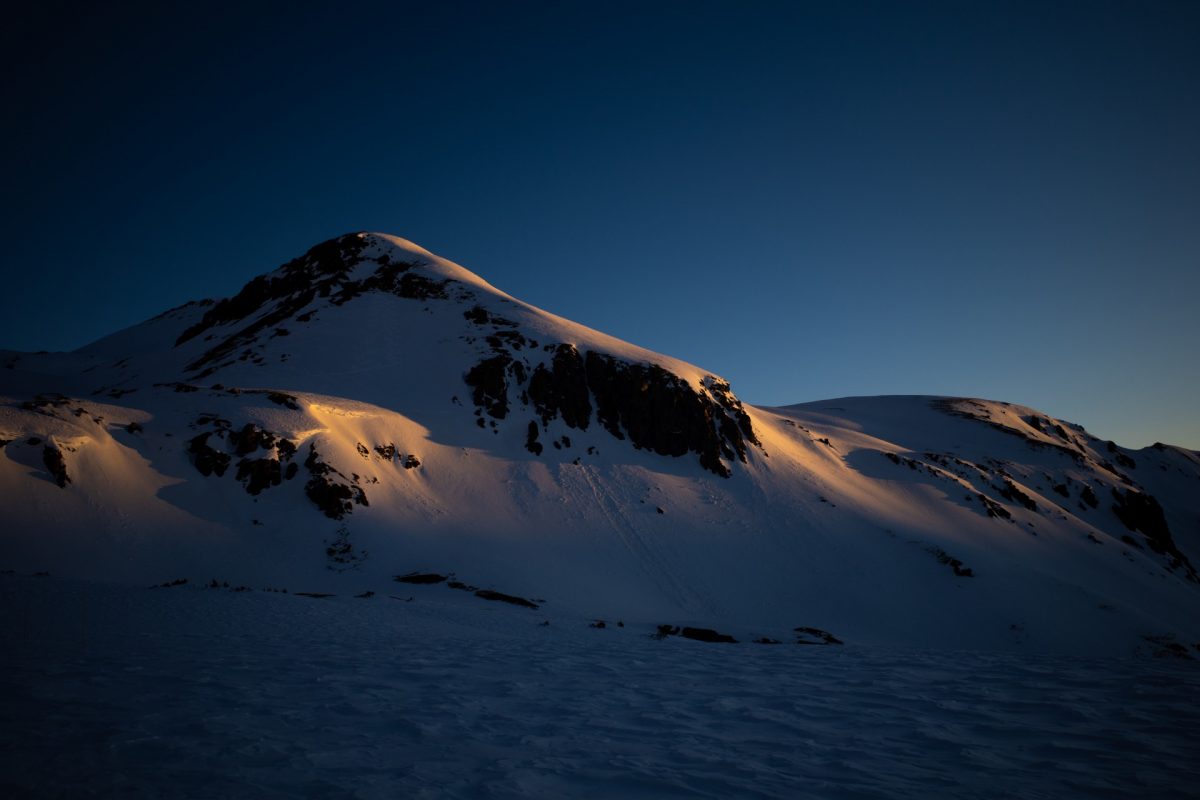
It’s important on lengthy courses like a nine day AMGA course to take time to savor the fine light and make observations for the day ahead. Photo: Will McKay
As the sun rose, I got out and basked in the warmth while making some instant coffee. Nursing some pretty bad stomach pains (I’m looking at you freeze-dried pasta primavera), I eased into the morning. We opted for skiing to the cars, and I had the lead for down-guiding, a worst-case scenario of heavy packs and breakable alpine crust. I’m still relatively young. Still, I’ve had more fun doing anything else in life. But it was beneficial to get a lot of experience breaking the breakable crust so my group could ski better snow in my tracks. Ah, the joys of guiding.
At the cars, we dropped packs and toured to a ski line offering some of the best corn of the course. This tour was the perfect elixir to induce short-term memory loss; it made our group forget about the earlier horrendous descent. The fine turns were an ideal cap to the end of the day and course. We headed back to Ouray for our final meeting and shut it down after receiving personal feedback from our instructors about areas for improvement.
To learn more about possible ski guiding courses in your country, check out the IFMGA’s list of member associations. To learn more about the AMGA ski and splitboard guide requirements, you can find more information here.
Overall, the Ski Guide Course was a good experience and a solid stepping stone for the next course, the advanced ski guide course/aspirant exam.
I wouldn’t say the course was overly technical, as there was a heavy emphasis on general backcountry guiding. It seems the AMGA orients this first course towards teaching potential guides about taking out a pretty fresh backcountry skier who had a fair amount of resort experience.
I didn’t know how much I’d apply the things I learned, but in the following weeks of guiding in Utah, I found myself repeating some of the exact information we had been learning all along. For anybody contemplating applying for and taking the course, I’d recommend doing it. In the end, you’ll probably learn something you didn’t know or at least come away having made a bunch of new friends/and stoked ski partners.
Salt Lake City based McKay is actively pursuing his IFMGA Mountain Guide certification. He also combines his love for photography by capturing images as he navigates mountain environments. You can find his work at willmckayphotography.com.
