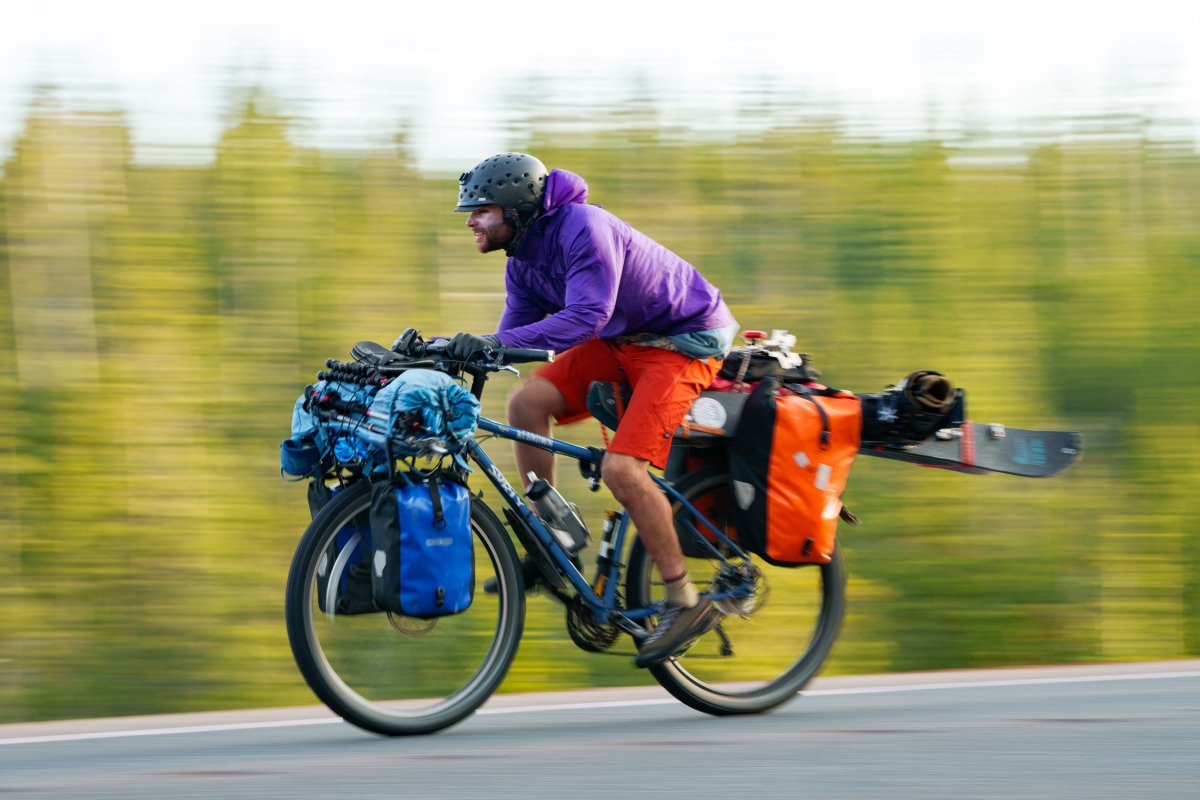
Stratton Matteson zipping along for another multi-day or multi-week bike to ride epic. Photo: Colton Andrew Jacobs
My name is Stratton Matteson. I’m a passionate splitboarder/adventurer based in the PNW. I have been splitboarding exclusively without a car for almost four years, spending the Winters “biking to board” locally and venturing on extended long-distance tours in the Spring. This is partly about making personal changes regarding my footprint and how I can formulate a low-impact adventure using a bike and a splitboard.
It’s May now. Springtime is here even as snowflakes continue to fall across many parts of the West. It’s a perfect time to combine bike touring with ski touring. The long days, warmer temps, dry roads, and generally more stable avalanche conditions make this one of the best times for your first (or first of many) bike to ski/board missions.
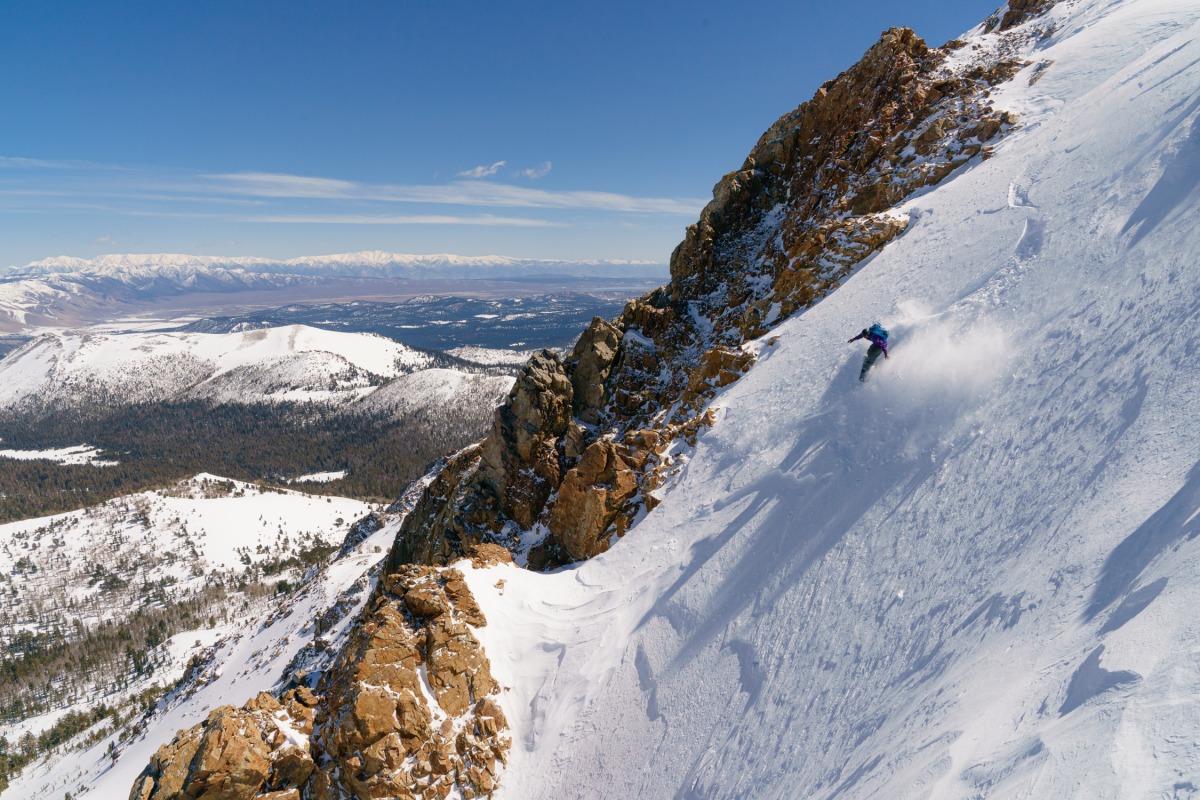
The bike helps free the mind and the turns: Stratton Matteson finding solace. Photo: Colton Andrew Jacobs
But first, you have to figure out how the heck to mount the skis/splitboard to your bike. Unless it’s just a couple mile ride, removing the weight of skis and boots off your back is essential. We’re looking for some efficiencies and since you are riding a bike, let’s assume you have numerous attachment points on the frame for hauling a board or skis.
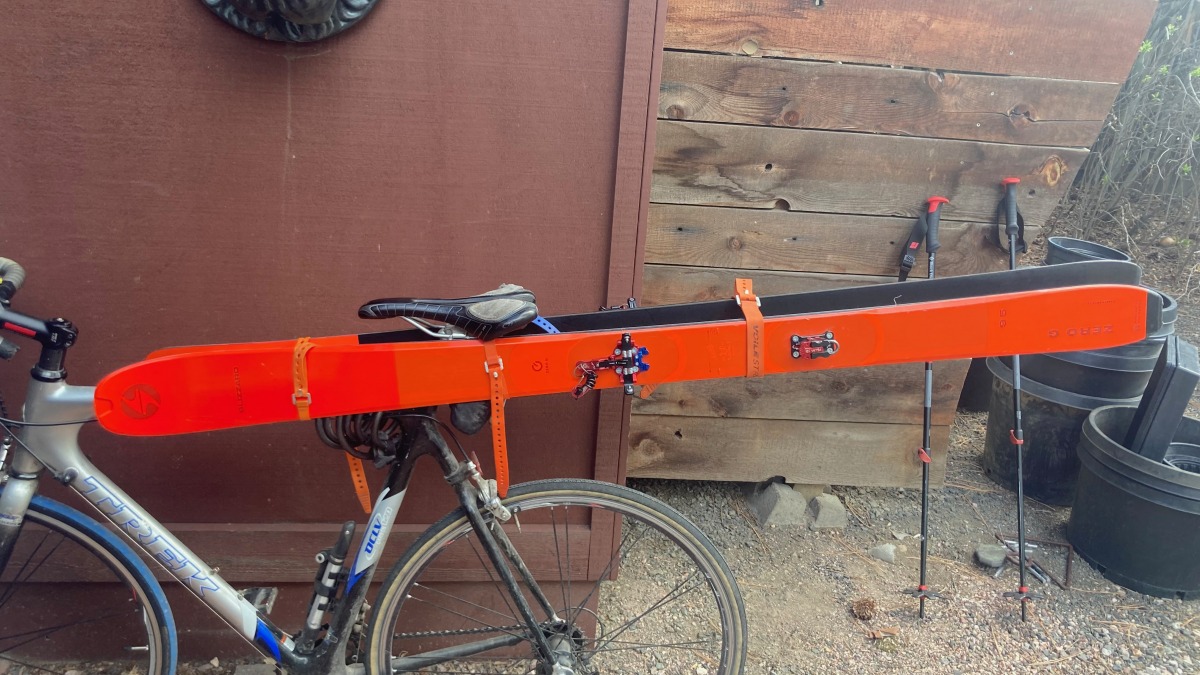
Skis, a few straps, maybe some protection for the frame and seatpost and call it good.
The Basic Gear
To start, you’re going to need four “Voile” straps. Six, if you’re a splitboarder… I’ll explain that later. And a bike.
I recommend two 15″ straps , one 20″, and one 25″. And if you’re a splitboarder, get two more 15″ straps to secure your bindings down for bumpy roads. Although this might seem like many straps, I find that this is a good amount to have with you in your pack for the backcountry; so they serve dual-purpose once you arrive at the trailhead.
The Strap Rundown
Splitboard— 4 x 15″, 1 x 20″, 1 x 25″ (The extra 15″ straps are for your bindings) for six straps totalSkis— 2 x 15″, 1 x 20″, 1 x 25″ for four straps total
Over time I have found methods that work for me, but there are many different ways to mount skis that work well, too, so don’t be afraid to experiment. I think what we’re all looking for in the end is a balanced bike, no permanent bike frame damage, and skis/board that are solidly fixed in place and out of the way; we want to pedal unhindered, especially if we’re around traffic.
Before mounting skis, I recommend taking a small towel or sock or a strip of old bike tube and wrapping it around your seat post with a zip tie to prevent scratching from the ski’s edges. You might also want to do the same on the top tube of the bike frame, where the ski tips will be strapped and will come in close contact with the top tube.
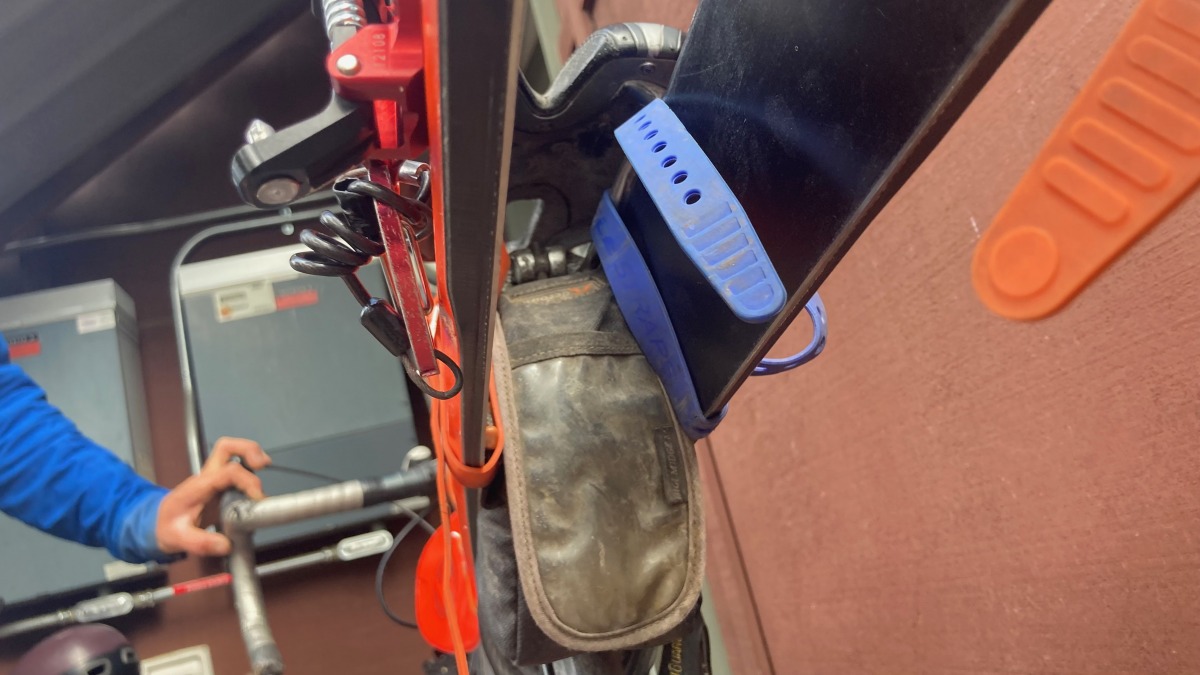
A closeup of the two straps used to loop around the seat rails and each ski.
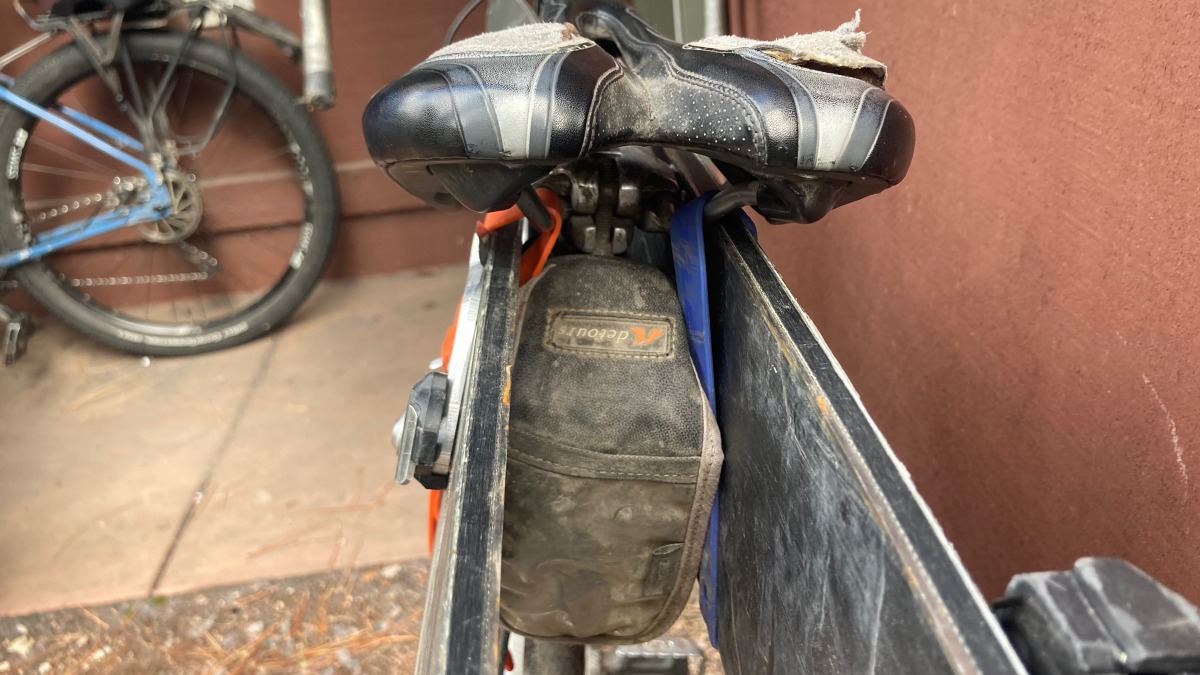
A similar angle to illustrate how it looks for a splitboard.
1) Take the two 15″ straps and loop each on either side of the seatpost rails. Grab your skis or board and secure the midsection on either side with the two straps attached to the seat post.
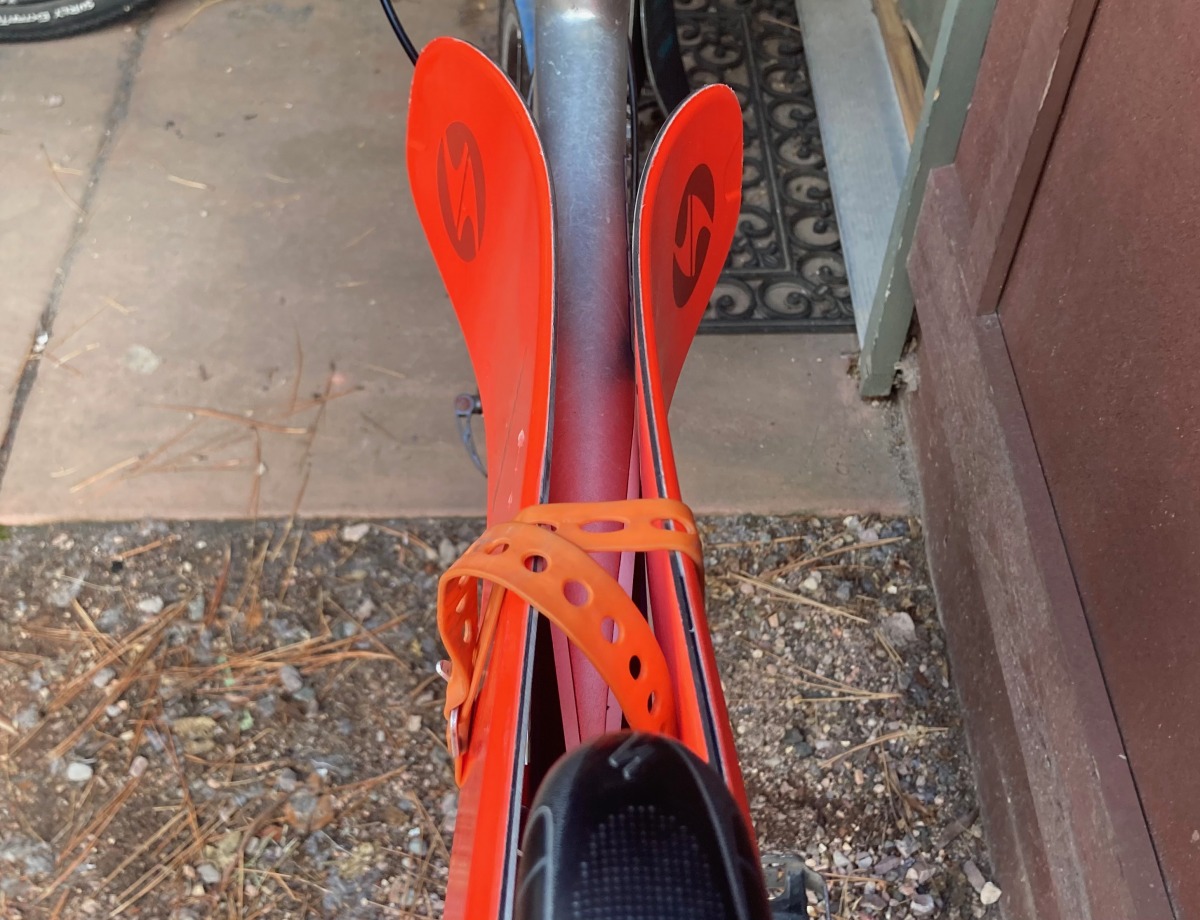
The tips secured ~12″ in front of the seatpost. If you are concerned about your frame, feel free to protect the top tube with an old sock or other lightweight but protective item.
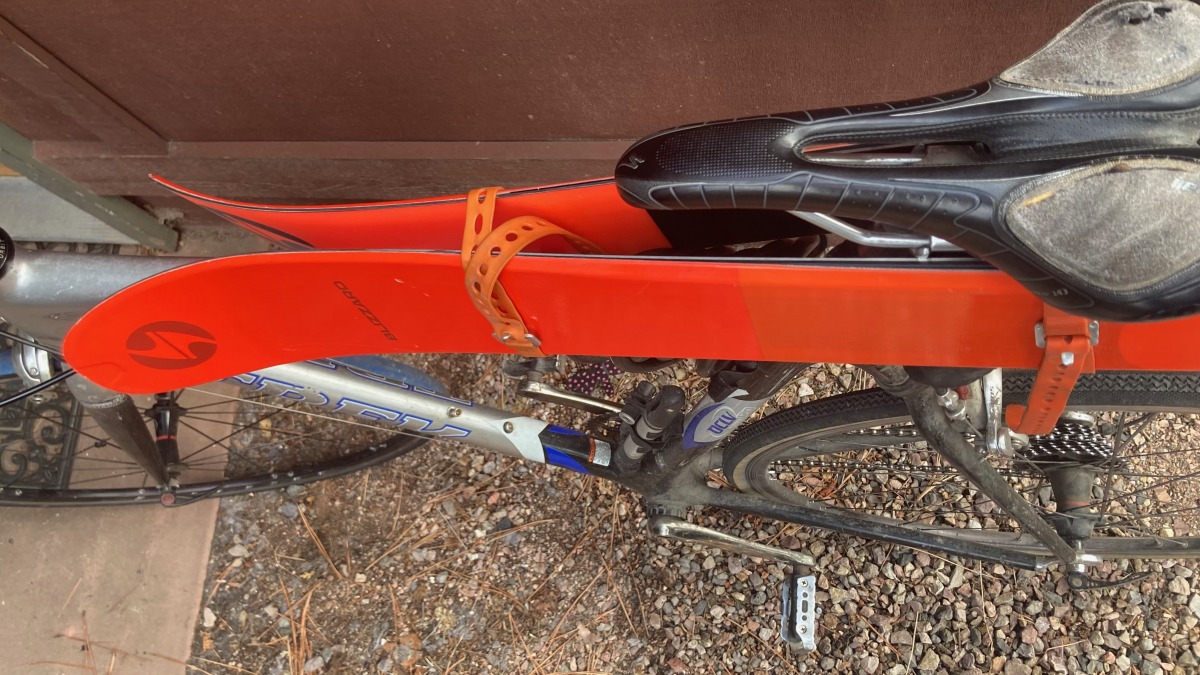
A top view of the tips secured to the bike frame.
2) Next, align the ski tips or board to be 8″-12″ in front of your seat (towards the handlebars). Finding the proper location to secure the tips is key because your knees can often rub the skis as you pedal if the tips are mounted too far forward. Take the 20″ strap and cinch it down around the skis and top of the bike frame.
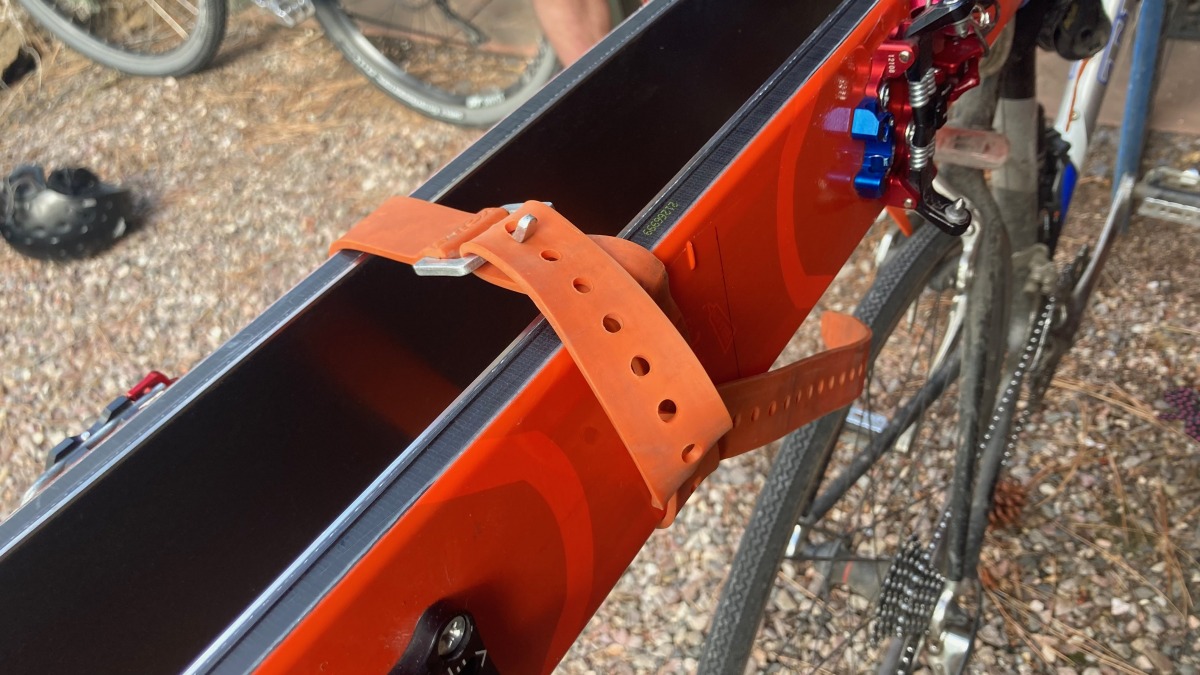
And one last strap (for skis) positioned in between the toe piece and heel piece of the binding to secure the tails (which extend out behind the frame over the rear wheel).
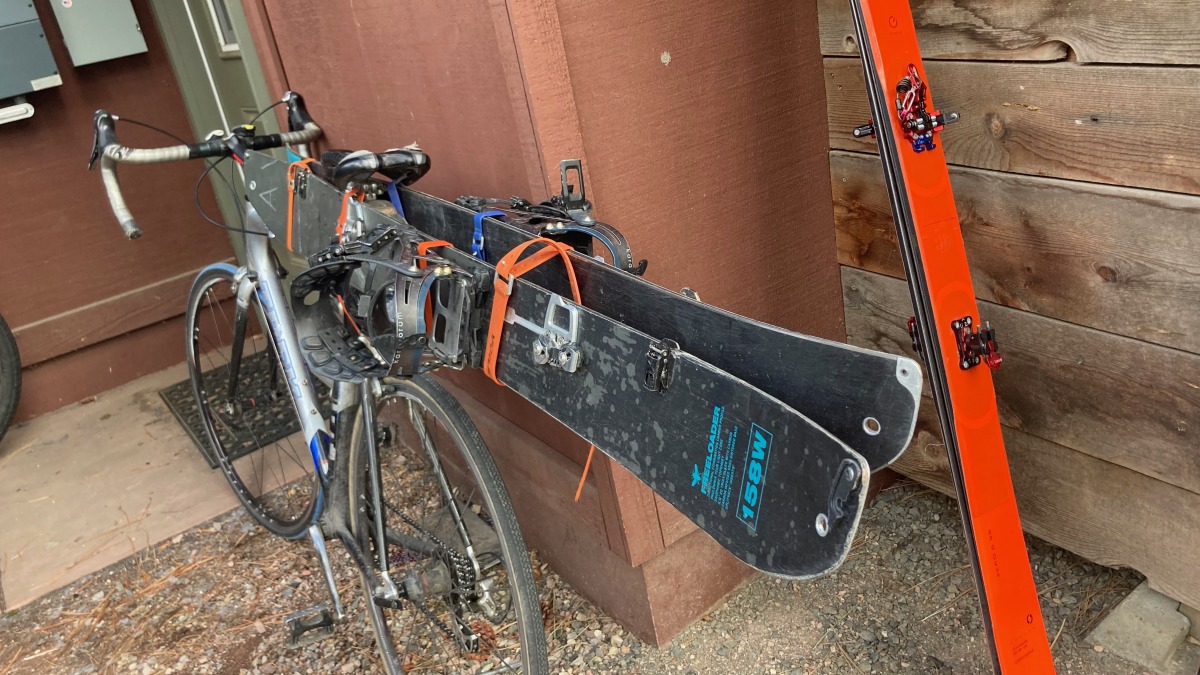
It’s a similar scene for the splitboard; one last straps to secure the tails in place.
3)Finally, use the 25″ strap to wrap around the tails of the skis a few inches behind your bindings on a splitboard. For skis, eyeball it, but you are likely to place the strap between the toe and heel pieces. Do not over-tighten this strap, as it can significantly bend/flex the skis.
Skiers can nod off here.
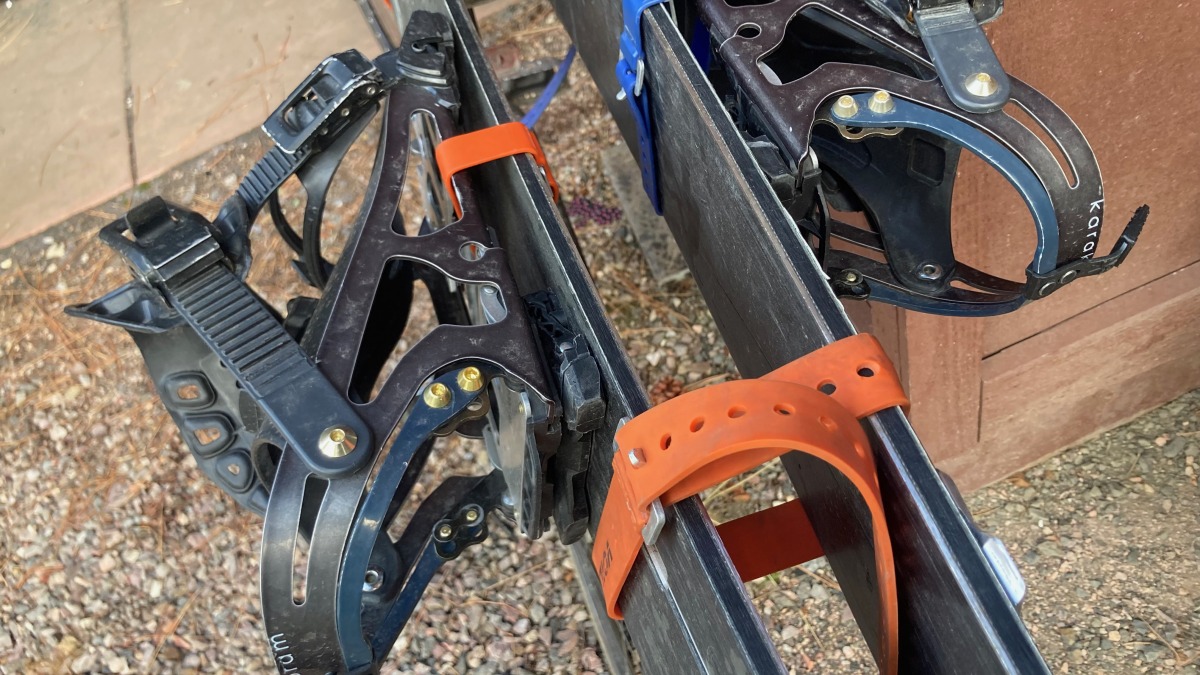
A closeup showing how a strap is threaded around the binding/board to keep the split binding from flopping about.
For splitboarders, take your last two 15″ Voile straps and wrap one around each binding to secure them from bouncing open. Lastly, mount your ski or snowboard boots to your bindings for easy carrying while biking. One thing you might consider that I’ve learned the hard way is weatherproofing your boots. After riding several winters here in the PNW, I’ve found that wrapping boots with garbage bags prevent cinders and mud from working their way into your boots (which will help destroy your liners) or gunking up the buckle systems.
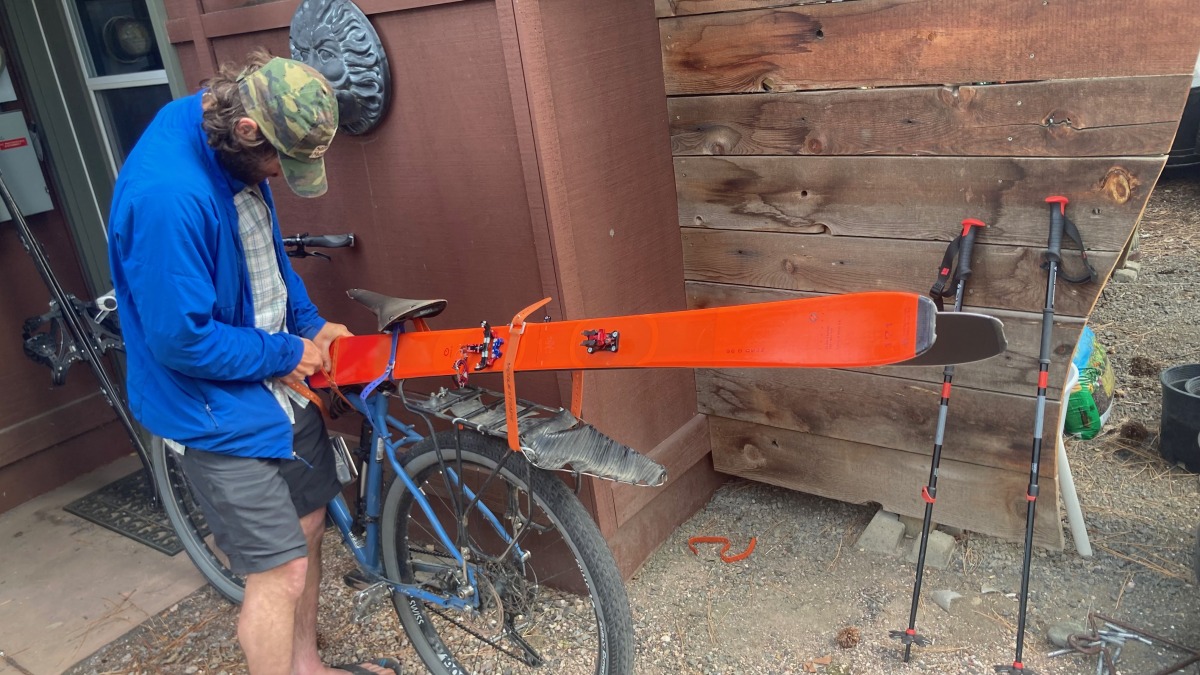
Many bike to ski/ride die hards use a bike rack attached to the frame’s brazeons. Be careful and mindful of this setup as over-tensioning the straps near the tails can stress the brazeons.
Some of us who bike tour often mount are likely to have mounted a bike rack to the frame’s rear triangle. A rack can be an excellent way to increase the bike’s contact points to lash gear. However, soon found that mounting my board (or skis, for that matter) to the seat post rather than my bike rack was essential: The weight of the skis can wear down and break the braze-ons the rack attaches to on the frame. And, one last call repeating what I wrote above, be mindful of where you situate the ski tips. Make sure you can pedal freely without hitting your legs against the skis. If you get out on a bike to ski adventure, remember to start small, work your way up, and smile.
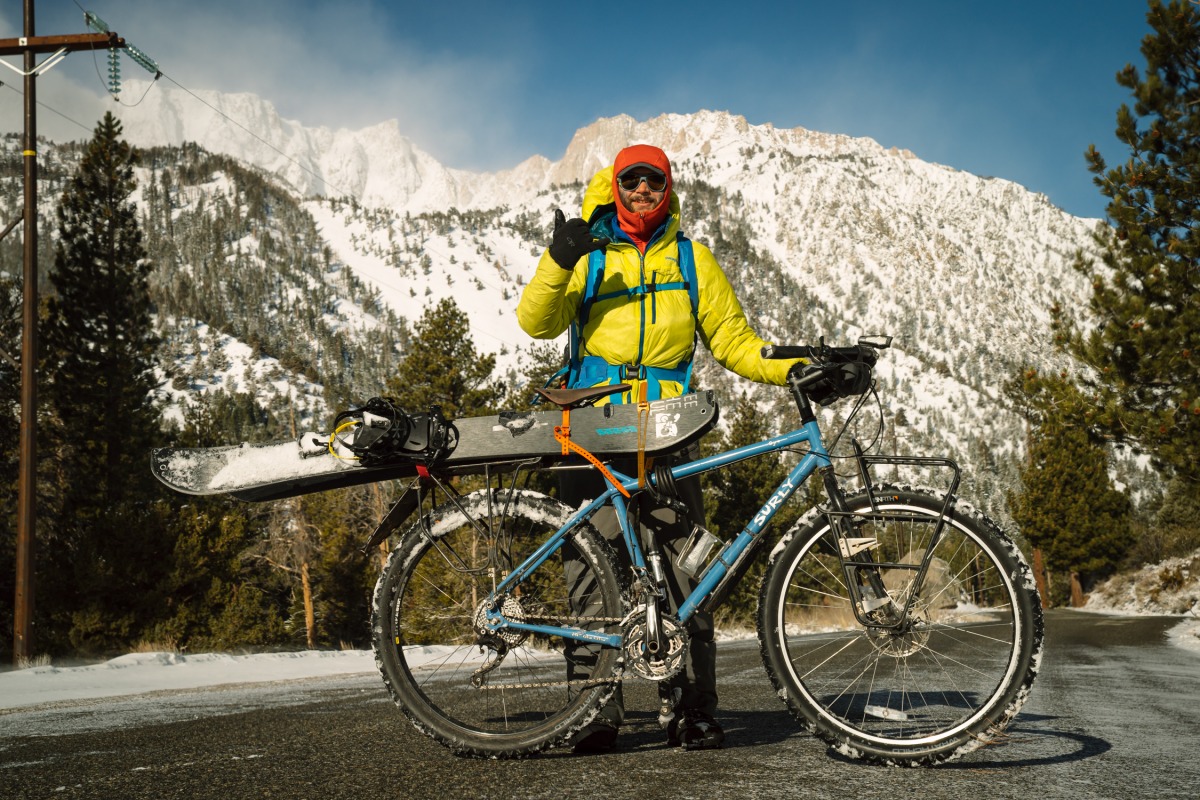
Board, bike, and the pack on his back– Strattoin Matteson in his element.Photo: Colton Andrew Jacobs
Feel free to hit me up with any questions. And please add any suggestions that might better inform readers.
Stratton Matteson bases out of Bend, Oregon where he is a frequent sight in the local Cascades biking to splitboard. You can follow his adventures east, west, north, and south @cascadeconnections on IG.
