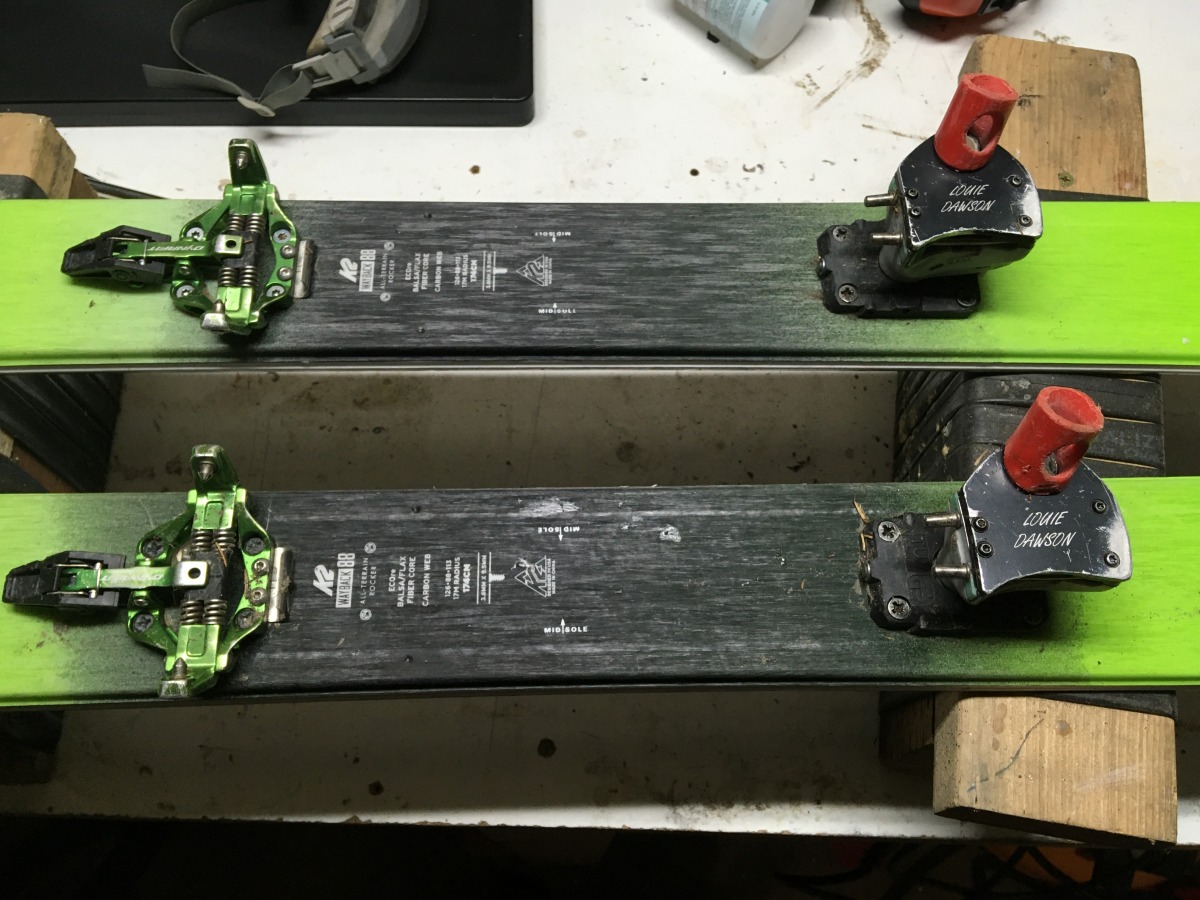
Franken-bindings on my spring skis. The heel unit of these bindings is well over fifteen years old, has hundreds of days of skiing, and is still going strong! Although it has been repaired/upgraded several times (notice the sweet custom top plates from B&D ski gear).
Winter is almost upon us! (or at least I can hope). Who knows what the rest of 2020 will bring, but one thing I know for certain is that I’m going to be putting more miles on my tech bindings.
Tech bindings are little miracles, in my opinion. They are so tiny and seemingly delicate, but actually are exceptionally durable. I’m not a heavy guy, but I am an aggressive skier (whatever that means), and I have yet to have a “day-ending” issue with a tech binding. Where’s some wood I can knock on? As a testament to the durability of tech bindings, they currently hold the title of “oldest piece of gear that I still use”. The honor goes to a pair of Dynafit comfort heel pieces that I have mounted on my spring-season skis. These are 15+ years old, and have several hundred days of use.
That all goes to show that a well-used tech binding can be perfectly functional… IF (and it’s a big “if”) they are used carefully and taken care of kindly.
Although I tend to put my gear through the wringer, I’m also careful to keep an eye on things, and usually catch issues before they have a catastrophic failure. In this post we’ll go over a bit of an in-depth check you can do on your tech bindings. I’d recommend doing this at the start of the season (what a coincidence!), and also after a big fall or other potentially binding-damaging event. Skis falling of roof rack is one occurrence that comes to mind. First I’ll go through a general check, and then dive into some common issues to look out for. Finally, we’ll look at basic fixes and maintenance.

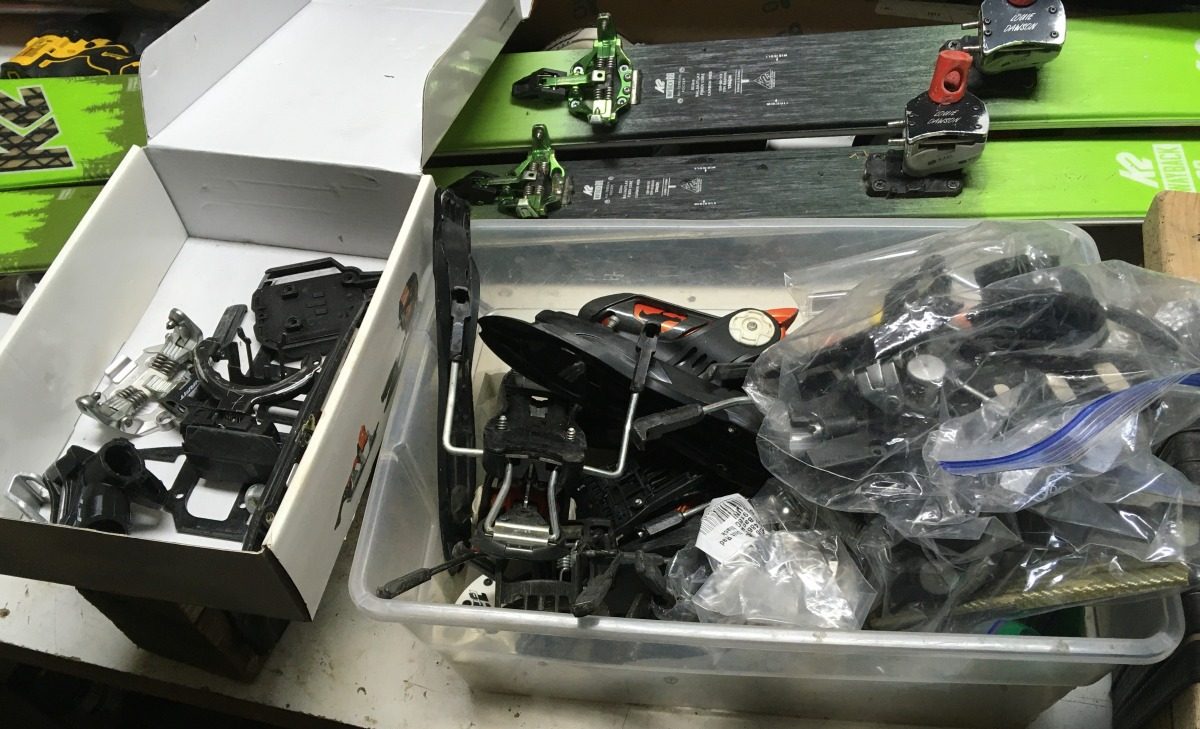
After many years of repairing bindings, I’ve amassed quite a collection of forlorn and broken binding parts and pieces. This provides a good supply for part cannibalization.
The variety of “tech” bindings has blown up in the last few years. Surprisingly, there hasn’t been a similar explosion in the basic design of the binding. That means that this list will apply to the majority of the bindings out there, and many of the more unique designs will still have significant elements that are covered by this list.
General check
Following is a short “general” checklist. Much of this is subjective, and depends on you knowing how the binding should function. If you’re new to tech bindings, check out this post for the basics. If you think something might be acting funny, a quick way to double check is to compare it to the other binding in the pair. If something is different between the two, that’s obviously a bad sign.
Recall check
Tech binding consumer product recalls are unfortunately common. Do a quick google to determine if your binding model has been recalled or has any necessary repairs.
Overall function check
This is the easiest, and also the most important check you can do. Simply grab a ski boot, and pop it into the binding. Click it into the toe first, and lock the toe piece into tour mode. Forcefully push the boot side-to-side. Make sure there’s no play in binding itself, in the binding/boot interface, and also in the way the binding is mounted to the ski. Next, snap the boot down into the binding heel. Once the boot is in the binding, it should be fairly “solid”, with little to no “rattling” or looseness. Note there will be more play in the heel than in the toe, due to the release/elasticity function. But it should be minimal.
Switch the binding into touring mode, and go through all the heel lifters and make sure they work correctly. In each level of heel lifter, put some downward force on the boot while watching the binding, and make sure there isn’t any undue flexing or movement in the binding.
This is a good time to double check the binding is correctly set up for your boots and the RV (“DIN”) value is correct, etc. Also, you can check the release function of the binding, as shown in this post.
Overall inspection
Look at the bindings! No, really, LOOK at them! Take a few minutes and look them over like you’re inspecting a complex piece of machinery that could kill you (cause they kinda are). Keep an eye out for anything that appears broken, cracked, or worn down. Grab things, wiggle them, prod them, see if anything moves, or makes any disconcerting crunching sounds. It’s difficult to explain what you’re looking for, but, like a certain kind of movie, you’ll know it when you see it. (Tip, unless you’ve got 20/20 vision, wear readers during your inspection, to help spot small cracks.)
I noticed the heel lifter on these bindings is on its way to a catastrophic failure. Luckily I inspected the bindings, and after a quick fix (tightening the screws), it’s as good as new, and hopefully will last many more spring tours!
Check screw tightness. Take a screwdriver and lightly test each screw on the binding, and also the mounting screws. Check to make sure they aren’t loose or stripped. Don’t use much force — you don’t want to break an existing glue bond — just apply a slight amount of pressure, and feel if the screw turns extremely easily. If so, this probably means it’s broken or stripped. If that’s the case, you might need to investigate further, which brings me to…
The tear-down
Here’s where things get fun. Grab your bindings, grab a few tools, and go to town! No, wait, maybe not, wait a sec. There’s lots of binding issues that may be invisible without taking your bindings apart. However, most of those issues would only come up with lots and lots of hard use. If your bindings are new, or lightly used, dissecting them is probably not worth the hassle or the risk of messing them up. If, on the other hand, the bindings are well used, or you don’t know their history, e.g. they are used bindings off Craigslist, and you’re handy, consider it. Be sure you have all the tools, be methodical, and set aside a bit of time.
The specifics of disassembly vary between different binding models. It’s generally easy to see all the components on the toe piece, so I wouldn’t ever take it apart unless something is obviously broken. The heel piece, on the other hand, has many internal components that can only be seen if it’s taken apart. Many bindings have heels that are similar to the original Dynafit design (e.g. most Dynafit models, G3 Ion, Plum Guide, and many others). These have a heel piece that can be removed from the heel “post”. This is most often a fairly simple procedure, and is necessary for inspecting the heel post and lubricating the mechanism. This procedure is described here.
We’ve published binding break-downs for many popular bindings. Although many of these go much more in-depth than you need to, they can provide a nice reference to how things go together, and what they should look like, etc. Here’s a few:
Atomic Backland (Solomon Mtn)
Dynafit Radical
G3 Zed
G3 Ion
That gets us started for now. In Part II we’ll cover common issues and basic fixes.
Additional binding resources and how-to’s
Dynafit binding index
Dynafit binding FAQ
Tips to buy touring bindings
Tech bindings with alpine heels
10 things to know about tech bindings
Recalls
Marker Kingpin
G3 Ion
Dynafit Radical
Louie Dawson earned his Bachelor Degree in Industrial Design from Western Washington University in 2014. When he’s not skiing Mount Baker or somewhere equally as snowy, he’s thinking about new products to make ski mountaineering more fun and safe.
