Leif Whittaker
(Post sponsored by our publishing partner Cripple Creek Backcountry.)
[Part One] —– [Part Two] —– [Part Three]
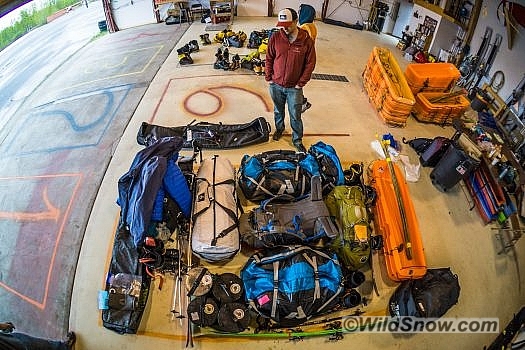
Discussions about Denali gear by Lou and his mates were very helpful as I was planning my 2018 expedition. It’s no surprise that his advice from 2010 still applies, but after my own experience on Denali, I thought I could add a few thoughts about the most important and hotly debated items on the list. (In addition to link above, check out more Denali gear ideas, and even more…)
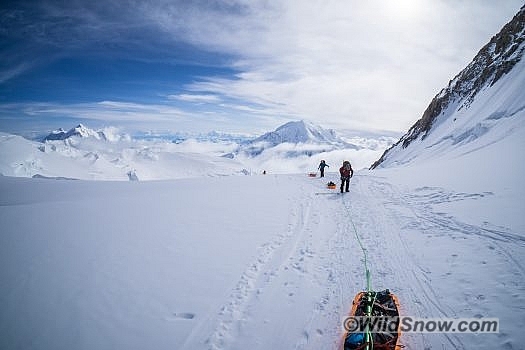
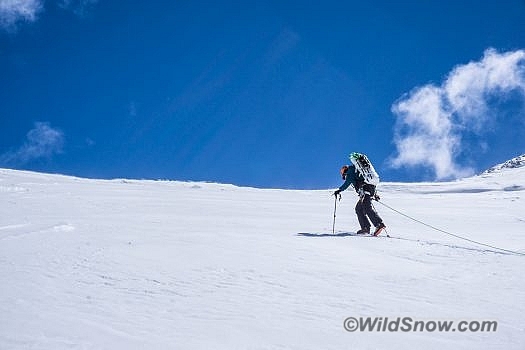
Sleds – After much debate regarding rigid poles and high-end sleds, we ended up using the cheap plastic expedition sleds provided by K2 Aviation. In terms of packing and travel, it was much easier to not deal with sleds until we arrived in Talkeetna. Once on the mountain, we attached the sleds to our hip belts with 6mm cord and clove-hitched the rear tie-in point of the sleds to the climbing rope between us. For the last skier on the rope team, the sled was not attached to the climbing rope.
Most of the mountaineering groups were using this setup, or something similar, and it worked fine on the ascent. Some guides included a bungee system on the cord attachments to help absorb shock and reduce jerkiness when hauling. This may have improved comfort but wasn’t necessary for us.
Our initial plan was to follow Lou’s advice and do a double-carry to 14 Camp. Our backpacks were 85-90 liters, and on our first trip, we carried a large cache without sleds. The ski back to 11 Camp with light packs and no sleds was a highlight of the expedition.
On our next trip to 14 Camp, we used sleds to move the rest of our food and equipment. We figured we could always tie the empty sleds to the outsides of our packs if we didn’t need them on the final descent.
However, we definitely needed them. Even though we gave away all of our leftover food and fuel at 14 Camp after our summit, it wasn’t possible to fit everything else in our backpacks. We were a team of three and had to split the group gear. If we were a larger team or were more devoted to minimalism, we may have pulled it off.
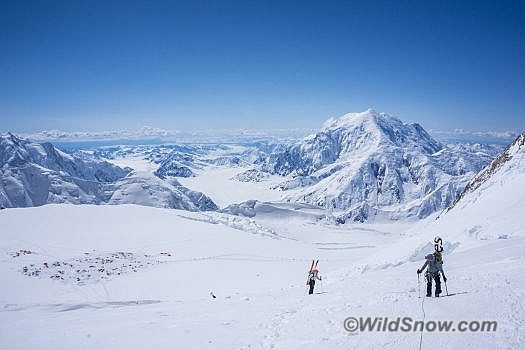
We were able to reduce to two sleds so that our splitboarder, Mike, could travel without one. The section between 14 Camp and Windy Corner was heavily crevassed, and we needed to ski roped up, but it was incredibly difficult to manage the sleds, rope, and heavy backpacks while skiing through fresh snow over dozens of crevasses. We wasted a lot of time switching positions on the rope and couldn’t find a functional solution. We crashed and wallowed dozens of times until we finally made it around Windy Corner.
From there, we decided to ski unroped. This was much less awkward and was actually quite fun on the gradual slopes of the Polo Fields. Squirrel Hill is steeper and more exposed, however, and an out-of-control sled could have pulled us off a cliff or into a crevasse, so Brandon and I decided to carry them like briefcases by the handles of the duffle bags. This was obviously very difficult, and I would not recommend it. We made it down to 11 Camp just before our arms gave out completely.
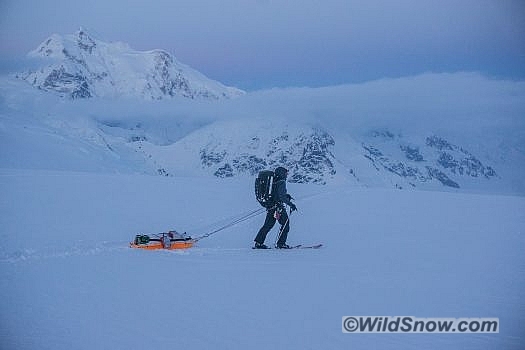
Below 11 Camp, we continued to ski unroped. Our sleds had a strong tendency to barrel roll whenever they swung to the side. This was annoying and comical but didn’t slow us down too much. If you do go with the cheap plastic sled option, do not put fragile items in them (such as lightweight helmets). Everything in the sleds takes a beating during the descent.
The best sled setup we saw for skiing was the Siglin Pulk from Northern Sled Works, complete with rigid poles. The rounded edges on these sleds seemed to prevent barrel rolling. We witnessed several people whipping them back and forth on every turn, without any sign that the sleds were going to flip. They appeared to function very well, and I would try them next time.
If you’re planning to ski above 11 Camp, strongly consider using a pulk with rigid poles like the Siglin, or minimize your equipment so that you can ski without a sled. I believe the Siglin, or something like it, would have made our descent from 14 Camp easier and safer. However, if you’re only planning to ski below 11 Camp, you can probably get by with using the cheap plastic variety provided by flight services.
Summit/ski pack – In addition to our expedition packs, Brandon brought a lightweight summit pack from Hyperlite. Mike and I were jealous of this when we skied on the lower Orient Express. Most large expedition packs do not compress well, or they leave long straps dangling all over the place, which can whip you in the face when the wind is at your back. A smaller pack would be especially useful if you’re planning to push to the summit directly from 14 Camp, without having to carry loads up and down the West Buttress, but otherwise it is a luxury item.
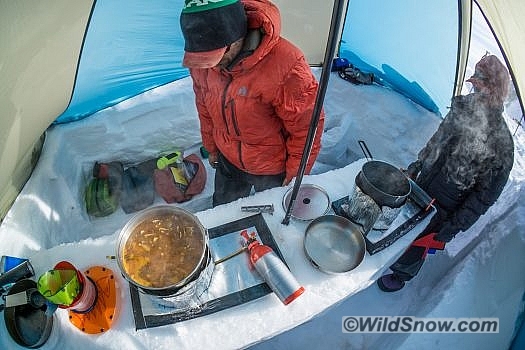
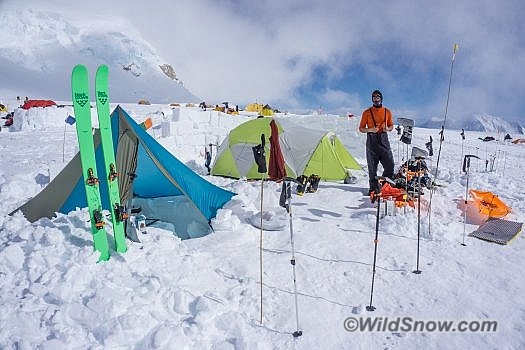
Cook tent – I completely agree with Lou that a cook tent is essential, even for a small team like ours. We used the Black Diamond Megamid and loved it, although we saw a lot of the Shangri La tents from GoLite. Rather than using the included center pole, some guides carried an extendable painter’s pole with a tennis ball duct-taped to the end. This gave them extra length if needed and was more durable.
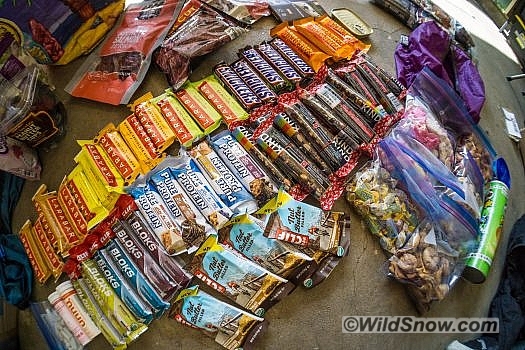
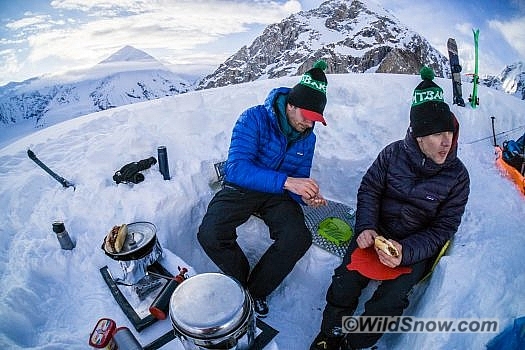
Food – At altitude, where your appetite is suppressed, variety is essential. We brought a combination of quick-and-easy meals—oatmeal, mac and cheese, pesto pasta, dehydrated lasagna, freeze dried—and more involved, gourmet options—pancakes, pad thai, Philly cheesesteaks, bagels with cream cheese and lox, and quesadillas.
We planned for 25 dinners and breakfasts, and cached three days of these at base camp in case we were stuck there in bad weather on our exit. Snack food and lunches were purchased on an individual basis, except for about ten group lunches. Added to this were at least three hot drinks per person, per day. Do not skimp on hot drinks; they are small and lightweight, and hydration is key to expedition health (though in contrast to common wisdom research has been indicating for some time that excessive hydration is not necessary, and can even be detrimental.)
We purchased 90% of our food during a four-hour shopping session at a Fred Meyer in Anchorage. Everything on our list was easy to find, except for powdered miso soup, one of my favorite evening hot drinks.
I cannot overstate how important it is to have a detailed shopping list, including exact amounts of bulk items. This will reduce your level of stress and prevent you from buying too much when you inevitably worry about food scarcity.
Lou mentioned needing one more option for breakfast. My longtime favorite is instant mashed potatoes with bacon and cheddar cheese. I’ve eaten so much instant oatmeal over the years that the mere sight of it nauseates me, and a savory breakfast provides good variety. Pancakes with maple syrup and butter were also delicious on slow mornings.
A few other food ideas:
Gloves – Lightweight liner or softshell gloves were necessary for the lower glacier. Outdoor Research Lodestar gloves were awesome for moving, skiing, and working at camp. The North Face Vengeance Gloves were my go-to on summit day. They were well insulated and absolutely bombproof, with enough dexterity to clip fixed protection.
The OR Alti Mitts remain the industry standard for extreme cold. We each brought a pair and never used them, but I believe they are a necessary item in case of emergencies. A trick I learned on Everest is to leave an unopened package of chemical hand warmers in the mitts at all times. If you ever need to use the mitts, you’re probably on the verge of frostbite and will want to add a source of heat to your frozen digits.
Solar panel – On the recommendation of several guides, we purchased an Anker PowerPort Solar Lite 2. It was slightly lighter and less expensive than the Goal Zero version with equivalent power output, and it performed very well for us. Our three-person team charged our camera batteries, phones, radios, and GPS without any issues, though we had fewer electronics than some teams.
Skis/Bindings/Skins – I used the Black Crows Navis Freebird (185cm) mounted with a pair of G3 ION 12 bindings and the new G3 Alpinist skins. These items deserve a longer discussion, but I will say that I loved all three.
The 102mm waist of the Navis is wider than many ski mountaineering boards, but they didn’t sacrifice a shred of hard snow performance and floated magically on deep pow. Traditional camber underfoot is combined with significant rocker in the tip and a bit of early rise in the tail. It’s the type of ski that makes you a better skier, even with loose-fitting boots. Highly recommended.
Staying true to their reputation, the G3 ION 12 bindings were simply bomber. They’re not the lightest or highest tech bindings on the market, but they make up for that with simplicity and reliability.
Clothing layers – Next to the skin, I switched between a merino wool ¼-zip top from The North Face and a synthetic sun hoody from Arcteryx. On the bottom, I wore a pair of mid-weight Icebreaker merino wool long johns for the entire trip. I wouldn’t change a thing. Wool minimized the stench and remained warm even when damp with sweat. Sun hoodies have become ubiquitous in the mountains in recent years and this is an essential piece for protecting your neck, ears, and face on nuclear days at high altitude. Every guide on Denali wears one.
Additional upper-body layers included a mid-weight fleece hoody from Outdoor Research, a minimalist windshirt, a Patagonia Nano Air Hoody, and an OR Transcendent Down Hoody. As you can see, I love hoods and believe every layer should have one. I liked all four of these pieces. They provided several different combinations to use depending on conditions.
The last two upper-body layers I brought were the Strafe Cham Jacket and a beefy expedition parka from First Ascent. The Cham Jacket isn’t the most waterproof shell in the world, but it was perfect for Denali, where protection from wind is the most important thing.
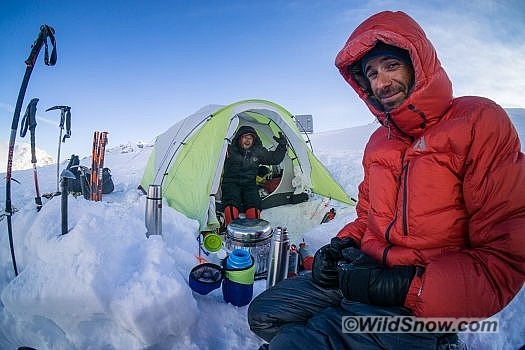
Adding to Lou’s advice about expedition parkas, I wouldn’t leave it at home unless you’re very experienced in cold temperatures and know your body can stand up to it. You will mostly use the parka at camp, when you’re sitting around and your body isn’t producing much heat. The parka will save countless calories that would otherwise be burned trying to stay warm. Without one, you will want to be in your sleeping bag whenever your camp is not bathed in sun. This will inhibit your ability to socialize with other climbers and might even impact your attitude.
On the legs, I used softshell pants with light insulation and the Strafe Cham Pant. Like the jacket, the Cham Pant was perfect for Denali—lightweight, windproof, and a little stretchy. On the hot lower glacier, I wore them without long johns. They were comfortable against my skin and breathed well. On summit day, I wore them over the long johns and softshells, and they performed beautifully.
The final layer on the bottom was a pair of thick down pants from Feathered Friends. Like the expedition parka, this is a layer that some climbers may be able to eliminate, or at least reduce to synthetic puffy pants. However, I wouldn’t imagine going back to Denali without them. They were essential on the two nights we spent at 17 Camp, and even at 14 Camp, I wore them every evening when the sun dipped behind the mountain. The benefits are countless and the added weight/bulk is well worth it.
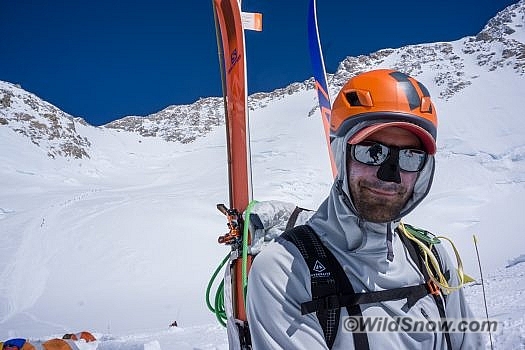
Ski Boots – Brandon and I both wore the Atomic Backland and were very impressed, with one caveat—the stock liner is not warm enough for Denali. We swapped ours for thicker Intuition liners (be aware that a thicker liner requires more room in the boot shell, you thus may need to upsize the shell), added Superfeet REDhot insoles, and covered them on summit day with the Forty Below Fresh Tracks overboots. Per Lou’s advice, I had my shell and liner heat molded before the trip to create extra space. This reduced ski performance slightly (especially when carrying a 50-pound sled/briefcase!) but was definitely the right call in the extreme cold. My feet were cold only once, when we were flailing through deep snow on our descent from 14 Camp to Windy Corner.
The biggest surprise for me was how well these boots performed when skinning and climbing. With the tongues removed, they offered an amazing amount of articulation, which was crucial for the low-angle glide up the lower Kahiltna. As climbing boots, they were more precise and supportive than any ski boot I’ve owned. Brandon even thought they were better for cramponing than most of his mountaineering boots and I would have to agree.
Nose guard – I know they look stupid, but just bring one! I made the mistake of not wearing mine on a climb to 17 Camp and my nose was damaged for the rest of the trip.
(Born into a family of tall and loud mountaineers among the glaciated spires of the Olympic Mountains, guest blogger Leif Whittaker blames his lack of skiing talent on his high center of gravity. He has twice climbed to the summit of Mount Everest and he currently works as a climbing ranger for the USFS on Mount Baker. His first book, My Old Man and the Mountain, was published in October 2016 by Mountaineers Books. My Old Man and the Mountain: A Memoir.)
Beyond our regular guest bloggers who have their own profiles, some of our one-timers end up being categorized under this generic profile. Once they do a few posts, we build a category. In any case, we sure appreciate ALL the WildSnow guest bloggers!

