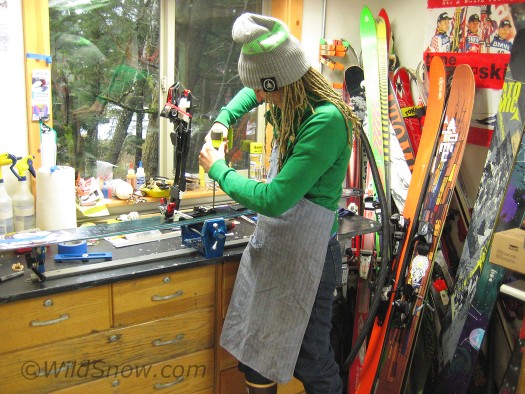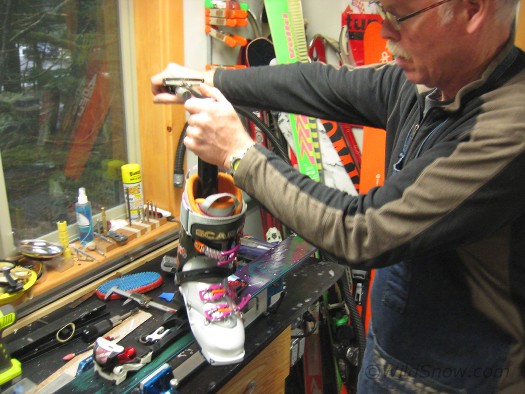
With shop aprons on, we set up the Marker jig to mount my new Marker Tour AT bindings. A proper jig makes the job easier, but Marker gives thorough details with a paper jig you can tape in place. Just make sure you find the boot mounting mark on the skis!
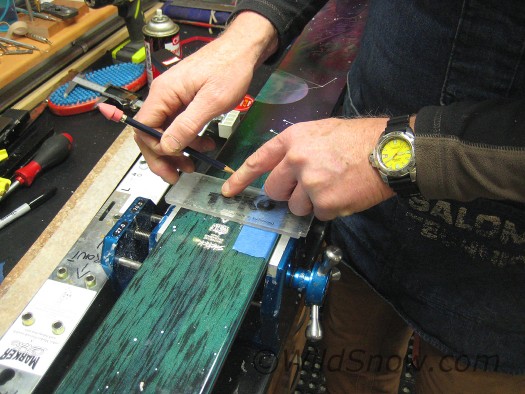
It is imperative to find the mounting marks on the skis, and make sure they're in the same location. It's smart to double check with a measuring tape and carefully mark so you can see it with the jig on.
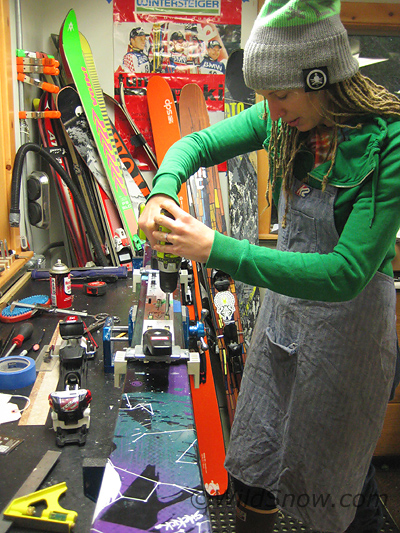
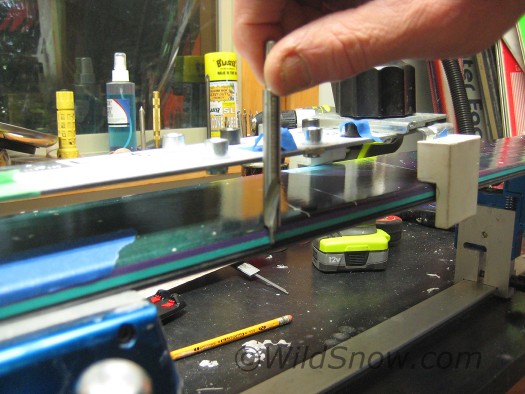
Time to start drilling! I was so nervous, but the step drill bit and jig leave little room for error.
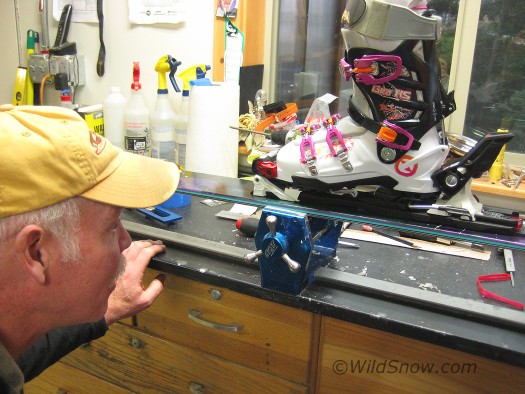
Gary checks my work. What a great experience learning this hands on. I now have a greater understanding for my ski setup and an appreciation for the fine details in ski tuning.
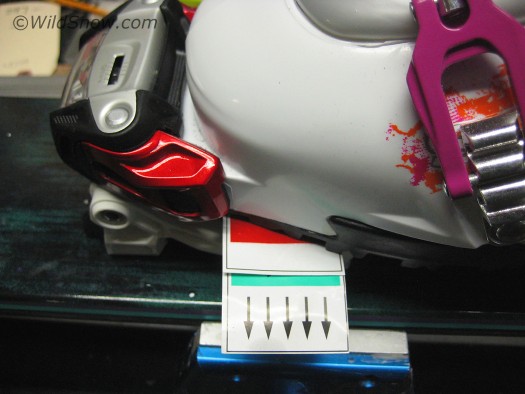
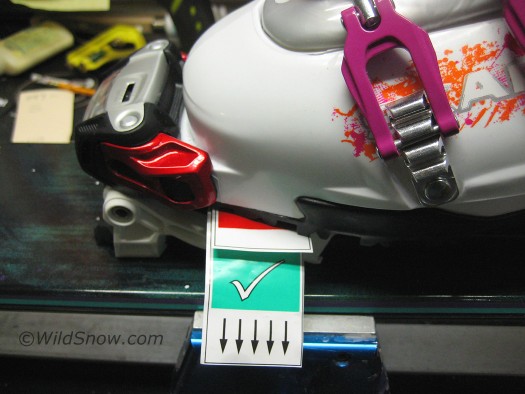
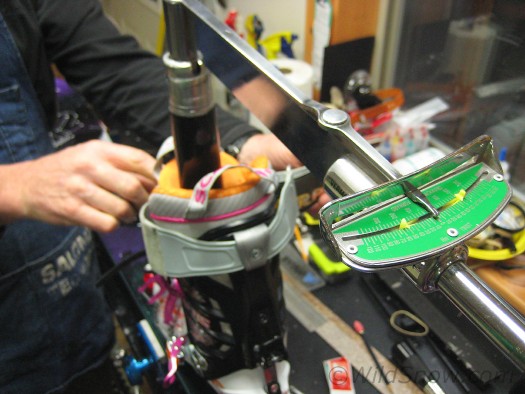
After the bindings are in place, we set the AFD gliding plate to the right height using Marker's specialty tool. Red means the height is too tight and your toe won't release easily.
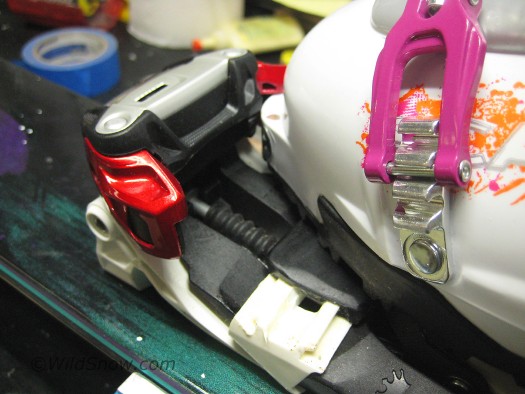
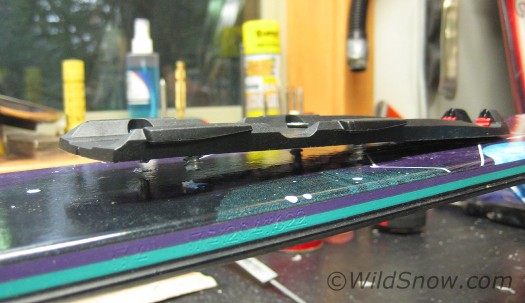
Here you can see the gliding plate in action. This feature is something new to me, as I come from a tele background.
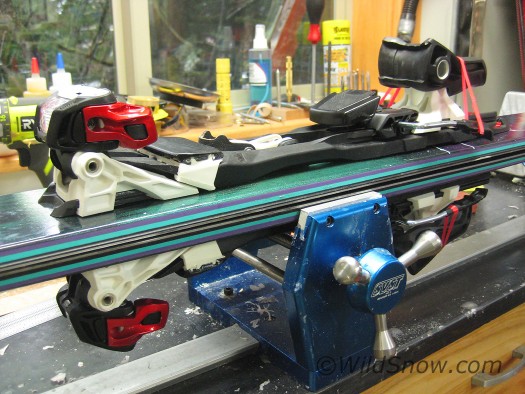
Perfectly mounted bindings if I do say so! We add 6 layers of soft yellow wax to ensure these new skis stay tuned for the early season. It's important to impregnate new skis with wax to ensure their long life.
If you’re in the market for Marker Tour bindings, find them here.
For a sweet pair of women’s AT skis with perfectly pre-cut skins, check out the K2 SideKick.
WildSnow Girl, Amy (Heuer) Helm, grew up in the Colorado Rocky Mountains. When she wasn’t skiing, she was flying small planes with her father. Now she pursues both passions in Juneau, Alaska, where she is an aviation mechanic.

