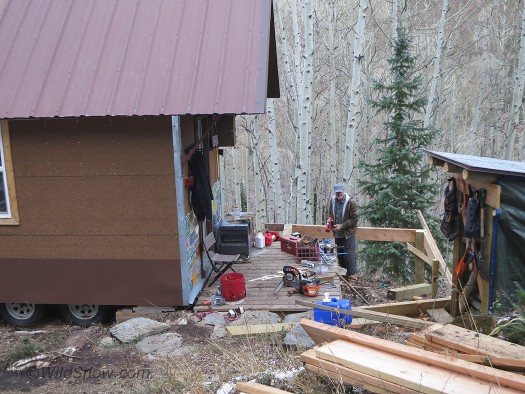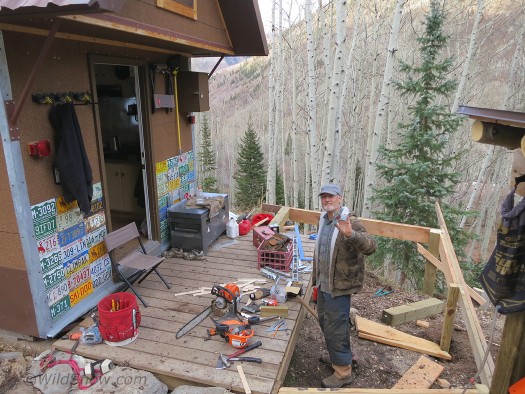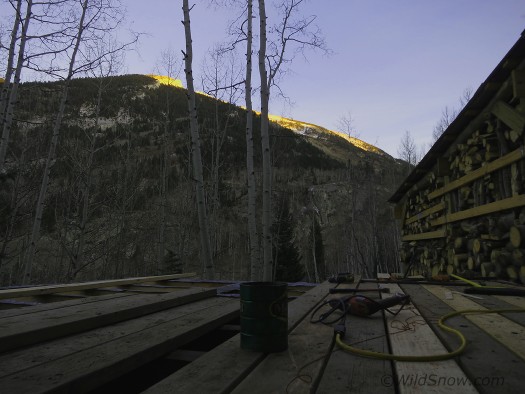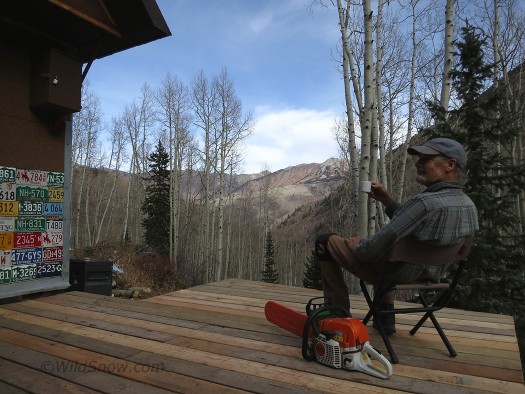
A view too good to neglect, Lou enjoys our remodeled platform. Even chainsaw carpenters can sip an espresso now and then.
Another dry weekend before the snow hits gives us a chance to get one more project done at our backcountry port-a-hut camping shelter. Colorado touts something like 360 sunny days a year and we spend a lot of those days outside enjoying our temperate weather zone. Our temporary “observation platform” was a bit small. Something more practical for laying out a sleeping bag or even pitching a small tent was our goal. Structure built to be temporary, everything sitting on the ground, easily removed or changed.
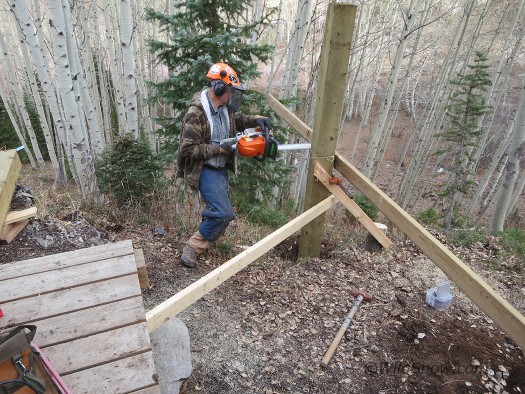
Aspen mega-mansions don't get built with a chainsaw (at least not when the owner is looking), but it works for our backcountry digs. Especially when we're building stuff that's intended to be removed once we get along with greater plans for our property. More, by keeping things small and temporary, set on the ground instead of attached to a foundation, we conform to land use regulations.
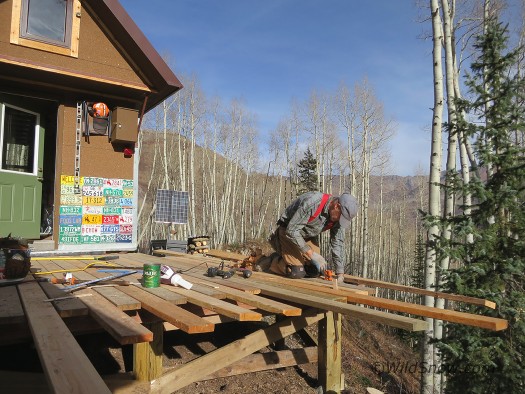
We kept costs down by buying lumber from the lumberyard cull pile. Most of the 2x6 planks were as twisted as Red Vine licorice.
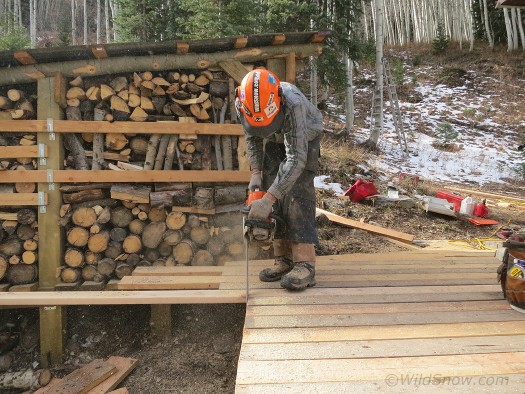
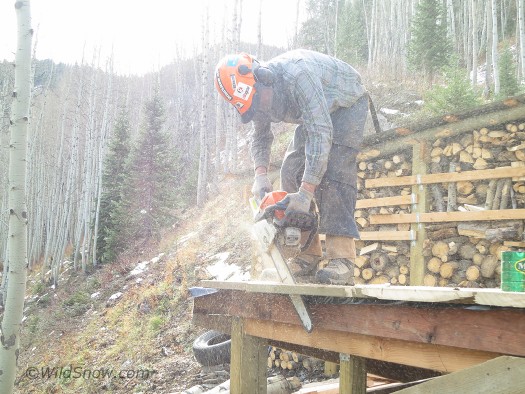
After all the boards are screwed down, Lou trims them off. As a former Aspen trim carpenter who had something he calls 'one board days,' he gloats about now being a 'chain saw carpenter.'
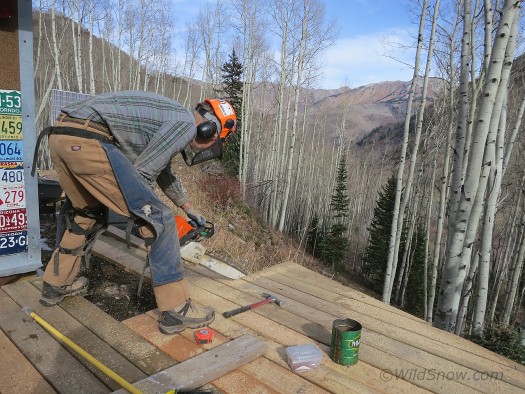
Last few cuts and we have a larger platform that's well braced and strong, but set on the ground and easily moved or removed.
Technical from Lou: “To keep it kosher for the building regulations the platform is not tied to the camp shelter trailer nor ground in any way, and obviously could be moved or easily removed as it’s not installed on any sort of foundation. I’ve built these sorts of temporary structures for years. One thing that’s stood the test of time in our dry Colorado climate (I’ve gone back and looked at some stuff I built that’s more than 25 years old) is to simply set 6×6 and 4×4 ground-contact treated landscape timbers as your support posts or lay them flat as ‘skids’ if you don’t need much height. Since the platform is temporary and “floating,” the posts only need to be in shallow holes or simply set on undisturbed ground. As you build, hold the posts up plumb with temporary braces, then place permanent X bracing once everything is done, so the posts and platform act as one unitized structure.
Since these are temporary structures intended for eventual removal, I use screws for most fasteners including those with shear load. Deck and drywall screws are weak in shear loads (yeah, I’ve made some mistakes, used them where I shouldn’t have, and seen them break), so I compensate by using more and thicker screws. One recent upgrade to my building systems is the use of star drive (Torx) screws instead of Phillips head. Phillips are designed so the driver “cams out” of the screw head to prevent over torque, but that results in immediate bit damage (and frustration) when using hardened screws. Torx doesn’t cam out, but will break the bit or screw if over-torqued. Easy to deal with: just develop a feel for the amount of torque, and set your drill’s selectable maximum torque to a safe level. Star drive self-drilling decking screws tend to be a bit pricey, but the time and bits they save (not to mention ruined Phillips screws) more than make up for the extra cost. Kudos to Dynafit for the inspiration regarding star drive. When they first changed to Torx screws with their bindings I thought it was lame, but they won me over. Now I’m a Torx star-drive evangelist!
Be careful of trying to save money with over spanning your floor joists — a mistake a lot of homeowner deck builders make when they try to do their own engineering. Use the rule of thumb for dimensional lumber spans then go a bit shorter for snow load and less of a bouncy feeling, and be sure to block or strap the floor joists to prevent twisting under load. Rule of thumb for a solid feeling deck that can handle snow load is span = cross section if joists are installed on 16 inch centers. Thus, for an 8 foot span you’d use at least 2×8 lumber. I used 2×10 from the cull pile for spans of about 7 feet. Definitely over-built but we don’t have to worry about big snow loads if we’re not up there to shovel, and the cull wood was full of knots so it’s not as strong as selected structural sticks.
Liberal use of Simpson hardware speeds things up, but is not essential if you have some experience with framing carpentry. In terms of what Simpson stuff gives you the most bang for the buck: joist hangers of course.
A few words about using cull wood from the lumber yard. First, be sure to talk down the price as low as possible, as cull is difficult to work with and will include sticks that shatter or are so twisted as to be totally unusable (known in the trade as “propeller wood” or “boat boards”). Tool up with a selection of bar clamps you can use to de-warp the boards as you install. Have one bar clamp with a 38 inch bar to use as a “twister” your assistant can hold while you install fasteners. Cull may be dried out and brittle, so have an extra cordless drill handy with a bit for drilling pilot holes so your screws or nails don’t destroy your bargain cellulose. And finally, figure your reject cull will make fine firewood!
Weather resistance? In our climate at our high altitude, I’ve found that vertical untreated lumber that’s not in ground contact will last virtually forever if it’s protected from rain falling on horizontal surfaces. Thus, before installing the deck boards the superstructure gets protective strips of ice/water shield on top edges. The regular framing lumber deck boards also last quite well, especially if you mop them with wood preservative every few years. Problem places for the deck boards are wider areas where moisture might get trapped underneath the board, such as on top of 6×6 timber skids. In those situations use a few sticks of treated lumber or composite decking. If you’re in moist climates, you’ll need to use all treated wood or composite for these sorts of projects. That’s expensive, but you get more snow than we do so everything is equal (grin).”
WildSnow Girl, Lisa Dawson, is the luckiest girl in the world. Also known as Mrs. WildSnow.com, she tests whatever gear she wants. She gives the WildSnow family of websites the feminine voice.

