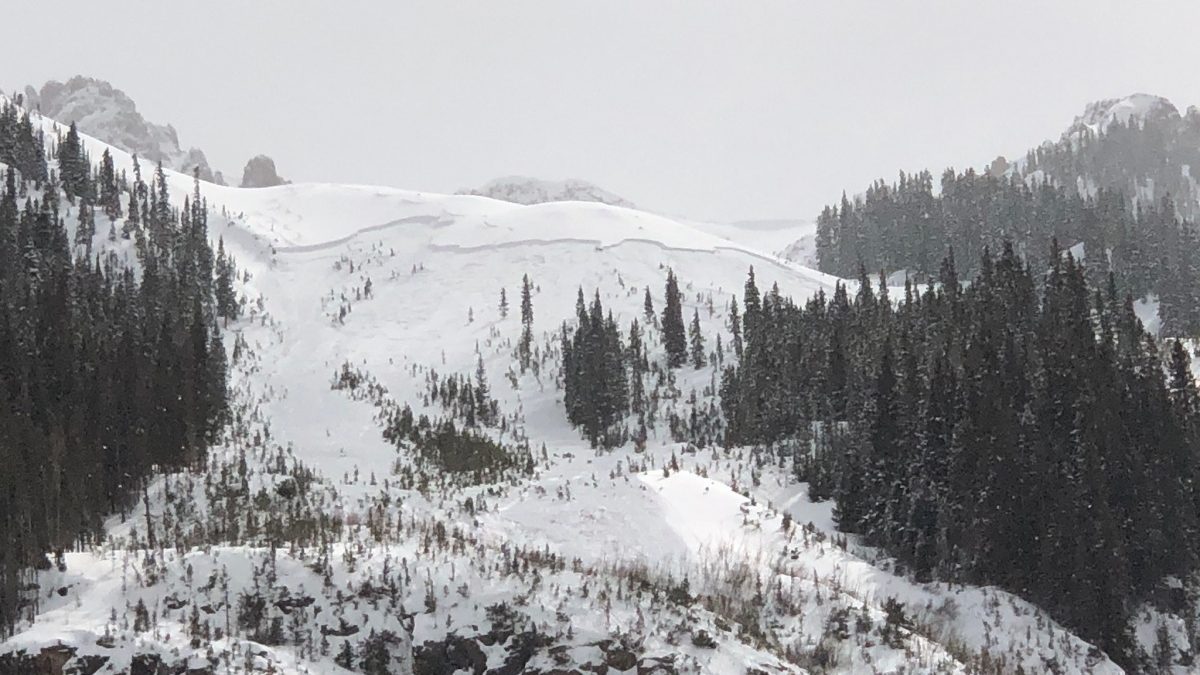
Prepare for the unexpected in the backcountry with systematic practice. Avalanche rescue skills are critical to being a competent partner, but are a reactive approach to safety. It is more important to take a proactive approach to managing your safety in the backcountry. Get educated, stay safe, and know how to effectively use your tools.
Editor’s note: The snow totals are piling up. The Washington Department of Transportation reports 22 inches of new snow on Snoqualmie Pass for Nov. 30. The local snow stake cam just up the road looks to have at least a foot of fresh snow overnight. All this is bliss. But simultaneously, it raises awareness that we are in avalanche cycle season. Please be cautious out there. This is also an appropriate time to review the standard operating procedure for skiing close to storm cycles. Coop’s piece below, first published in 2020, focuses on avalanche rescue skills; it’s worth a read and a re-read.
Now what?
Avalanche rescue skills are a reactive approach to safety in the backcountry, but a critical one for anyone who ventures into avalanche terrain. When was the last time you practiced a full avalanche rescue scenario? Probably in your last avalanche course. Setting time aside with you and your partners to practice at home will ensure each of the steps has a better chance to stick.
Here are five key elements of your avalanche rescue and tips to recreate scenarios at home.
The majority of professional training organizations follow a similar approach to avalanche incident management with some nuances that are worth exploring. At bare minimum the avalanche rescue skills you practice should include the following:
· Scene safety and size-up
· Beacon Search
· Probing
· Shoveling
· Patient care considerations
If any of the above points or below actions sound unfamiliar, sign up for a reputable one-day Avalanche Rescue Course with an American Avalanche Association approved provider. This will keep you up-to-date on the most current research in the field.
Practice how you want to perform. Verbalize each step of the way!
Do you know what to do once you get someone out from under the snow? Take a CPR course and practice on a mannequin to be prepared.
Scene Safety and Scene Size-up
As you watch your partner fighting to stay on top of the slab, your mind starts racing. Every part of you wants to slide downhill after them to start helping.
This moment is arguably one of the most important aspects of a rescue and one of the most difficult to practice. If you have wilderness medicine training, the scene-size up will look familiar. Your verbal and mental checklist should include the following:
· Risk of exposure to additional hazard (avalanches, terrain hazards, environmental hazards, other groups, etc)
· Designate a leader of the overall rescue – someone who may not be directly involved in rescue
· How many people are caught/buried?
· Determine the last point scene of the victim(s)
· Decide to call for outside help and note the time
Transceiver Searching
Time starts ticking as soon as your partner is in the avalanche. A quick and efficient transceiver search is crucial to increase your partner’s survival margins.
Slow is smooth and smooth is fast. Once you have each individual skill down, think about how you can work with a partner to improve efficiency.
If you don’t start with a signal, you have to systematically search the debris area using search strip widths of about 40m. Once you acquire a signal, keep the arrow in the middle and follow its direction to see the number get smaller. As you get closer and within the number 10 on your transceiver, slow way down and be very precise. Keep your device oriented the same way, and once the number stops getting smaller, stop and mark your lowest number with a ski pole.
Tips:
· Practice on a slope in both uphill and downhill mode for a more realistic scenario
· Turn all other electronics are off to avoid signal interference and make sure all beacons are in search
· Hold your beacon flat and at arm’s length in front of you
· Verbalize the numbers on your beacon and coordinate with fellow searchers
· Slow is smooth and smooth is fast – give your device time to process the buried signal
Probing
Your transceiver tells you that you’re on top of the victim but all you see is snow. When’s the last time you practiced deploying your probe and using it to locate something?
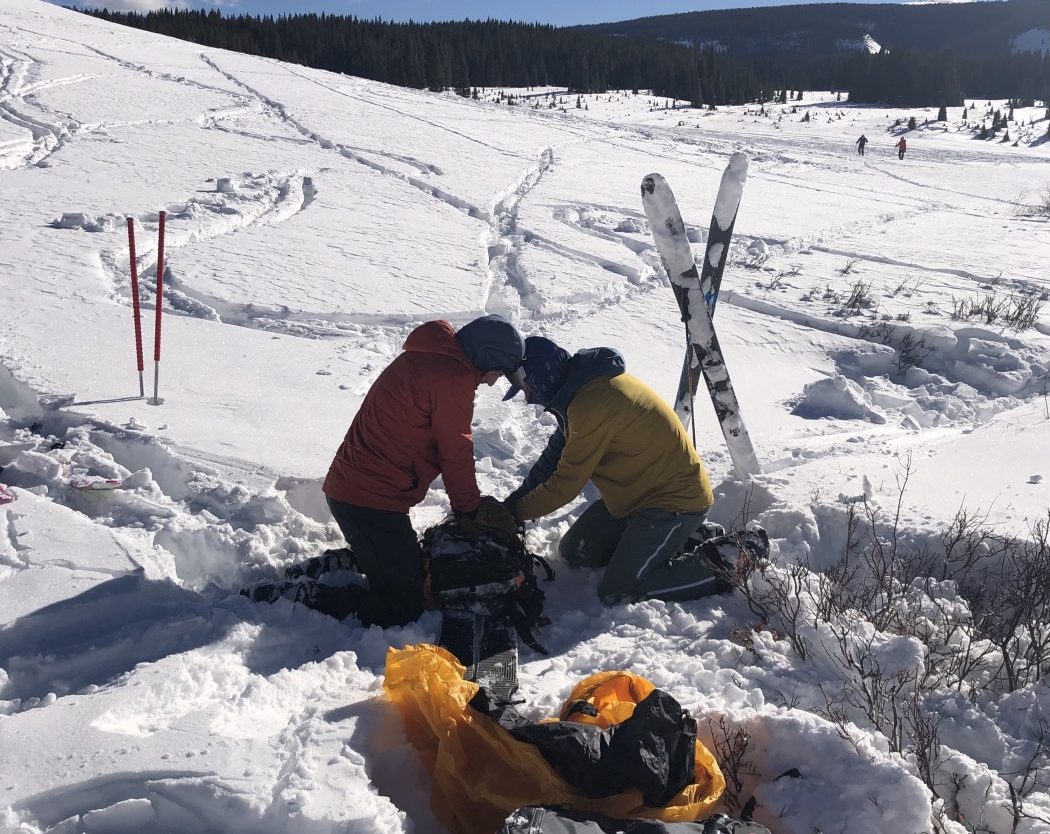
Practice deploying your avalanche rescue equipment by starting with your pack fully packed and on your body. Remove your pack, retrieve your probe and assemble it quickly and effectively by holding onto the top section and tossing the rest while pulling on the cable to lock it. Start at the lowest beacon point that you’ve marked and probe perpendicular to the snow surface in a systematic pattern. Probing is both a tactile and visual skill. You’re feeling for something soft and squishy!
Tips:
· Bury a larger object than just a backpack for a more realistic scenario
· Move systematically in a square grid pattern expanding by 25cms
· LOOK for changing depths of the probe
· FEEL for changing textures below the snow – we are aiming for SQUISHY and SOFT
· Yell STRIKE once you have successfully probed the victim
Shoveling
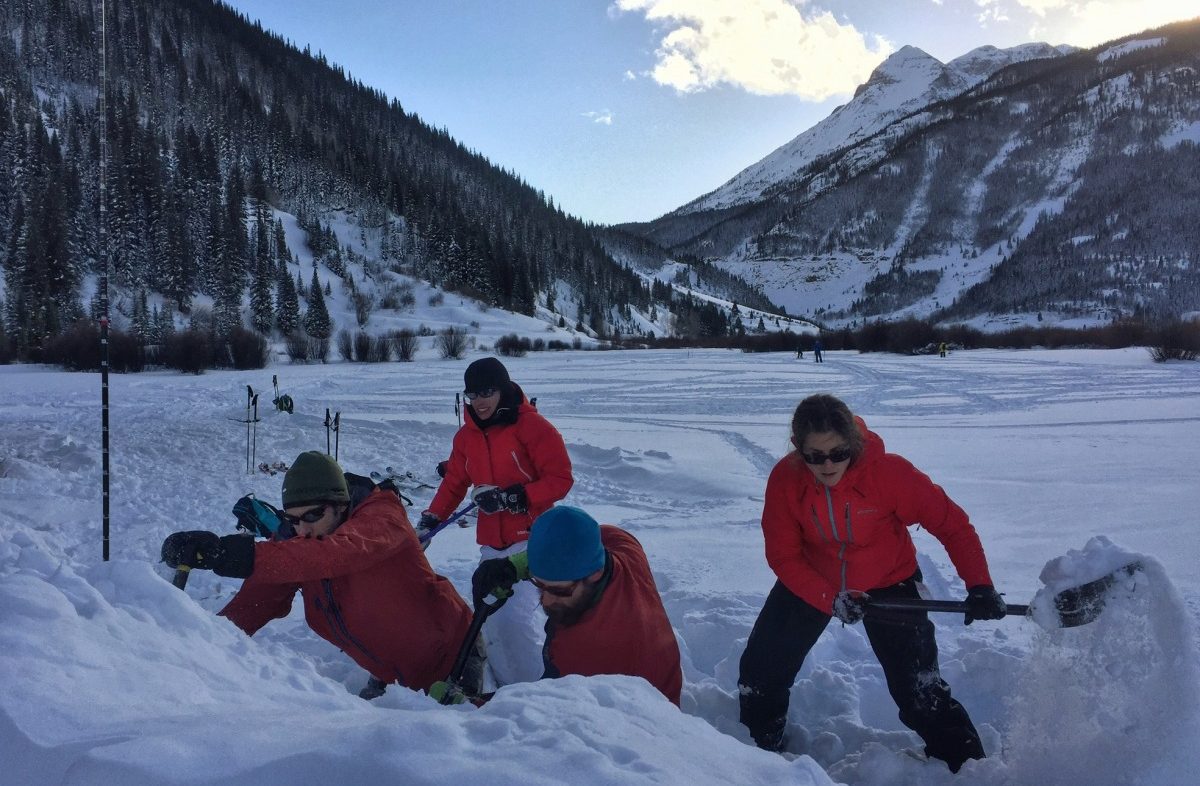
You hit something soft and it’s time to start shoveling. This is the most time consuming aspect of a rescue. Shoveling to excavate the snow and uncover a person requires organization, stamina, and practice.
Start one or two large steps down-hill from the probe and chop blocks of snow and sweep them down hill. Organize additional rescuers behind you to begin creating a conveyor belt of snow and try to flatten a platform for your victim once they are uncovered from the snow.
Tips:
· Find a road plow bank of snow to simulate realistic avalanche debris.
· Sweep the snow behind you and downhill (like paddling a canoe)
· Practice with your backcountry partners in an organized way
· Time yourself how long it takes to get to the bottom of a probe that is 1.5m deep
Patient Care
You reach your partner but his eyes are closed and his face is pale. What now?
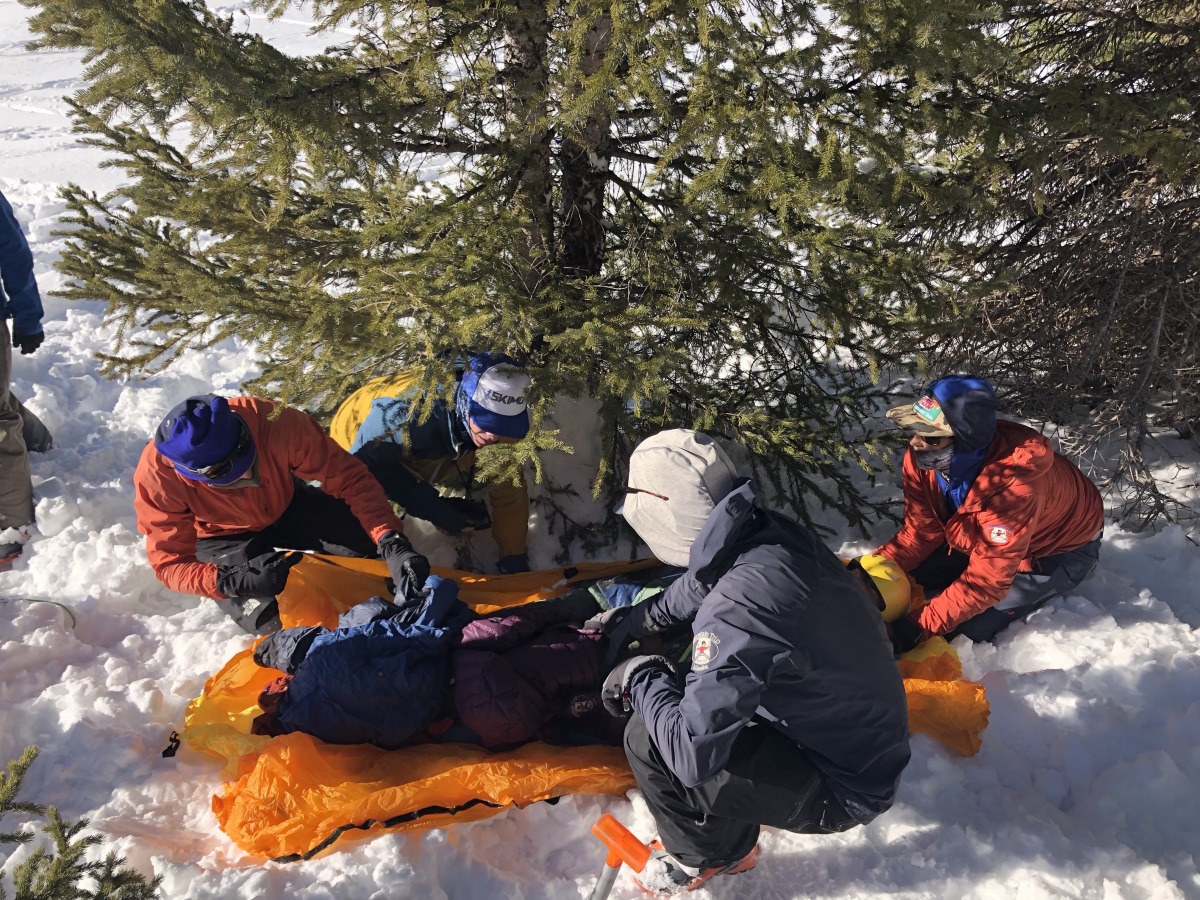
Once you have uncovered your victim from under the snow, the real journey begins. They could be suffering from trauma, asphyxiation, and cold related injuries. Your ability to care for someone effectively depends on the level of medical training you have, and the equipment you carry with you. It is critical to assess their vitals. Are they breathing? Do they have a pulse? Is the airway clear? You should carry a proper CPR mask, a way to control severe bleeding, and shelter/extra layers to protect someone from the cold environment.
Tips:
· Using a real size CPR mannequin is a great way to practice patient care
· Practice building an emergency shelter
· Package a patient into a rescue sled or litter to evacuate them

It often takes a team of rescuers to move someone, even small distances. What do you carry with you to make this happen?
Does this seem like a lot? It is! Too often we only practice with our beacons, but there is far more to an avalanche rescue incident. We need to practice all of the elements in order to be the most effective rescuer.
A few final tips
· Practice in a safe location NOT in avalanche terrain.
· Bury a large duffel with a beacon, not just a small object – it is not realistic!
· Bury the beacon at least one meter or more under the surface.
· Practice in an area large enough so you don’t start with a beacon signal right away – use your search strip widths to systematically search the debris field so you don’t miss a possible signal.
· SLOW DOWN in your beacon searches – slow is smooth and smooth is fast.
· Be thorough with your practice and verbalize all of the steps – it helps to create mental muscle memory.
· Get medical training!
What other tips do you all, readers, have for avalanche rescue practice?
Remember this is a perishable skill set, don’t let it go stale. Practice and seek professional training!
Read more WildSnow avalanche content
Jonathan Cooper (“Coop”) grew up in the Pacific Northwest and has been playing in the mountains since he was a teen. This was about the same time he made the fateful decision to strap a snowboard to his feet, which has led to a lifelong pursuit of powdery turns. Professionally speaking, he has been working as a ski guide, avalanche educator, and in emergency medicine for over a decade. During the winter months he can be found chasing snow, and passing on his passion for education and the backcountry through teaching avalanche courses for numerous providers in southwest Colorado, and the Pacific Northwest. Similarly, his passion for wilderness medicine has led him to teach for Desert Mountain Medicine all over the West. If you’re interested, you can find a course through Mountain Trip and Mountain West Rescue. In the end, all of this experience has merely been training for his contributions to the almighty WildSnow.com.

