On the skin or climb up, it’s rare we’re not hauling a load on our backs. Weighted uphill training can tone your body and system into a touring machine.
Prepping for the backcountry ski season starts earlier than you might think. Hauling moderate loads uphill in your pack, before snow falls, is about prepping your body for the winter to come.
In similar fashion to many other locations across the country (and world) these past few weeks, the thermometer affixed to my front porch busted over the 100 degree F barrier and clung to that triple-digit hellscape for days, forcing me indoors or urging me to punch the accelerator toward the mountains. The latter I did with gusto, and enjoyed some bigger days scrambling peaks and moving through alpine areas recently freed of winter’s last vestiges. And of course, that got me thinking about…winter.
For skiers there’s typically a progression to our “off-season:” after the peak of winter ski tours we shift focus toward spring missions and longer overnight outings, donning heavier packs and skinning or climbing over glaciers and volcanoes. When no more skiable snow can be found (TAY activists notwithstanding), the pack weight comes off for a time, maybe replaced by cute little running vests and breathable trucker hats, or supplanted by a carbon frame and 29” wheels to scratch the high-speed, carving itch until termination dust settles once more on the landscape.
However you choose to spend your summer days, there comes a time (or maybe it never leaves) when skiing re-enters the brain and with it, the need/desire/obligation to do a bit of training to prep for the winter season. Amongst the myriad ideas for how to tone your body and system into a touring machine is weighted uphill hiking. But more nuanced is how you do so – how much weight? How long? How steep?
Recall that training involves the application of frequent, progressive stresses on a particular system or systems, in ways which replicate or appear similar to your goal objective, separated by necessary periods of recovery so the body can undergo adaptations to the stresses and come back stronger. Following that model, if you intend on carrying a pack of any meaningful weight during the winter, practicing with a comparable one while hiking uphill in the summer will help adapt the body to the effort and make for a smoother transition onto skis. But the weight isn’t the only factor to consider in your preparation – there is also aerobic capacity, foundational strength and speed of movement to consider.
The first two components we’ve already touched on in previous articles and will do so again in the future, so check those out. Speed is what we’ll talk about here, particularly as it relates to adding weight. Speed is effectively a form of strength; we want to take a given weight and move it quickly and efficiently over a distance. The higher the mass, the more force it takes to accelerate that mass. We train speed non-specifically in gym settings by lifting weights in different manners, working on contractile force and speed of movement, but eventually you have to take those non-specific qualities out into the field and make them do something which resembles your sport. BUT, just like in the gym, you want to train speed first with lighter loads, getting the muscles used to the movement patterns and making them move very fast without adding weight. Once they’re moving through those ranges of motion quickly, you can gradually add more loads while making sure the speed stays high. This principle is the same in the gym and on a trail.
Back to weighted uphill training. If you’re looking to train for a winter of touring wherein you’ll be typically carrying a 10-15# pack along with probably 10-14# of gear on your feet, you might want to move your training toward sessions with a pack weighing between 25-35#. Getting started, focus on the speed of movement: hike or run without weight until you’re attaining a goal climbing rate (ft or m per hour) which exceeds your winter objectives. Then introduce weight slowly, not all at once. We’ll typically start with 5-8% of bodyweight in a pack and use that for the first several sessions, maintaining an aerobic effort and ensuring the speed doesn’t drop too much. Once stabilized, you can add more weight in small increments of 5# or so until you reach that goal pack weight. Speed will likely drop a bit but that’s to be expected, and it’s why we started by training speed only, at a rate exceeding our winter demand.
Dump the weight or carry it down?
There are obviously two ways you can employ weighted carries: either carrying it up AND down the climb or dumping it at the top. The easiest way to carry added weight is to use water jugs: a gallon of water equals 8lbs so it’s quite easy to scale that according to your target weight. This also allows you to dump the water at the top of a climb and descend unweighted, saving the impact on your legs. But in some cases that descent with weight is of value: when skiing we’re bringing the weight back down, essentially performing an endless string of weighted squats (or single-leg squats for you free-heelers). If you’re training for mountaineering, you might have reduced some of your pack weight during the climb or camp days but the bulk of it comes out with you. But this added eccentric load on the muscles of carrying weight down is quite taxing, and may limit your ability to jump into another training session the next day. Consider alternating sessions when you carry the weight down the climb versus dumping it at the top to save the legs.
From these foundational sessions you can expand to include some moderate intensity, which with the added weight, we term muscular endurance. This involves pushing your effort beyond an aerobic level and in some cases with a heavier weight, with the goal of increasing the fatigue resistance of those working muscles so that you essentially develop a “buffer” capacity beyond the needs of your objective.

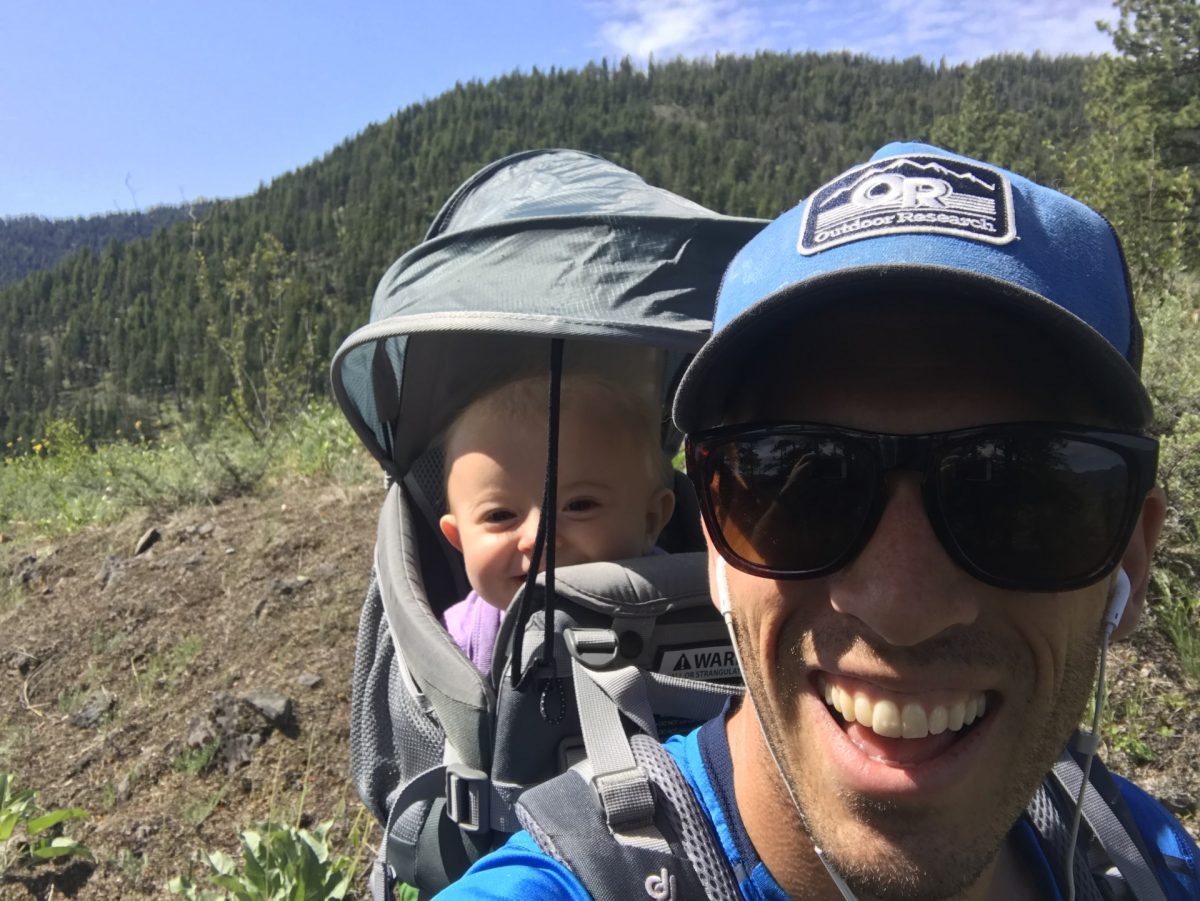
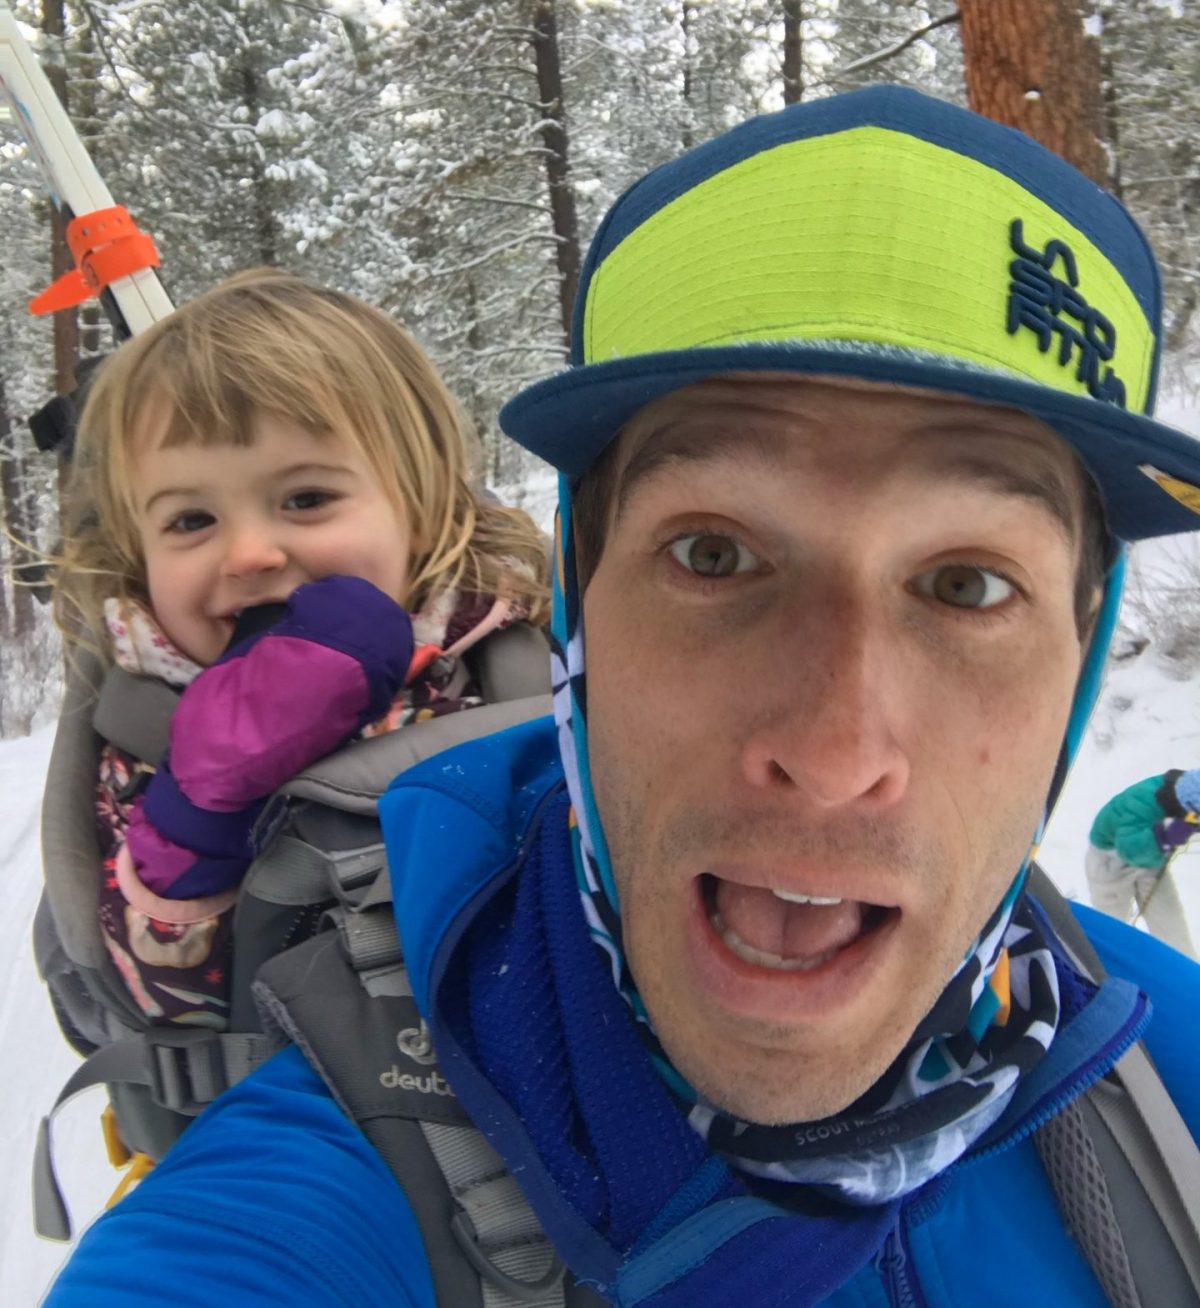
The author Sam Naney with one his daughters serving as the mass for the 15 pound range of weighted uphill training.
Here’s a sample progression for the weighted training:
*These workouts should be fit into an overall training plan involving a bulk of aerobic training and select strength and intensity workouts. As the weighted sessions get more loaded by either pack weight or intensity, they should be balanced with suitable recovery and low-intensity workouts.
(Note: this progression can work just as well for mountaineering training; just adjust the goal pack weight according to the demands of your climb/expedition and work backward on the progression)
Weeks 1 – 3: Gradually increase your volume of unweighted running and/or hiking on hilly and steep terrain, maintaining an aerobic effort (not exceeding your Aerobic Threshold) and monitoring improvements in overall speed and climbing rate. For added value, these low-intensity sessions can be coupled with workouts involving hill sprints or light (unweighted) speedwork to build foundational speed.
Week 4: Recovery week; reduce your overall volume and intensity and prepare for the next phase which will employ weighted uphill.
Weeks 5 – 7: Start with two sessions per week of weighted uphill hikes, with 5-10% bodyweight depending on your background and strength capacity. Target an uphill duration of 45-60min for these first workouts and limit how much you’re descending with the weight until the legs get more accustomed. Every other session add a few pounds to your total load.
Week 8: Another recovery week; this one can have a couple shorter climbing days without weight to again touch on that basic speed of movement with lighter load.
Weeks 9 – 11: Now you can consider (depending on overall strength and aerobic capacity and provided no existing injuries) introducing some M.E. (muscular endurance) sessions into your routine: one weighted session each week should remain aerobic in nature while the second one can include some intervals. Start with 4x 5min with your weighted pack, increasing your effort up to the top of your Zone 3 (Anaerobic Threshold). Important note: because of the muscular limitation, if you’re training using heart rate as a guide you may not see your actual AnT (Anaerobic Threshold) during these intervals, so therefore use a blend of HR and perceived exertion to target that effort. These intervals should feel hard but sustainable for the entire duration, with a steady but very manageable “burn” in the legs. Take a 1-2 minute rest between intervals wherein you take the pack off and shake out the legs briefly before doing the next one.
This training progression is just one example of how you can introduce weighted training to your overall regimen, to support ski touring or general mountaineering. Touch base with a doctor or physical therapist if you have pre-existing injuries or health considerations, before embarking on any form of structured training. Also consider connecting with a coach who can help guide a progression of workouts and training according to your individual needs and objectives.
We may be in the heart (and heat) of summer, but winter is coming! Lightweight skis and boots alone won’t save you; get your legs ready to travel and crush the vert when the snow flies.
Sam Naney grew up in the North Cascades of Washington State, and dedicated much of his young life to Nordic ski racing. He attended Dartmouth College where he earned a degree in History, skiing four years on the varsity squad before graduating and commencing a post-collegiate career, racing domestically and internationally until 2014 when he retired from racing to begin his coaching journey.
After five years working with his own former coach Scott Johnston at Uphill Athlete, where he was most recently the Director of Coaching, Sam now serves as Program Director for the Methow Valley Nordic Ski Team, and also co-owns and operates Cascade Endurance with his wife Alison, offering endurance training resources and events across the Pacific Northwest and beyond. They include The Fifty aspirant, Cody Townsend, as a client. When he’s not chasing new lines in the mountains by foot or by ski, nor chasing little kids around at ski practices, he chases his own two daughters Fiona and Isabella, his wife and their Siberian Husky across his home range.

