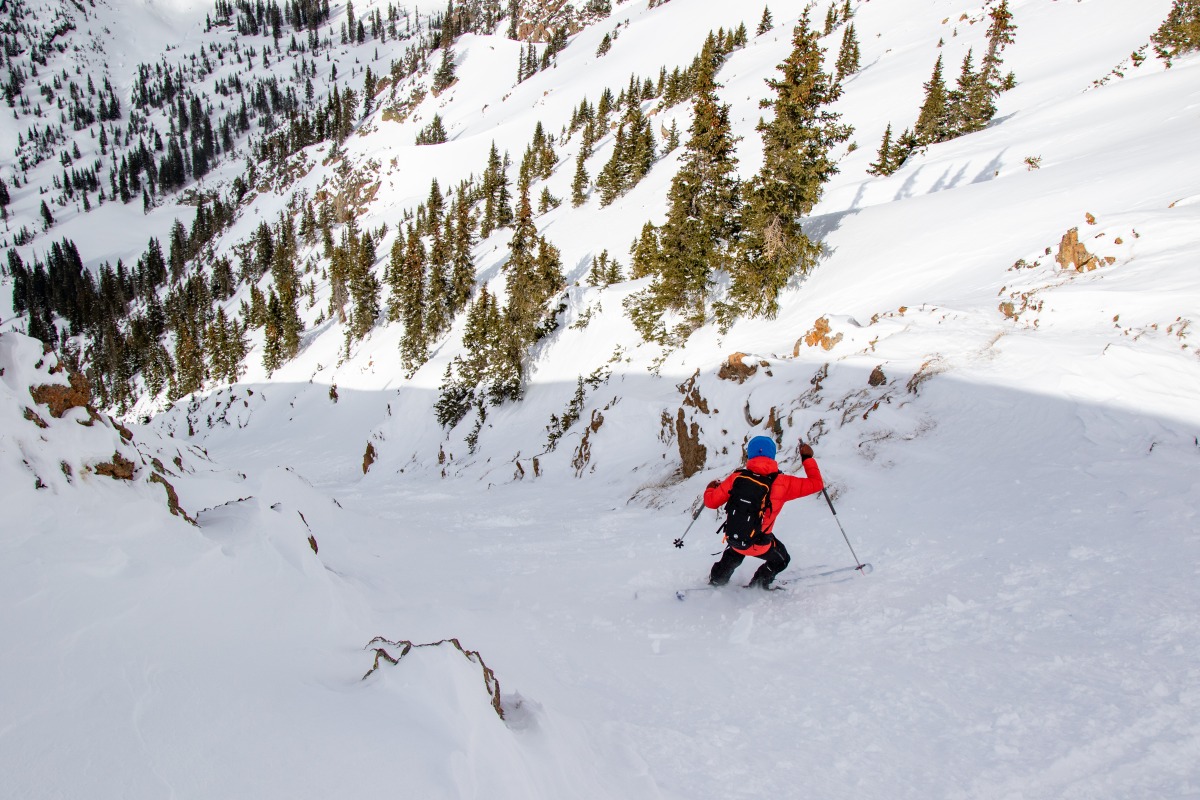
Finding balance on the descent. But is there a perfect balance between light and fast and fun and functional? There may be a perfect balance, but it will certainly differ from person to person.
With an explosion in backcountry skiing, the industry has seen some significant design innovations and an explosion in minimalist ski-mountaineering boots, minimalist bindings, and light, thin waisted skis in response to a growing consumer demand. Along with that innovation people are going into the backcountry with greater ambitions, a door opened by a light and fast mentre that a minimalist setup affords. At the beginning of every season I feel a tension pulling me towards buying a shiny new set of skis binding and boots in order to replace my old planks that are more p-tex than ski. It is a hard sell to sink a few thousand dollars on a new setup that will realistically give me marginal gains in the backcountry. A lighter setup can even come at a cost of downhill performance. Lighter skis and boots will often not perform as well as their heavier counterparts in the variable conditions that are so often found in backcountry skiing. So is there a perfect balance between light and fast and fun and functional? There may be a perfect balance, but it will certainly differ from person to person.
While there is a legitimate criticism over choosing light gear over downhill performance, there is also a legitimate case that can be made for splurging on a lighter backcountry setup. If you have a certain threshold for athletic output, then the more grams you can shave equals less work that you will have to expend on a given ski tour. This can lead to more vertical terrain that can be covered, making the most of that limited winter sunlight, and tacking on that extra lap at the end of a long tour. I am writing this article to remind you that it’s not always the ski, but the skier. There are certain things that you can do to have the same outcomes as buying a lighter backcountry setup without dropping three thousand dollars.
Skinning efficiency
Like many readers, I have been following WildSnow for a number of years. There have been a number of articles in that time that have highlighted the importance of skinning efficiency in your backcountry tour. Realistically, 90% of a backcountry tour is spent going uphill and unless you can develop an efficient skiing technique. No matter what your setup is like, how many grams you saved, you won’t notice those saved grams if you are wasting energy with every step of the journey.
Don’t lift your skis, let the glide do the work – A common mistake that first-time tourers make is to lift their skis as they make their up the skin track. You can think of this as a “double” step. You lift the ski higher than it needs to go and then lower it back down to the skin track. That is extra work that will add up significantly throughout a ski tour. Your skis should barely skim the surface of the snow, to the point where the drag of snow on the base of your ski is balanced by the weight of the ski that is supported by the snow’s surface. It is a tricky balance to strike as you get into ski touring but one that can be achieved with practice.
Use your toes to pull your skis up the hill – There is a rhythm to ski touring. The more you ski tour the more attuned to this rhythm your body will become. One key part to getting into this rhythm is using your toe to pull the ski up the hill, rather than using your toe to push the ski up the hill. This technique will keep your body more centered and aligned in a more efficient position, lengthening the longevity of a ski tour.
Put that weight on your heels – Ski touring, especially as the pitch gets steeper, is a game of managing friction. Every ski tourer can certainly relate to the experience of encountering a steep, icy hill, not being able to get the necessary purchase, and sliding back down. The surface area directly underneath your feet are doing most of the work when it comes to gripping the snow surface as you walk uphill. Ensuring that your heels, and therefore the bulk of your body weight, are pushing down on the ski with each step maximizes the friction force between the snow and your skins.
Work on your kick turns – It takes a significant amount of energy to change your cadence and body position while ski touring. This is especially true when you involve dynamic movements into your ski tour like a kick turn. Kick-turns are something that can introduce a lot of efficiency in a ski tour, but can be an incredible energy sink when done incorrectly. Mastering the kick-turn is, unfortunately, something that comes from practice. Everyone’s first kick turns are ugly and getting the right sequence committed to muscle memory can do wonders to your touring efficiency.
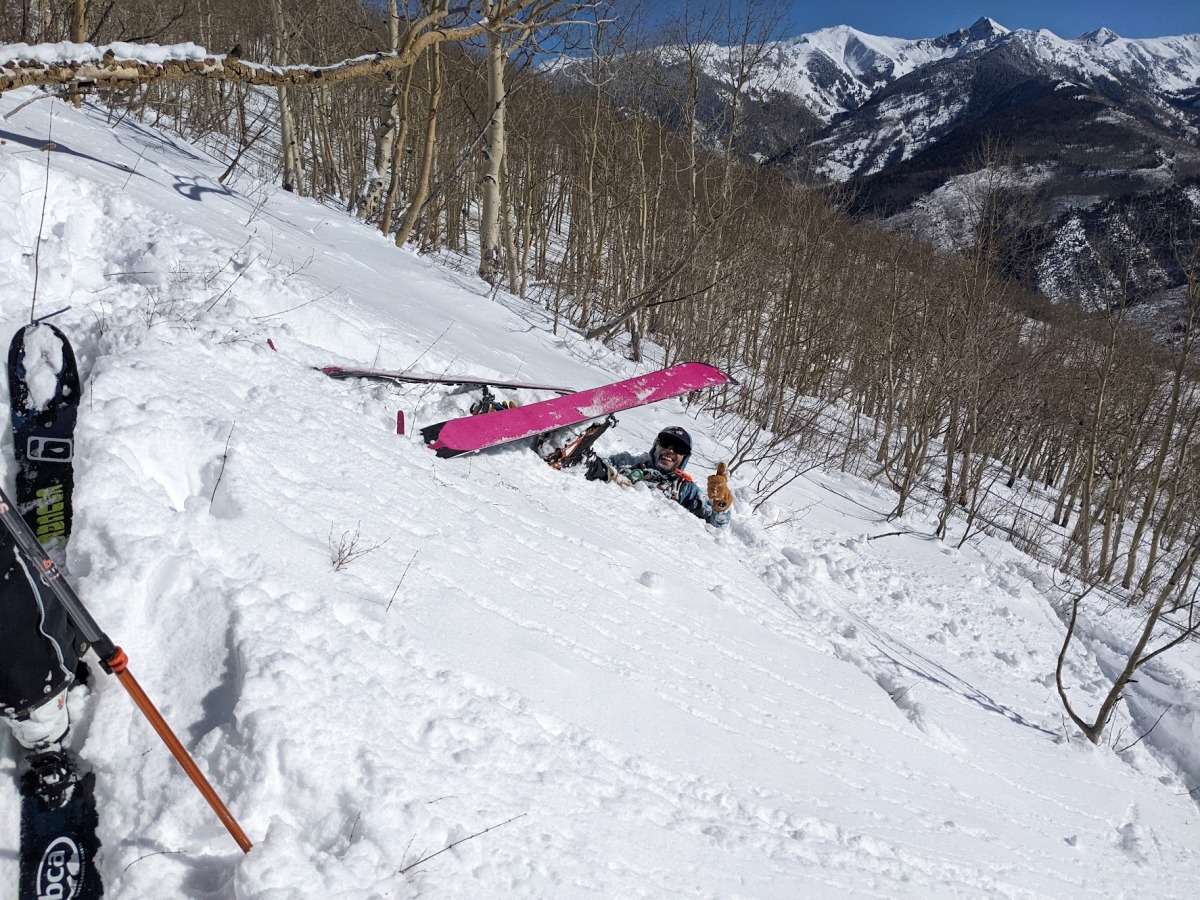
Kick turns gone wrong.
Top sheet lubrication
So you bought those shiny new carbon-constructed skis. The topsheets are a glossy reminder that skis can be a work of art and would perhaps be better mounted on your living room wall rather than on your feet. You take them into the backcountry and aghast! Those brilliant top sheets are no longer visible. One thing to realize is those 200 grams that you saved by buying the new setup are now negated by the 200-400 grams of snow sticking to your topsheets. One trick that largely goes overlooked is not only waxing your bases, but your topsheets as well. I recently was recommended a certain brand of ceramic car wax that applies easily and the bottle will last you a lifetime. I have used it this season with great success, applying the wax to one ski at a time to observe the difference that a well waxed topsheet can make.
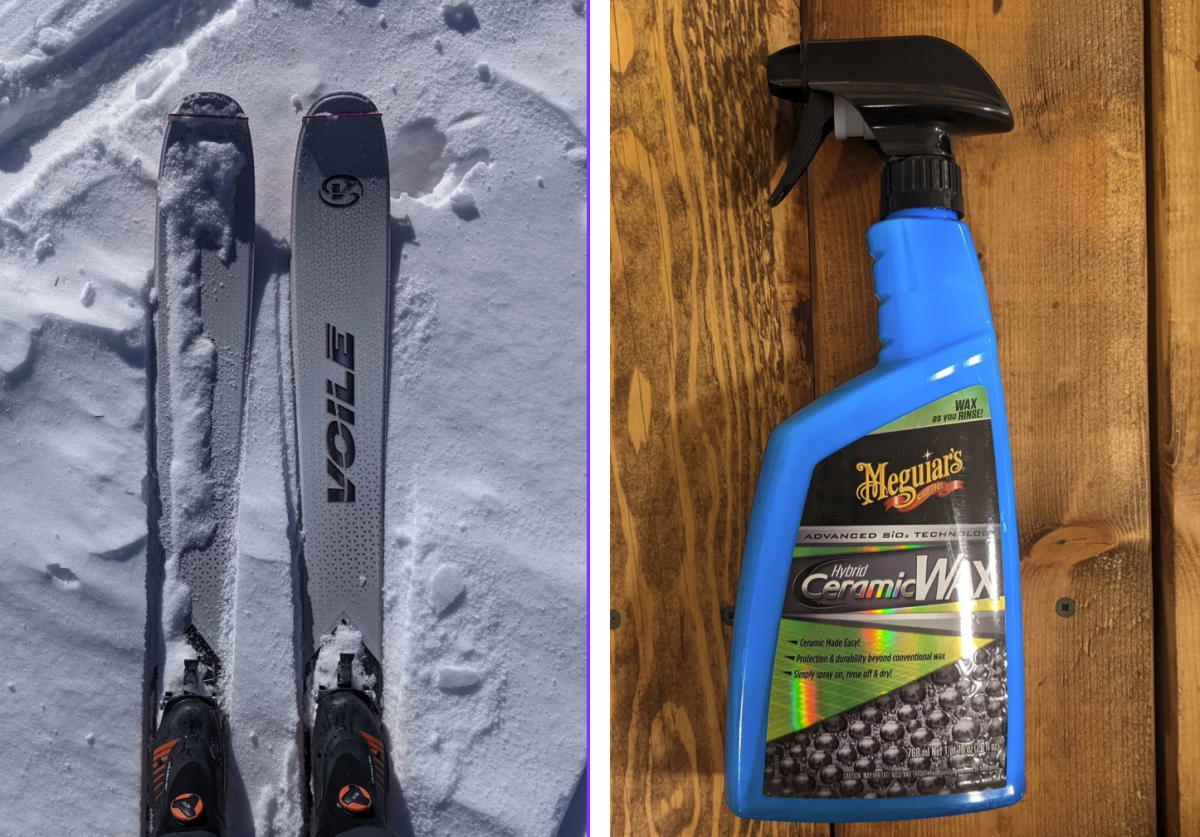
The left ski’s top sheet is untreated while the right ski got the waxed top sheet treatment.
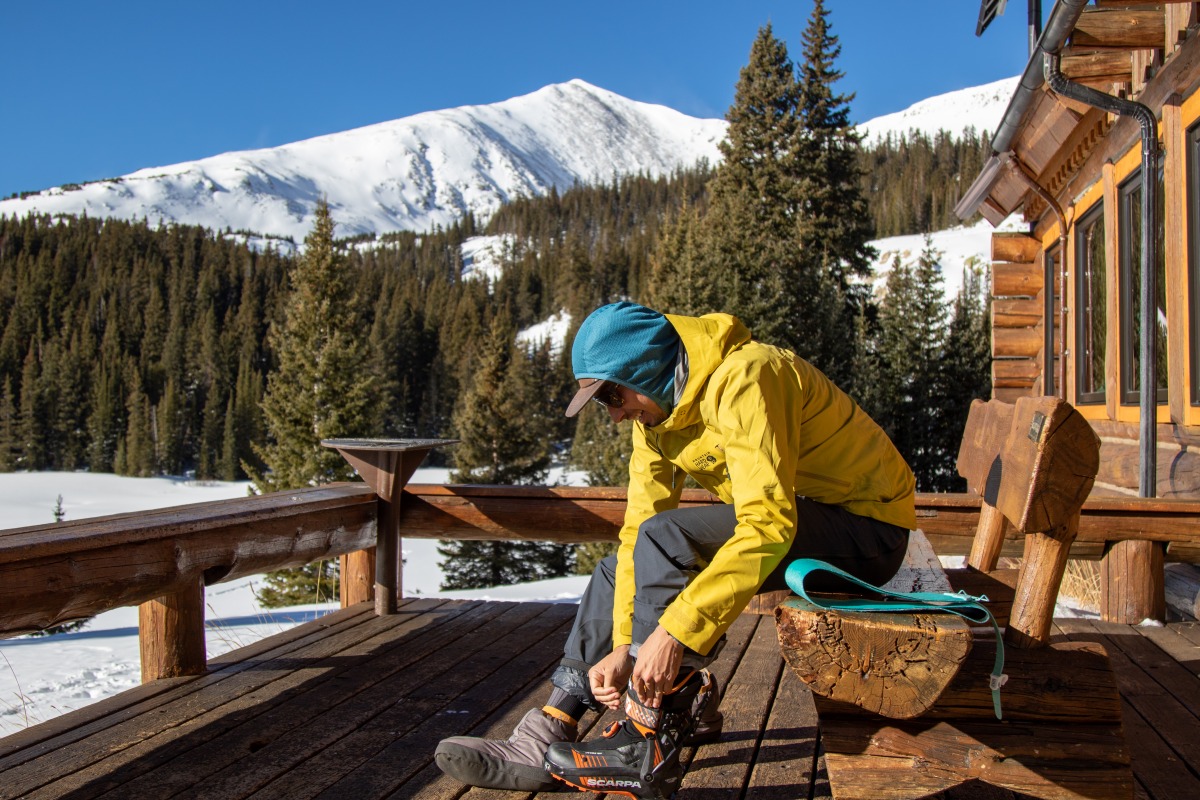
Bootfitting
The weight savings from an average 1500 gram backcountry boot and a 1000 gram race-inspired boot are realistically marginal. Variables that you are more likely to notice are the level of boot articulation in walk-mode, and vastly more importantly the fit. Imagine the scenario where you shell out 900 dollars for a top of the line sub-1000 gram boot. You saw Killian rocking those in his last impossible ski traverse so why not? You put those boots on out of the box and you barely get out of the trailhead because your feet are being squeezed to a pulp. Bootfitting is the backcountry boot equalizer. Nothing will negate the potential benefits in weight reduction or ski performance like a poorly fitted boot. Going to an experienced boot fitter can save a ski season. While I do recommend spending the time and money visiting a professional, boot fitting is also something that can be done in your garage and something that you can become more attuned with the more you .
Here is a list of things an bootfitter will recommend:
Heat Molding – Ski boot liners, and even some ski boot shells, have the ability to be molded to the shape of your foot. There are certain manufacturer recommendations depending on the brand of boot liner but well worth it.
Footbeds – Many of those aches and pains that you feel both on your feet and knees can be attributed to your foot being improperly supported in your ski boot. A common drop-in footbed can better support the many bones in your foot and make your ski boot feel more comfortable. If you really want to invest in the comfort of your feet, a custom footbed like those offered by Sidas are a nearly foolproof way to ensure that your feet are properly supported.
Shims – I have oddly shaped feet. I tend to have wide and short feet that result in buying boots that have too much volume. A few strategically placed shims can help take up that extra volume and make the boot more responsive on the downhill.
Punching the Shell – Most skiers tend to save this strategy as a last resort in their boot fitting repertoire. If you have tried all of the above and still feel as if your feet are being squeezed into non-anatomic positions, then your shell may not be wide enough. With the right tools, many boots can be “punched” or stretched to accommodate different feet shapes and sizes. One thing to note about this method is that it may void the manufacturer warranty or make the boot more brittle in some cases.
Proper fitting boots make for a happier skier, and a better experience overall on the ups and downs.
Skin Care
This tip is more of a habit that most backcountry skiers adopt through experience. Take care of your skins. Nothing will ruin a powder day like a set of saturated skins desperately voile strapped to your bases for that extra, glorious, lap. Keep your skins dry, keep them warm. Keep fresh snow away from the sticky side. If your skis do start to ice up, take the few minutes to take proactive steps to de-ice them. A quick rub on a pair of gore-tex ski pants or on the edge of your skis can save your ski tour.
This is one area where I would actually advocate for splurging and buying the lighter thing. Spending the extra cash on a pair of lightweight mohair skins not only will save you a few grams per ski, but the glide that a mohair skin provides versus a traditional nylon skin is invaluable. Getting a little bit of extra glide on every step adds up over the course of an entire tour. If you want to buy something that will have an impact on your efficiency, splurge on skins.
Ski Lessons
A harsh reality about backcountry skiing is that it doesn’t provide quite the same practice through repetition on the downhill as resort skiing. A big day in the backcountry may give you 4-7k feet of skiing. A big lift-served day may give you 20-30k feet of skiing. Like any other skill that requires nuanced movements and muscle memory, you can only get better at skiing by skiing. Often I see backcountry skiers frustrated by their performance in the backcountry with variable snow or deep powder and blame it on the skis. Regret seeps in. Maybe I should have gotten the ski with more sidecut, the bigger shovel, the longer/shorter ski. If you are fighting the ski you will find that you get to the bottom of a run and your legs are shot.
Concluding Thoughts
These ideas come from a backcountry ski career molded around this idea of being efficient in the mountains. I’ll be one of the first people to tell you about the benefits that a lightweight setup can give you in the backcountry. But I will also be the first to tell you that my lightweight setup realistically provides marginal gains in efficiency. It was a difficult reality to try out my first backcountry setup, draining my savings to splurge on lighter setup, and then being passed by a skier on frame bindings. My evolution as a ski-mountaineer came from my everyday routines and systems and continual learning from the experienced ski-mountaineers I surround myself with.
So where am I at the moment? I guess I am caught in a sort of limbo between “light and fast” and “fun and functional”. The past era of light and fast gear brought a great deal of innovation that harbored a new generation of ski touring boots that have become a permanent addition to my ski closet. I kept the race-inspired boot but went with the wider and more playful ski. I use the Scarpa F1 LT to drive the 114 waisted Voile Hyper V8 for most of my mid-winter backcountry outings. I then whip out the thinner waisted, but more capable, skis once the spring corn cycles become reliable.
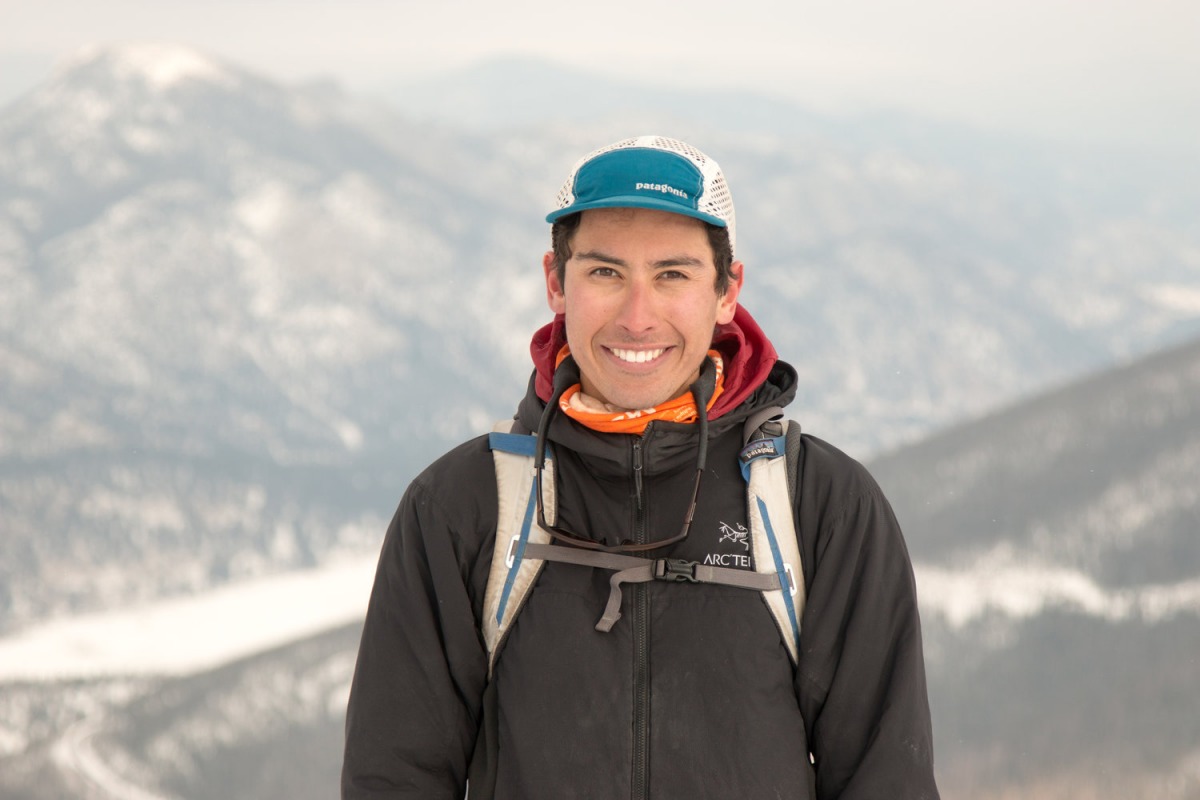
Aidan Goldie is a Basalt-based backcountry skier and photographer. When he is not climbing and descending peaks in the American West, he is an outdoor educator, working with schools and nonprofits guiding groups through the Colorado wilderness.