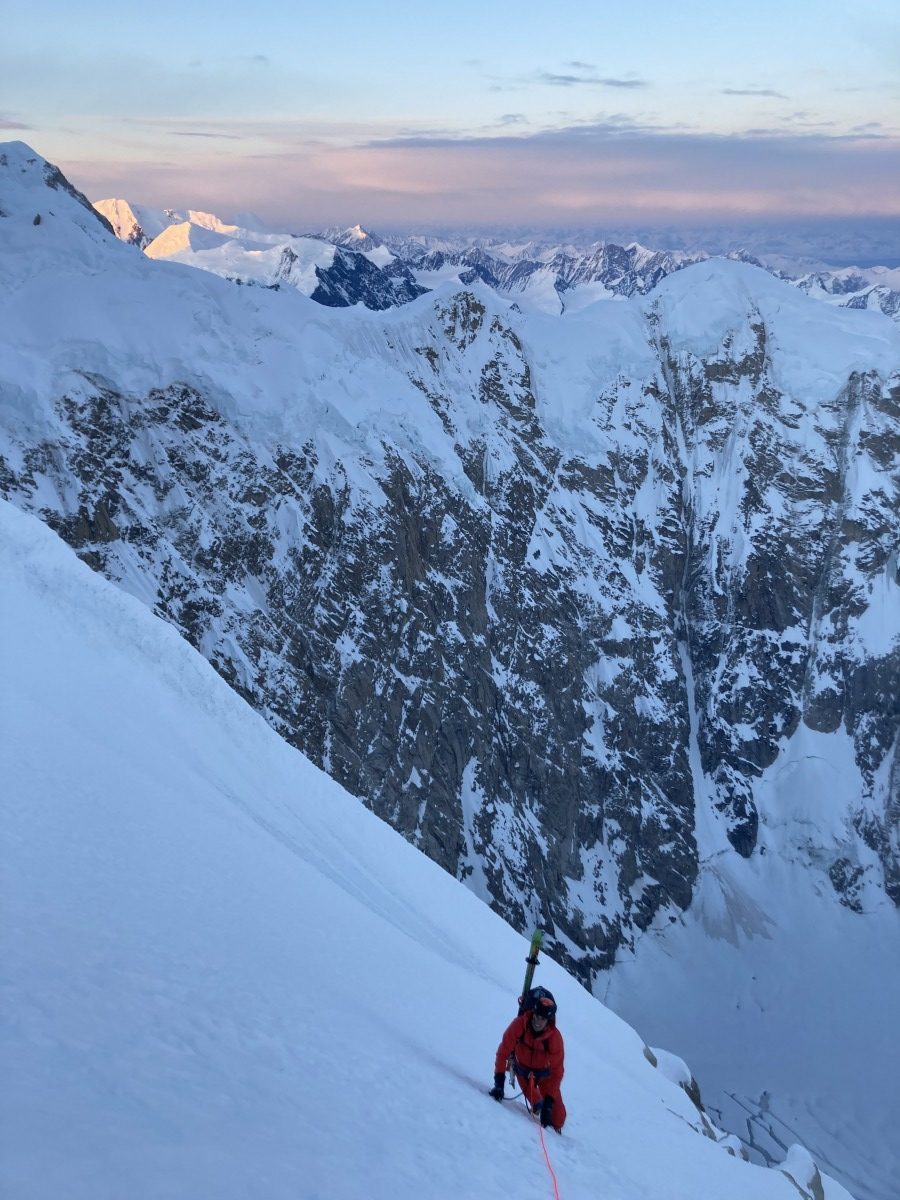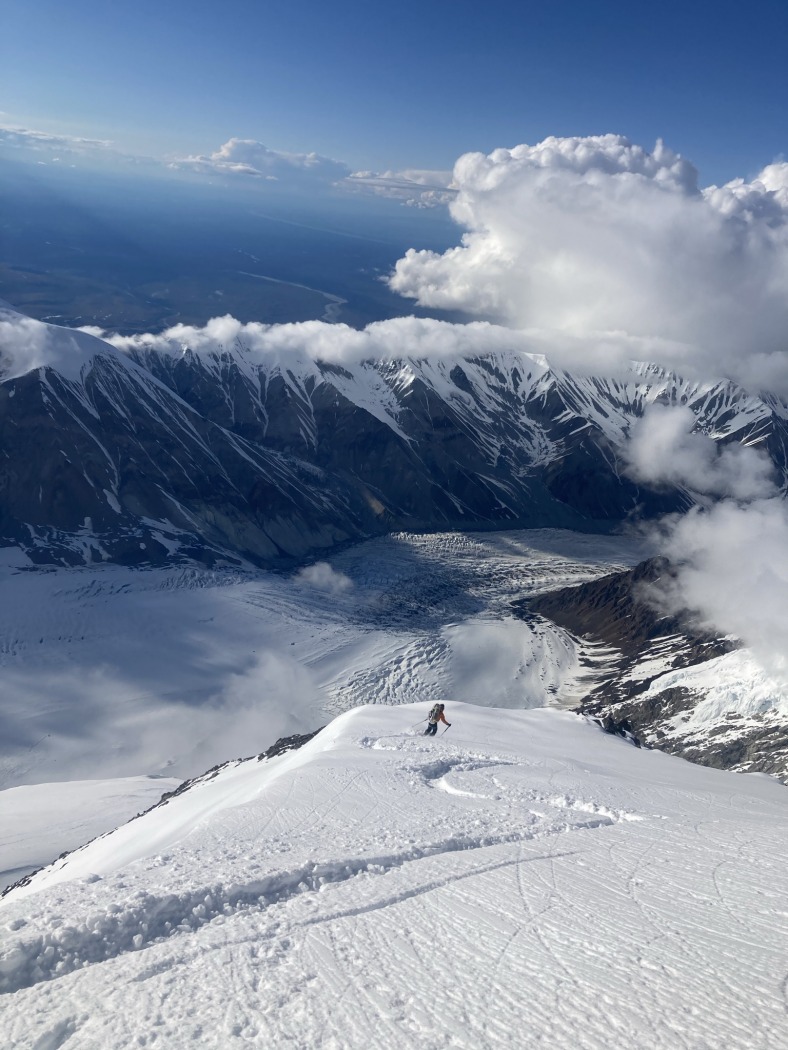
Eyeing objectives in the big ranges has become more of a candy store with the advent of lighter and high functioning ski gear. An Alaskan Range sunset makes for a lovely backdrop. Photo: Sam Hennessey.
Gear selection for any big route can be the difference between success and failure. In Alaska, the long days tend to favor a lightweight style; you can continuously climb and ski until you get too tired. But, fast and light is only one way; routes have been completed successfully in nearly every conceivable style, using everything from portaledges to fanny packs. My primary partner, Michael Gardner, and I tend to go as light as possible to take advantage of small weather windows, and simply because it’s way more fun to carry a small backpack, especially when you aren’t very strong.
When going light, every piece of gear becomes essential. Much thought goes into selecting pieces durable enough not to break and not too heavy to slow you down. Of course, this approach also comes with a slim margin for error, and thus gear selection can ultimately be a somewhat personal choice: risk tolerance dictates how much you take and what you leave behind.
What follows is the gear we were using on the climbs/skis described in the previous trip report. But, know this process is evolving as companies develop new products and tactics change.

As the saying goes, a rope, a rack, and a pack on my back: the climbing goods laid out.
Alpine Climbing Equipment
The equipment described below is simply a standard alpine climbing rack that would be ordinary in most mountain ranges. We vary the gear a bit depending on the technical difficulty of the route but ultimately wind up bringing a somewhat similar selection for most routes.
Harness: Petzl Sitta or Altitude, depending on the degree of technicality and the amount of rappelling one is expecting to do. Generally, I bring the Sitta on more technical routes since it is very light and dramatically more comfortable. If we expect minimal rappelling and the climbing is primarily moderate, the Altitude is a great way to shave some grams.
Helmet: Petzl Sirocco – very light, reasonably robust.

A look up at the bottom of a modified Dart “string” crampon. Photo: Michael Gardner.
Crampons: Petzl Dart, in monopoint mode. I have modified the Dart by replacing the center bar with Dyneema cord and swapping the steel heel piece for an aluminum one. This gear-mod strategy requires extensive preparation to dial the fit and to ensure you don’t lose a crampon during the climb. I partially severed one of the cords once, thankfully towards the end of a long climb, and now carry two replacements. Michael prefers more security and has kept the steel heel piece and solid center bar.
Ice Tools: Petzl Nomic, with their Ice picks and no pick weights. The increased security of a more technical tool allows me to climb faster and use less energy, making the extra weight worth it over the Petzl Quark (or something similar) unless the terrain is moderate.
Leashes: Petzl V-Link. This leash is one of the lightest on the market, although there are now lighter options we will be experimenting with in upcoming seasons. The V-Link attaches to each tool, and the bungy-like cords connect back to the harness. (These are bodyweight-only leashes.)
Climbing Rack: We take a selection of cams, nuts, and ice screws. Our “rack” is route dependent and has ranged from a single set from a 0 C3 to 3 Camalot, a full set of nuts, and eight ice screws (the unknown terrain of the Isis Face) to a half set of nuts, two cams, and three ice screws for the Cassin. We have primarily been using Black Diamond Ultralight cams and the Petzl Laser Speed Light ice screws. In our experience, the Ultralight cams are not robust if you fall on them, but they seem to hold even when they deform or break and can last a good while if mainly used for anchors. After all, it’s alpine climbing; falling shouldn’t happen often! We also bring an assortment of lightweight quickdraws and slings.
Ropes: Our main consideration with ropes is almost always their weight because most modern ropes perform at roughly the same standard. For this reason, we have primarily been using Beal ropes, namely the Gully half rope (7.3 mm, 36 g/m) and Opera single rope (8.5 mm, 48 g/m, in lengths of 60m. Depending on the objective, we have carried either one Opera, two Gullies, or one Gully if we don’t expect much rappelling. The “one Gully” strategy came back to bite us on our Isis face descent when we encountered significantly more blue ice than expected and made 11 rappels to descend only 1000 feet: we could have made only five raps with doubles! We carried a single Petzl RAD Line on the Cassin because we were confident the terrain was moderate enough that one of us could solo and then fix the line for self-belaying if one of the followers was uncomfortable. (Not recommended unless you are very comfortable unroped on technical terrain, the Rad Line is not certified to hold dynamic falls and is essentially a static rope.) Thus, we went with the lightest possible rope option, thinking the rope’s primary functions would be protection from crevasse falls and potential rappels on the NW Buttress descent.
Backpack: The Arc’teryx Alpha FL 40 is perfect for these length climbs: It’s light but durable, has no unnecessary features to break, and is comfortable to carry.

Adam Fabrikant finding the way low on Denali’s NW buttress. Photo: Michael Gardner.
Skiing Equipment
For me, this is the category that makes these types of objectives possible. The fact that you can have a ski/boot/binding combo weighing under 2 kg that is reliable enough to take on huge objectives still blows my mind. When we add this ski gear to the climbing kit described above, I’m confident our packs are lighter than what I used to carry on much easier climbs a decade ago. For example, our packs leaving basecamp for the Cassin to NW Buttress traverse weighed 13.5 kg/person, including 2.5 L water, a tent, stove, fuel, rack, rope, and skis, which is more than 2 kg less than Eitan Green and I carried up Thunder Peak for a two day climb on easier terrain in 2013. The weight reduction is due mainly to advances in technology and “addition by subtraction,” but it’s still pretty cool that this stuff is so light and doesn’t break (often).
Skis: Michael and I have been using racing skis (I’m on the Dynafit PDG with Low Tech Race 2.0 Bindings) for these objectives due to the importance of light weight for technical climbing. But, depending on the objective and the degree of difficulty of the skiing you expect to encounter, heavier skis should definitely be an option. For example, in the Tetons, climbing technical routes on the north side of the Grand Teton and planning to descend the Ford Couloir in funky Spring conditions, I size up to the Salomon X-Alp, which skis very well for relatively spartan weight.
On our Denali traverse, Adam Fabrikant did not have race skis, so he brought his lightest setup (Black Crows Vastus Freebird), which may not have felt very good on the way up; but ultimately gave him much higher confidence on the way down!
Boots: The Scarpa Alien RS has been our boot of choice for these missions due to its light weight (910 g) and better-than-average performance on the way down. Warmth can be a factor too, but we have found that by sizing up one full size, these boots are plenty warm even for summit days on Denali (while moving continuously), and the decrease in downhill performance from the loose fit doesn’t bother us.
Unfortunately, the bus driver who picked us up at Wonder Lake during our Denali traverse came in a little hot and ran over one of my boots. I will be experimenting with the newer Scarpa Alien this year in Alaska; the toe welt is not nearly as pronounced as on the RS, so crampon fit is a bit more problematic, but I think I’ve got a decent solution.
Skins: One set of pure mohair racing skins with no tail clips have performed great for us. There aren’t many transitions on these types of missions, which makes the lightest weight option work best. We also use various brands because they are all pretty much the same as far as we can tell.
Poles: After using several different adjustable length poles in the past, we have all settled on the Folkrm WyEast in 125 cm as the ideal fixed-length pole for these missions. The Folkrm products are full aluminum, still plenty light and sturdy. Lighter weight racing poles seem to be prone to breaking, as are adjustable carbon poles.
Bivy Equipment
Careful consideration goes into selecting the bivy equipment for each route and ranges from just a small foam pad and stove (for routes that can be completed in a single push) to a small tent, multiple pads, and even a sleeping bag to share (for longer planned rest stops, early-season routes where darkness may interrupt climbing, frigid temperatures, etc.). Alaska is an excellent environment for going a bit lighter on the sleeping gear, at least in good weather, because you can travel at night when it’s cold and doze off/brew up during the heat of the day.
Stove: Generally, we bring two MSR Whisperlight Stoves and 1 Liter of white gas per day. Not really; just checking if anyone was still reading at this point. We carry an MSR Windburner, with as much fuel as seems appropriate (generally one 8oz gas can per day for two people) and then 50% more for a margin of safety. For three people, the MSR Reactor has a little more firepower for melting snow but weighs more.
Tent: BD Firstlight. Although far from ideal, this tent is still one of the best options for a lightweight shelter with enough room for three people. It’s very cozy this way, and you don’t really need a sleeping bag because the dog pile keeps you pretty warm, especially if you are on the bottom.
Pads: For reliability, Thermarest Z-Lite closed-cell foam pads have been our standard. One half-pad barely provides enough insulation when combined with the ropes for two people. Two pads are more luxurious and can be a great idea when you expect an extended bivy or have three people.

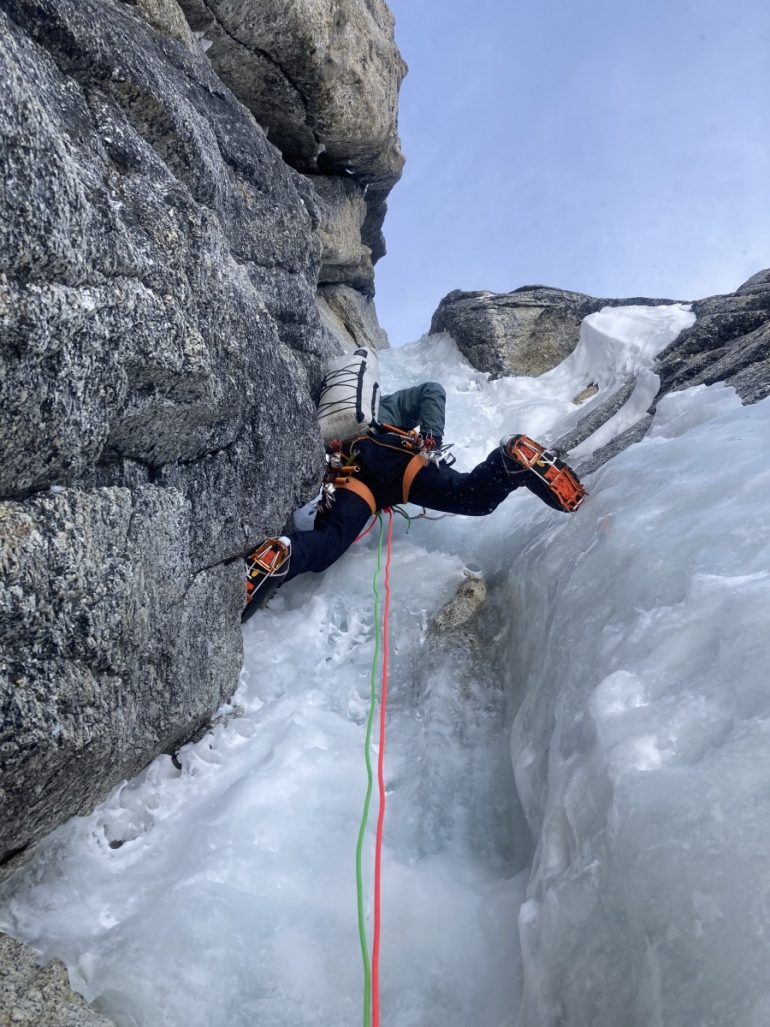
Michael Garner climbing in the 2nd rock band, Infinite Spur on Mt. Foraker. Photo: Sam Hennessey
Clothing Systems
After experimenting with various clothing combinations, we’ve refined our layering systems to reach an appropriate balance of weight, warmth, and durability. The entire kit functions as a system; each layer fits under the next, with the possibility to wear everything at once when it gets frigid. (A note: Michael and I both receive support from Arc’Teryx, hence the over-representation of their gear in this article. However, we have tried out many brands over the years and think these pieces genuinely represent the best options for these types of climbs when factoring in all three variables mentioned above.)
Lower Body
Socks: 2 pairs of medium-weight wool socks. The ability to change into a dry pair of socks is crucial, even if climbing continuously. It keeps your feet warmer and prevents non-freezing cold injuries.
Base Layer: The best bottom base layer I have found for climbing in cold weather is the Patagonia Nano Air pant, which unfortunately has been discontinued, and there doesn’t seem to be another equivalent product on the market. The Nano Air pant is essentially a “technical sweatpant,” with lightweight synthetic insulation and a very breathable shell fabric, making it useable as a standalone layer in warm and dry weather or as a comfortable base layer. There are certainly some minor refinements that could make it more user-friendly for climbing, but since it appears to have been discontinued, at least for the moment, that’s a moot point. If you have a pair, hang on to them! Otherwise, medium-weight long underwear like the Arc’teryx Rho works well.
Shell Pant: We have used a variety of hard shell layers in Alaska, ranging from Arc’Teryx Beta Pants on the heavier end to the Outdoor Research Helium on the lighter end. Ultimately, I think it’s critical to have some type of hard shell pant when embarking on a snowy climb since you will stay drier than if you rely on a soft-shell. Besides, soft shells are much heavier. Lighter weight options work well in Alaska’s high mountain cold and dry climate: your pant’s waterproofness needs to keep the snow off, not withstand a rainstorm.
However, there’s a limit to this, and we’ve shredded some lightweight pants. Recently, we’ve settled on the Arc’Teryx Beta LT Hadron Pant as the best middle ground —they are quite light (just over 200 grams) but still durable and waterproof. These pants also feature full side zippers, which can be very nice when the weather gets warm.
Insulating Pants: It is essential to have some type of insulated pants in Alaska, usually for sleeping/brew stops and sometimes simply for climbing when it’s cold. We have generally been using the Arc’Teryx Nuclei pant (360 grams), a well-designed version of a standard synthetic puffy pant, although, for the weight, they seem just as warm as versions from other brands weighing closer to 500 grams. For high, cold climbs on Denali, we have chosen to use the Western Mountaineering Flight Pant, which is the same weight but much warmer. However, they are fragile and expensive, so they’re best reserved for select climbs.

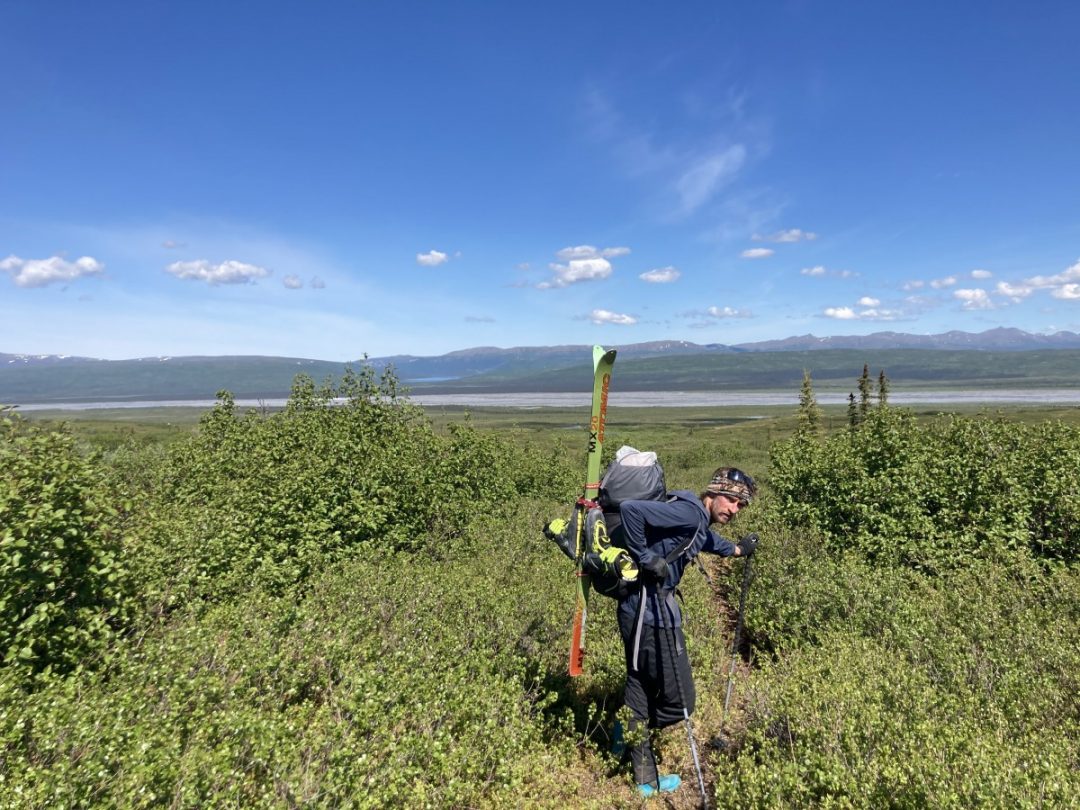
It’s all in there. Minimalist: A fully loaded pack for a 4-day mission. Photo: Sam Hennessey.
Upper Body
Base Layer: A sun hoody type layer works best for this, and it seems like many brands are making basically the same thing. I like one with a loose-fitting hood that doesn’t feel like it’s choking me.
Midweight Layer: I like a thinner grid fleece with a balaclava-style hood. The Arc’teryx Delta MX (now discontinued) is excellent because it only has a half zipper, one decently sized chest pocket, and an integrated face mask that is quite nice when it gets windy.
Shell Jacket: Like the shell pants described above, it is important to have a lightweight shell that will keep you dry while climbing snowy routes in Alaska. Although it is more durable, there’s no need for super heavy Gore-Tex — a thin windbreaker often does the trick. Recently, after trashing some lighter weight jackets, we have been using the Arc’Teryx Alpha SL Anorak, which is light and durable. Plus, it doesn’t have a full zipper which is nice for climbing.
Vest: Vests are awesome layers because their warmth-to-weight ratio seems to exceed most other insulation. A lightweight version like the Arc’Teryx Atom LT Vest makes a big difference in staying warm for little added bulk.
Midweight Insulation: Even when it is freezing, it’s rare to want to do any technical climbing in a large parka. I’ll often wear a midweight insulating jacket like the Arc’Teryx Atom LT as my outer layer when it’s cold but not snowing, which maximizes breathability and keeps me from ripping my shell jacket while climbing rock. I prefer synthetic insulation over down for this weight jacket since I often wear it at temperatures where the snow is a little wetter, and synthetic still functions well when damp.
Parka: A good, warm, down parka, is indispensable for belays and for surviving cold nights climbing at high elevations. During a planned (or unplanned) bivy, it’s also a crucial part of your sleeping system! We have been using the Arc’Teryx Firebee for the last few seasons, which no longer exists but has been replaced with the Alpha Parka, which is even warmer.
Misc: We’ll usually bring at least three pairs of gloves, each of various weights, some light mittens, and a buff. Generally, we won’t have warm hats because almost every layer has a hood. A small bit of sunscreen is mandatory; lip screen is also crucial.
Add food and water into the mix, and that’s pretty much it! I can nerd out pretty hard on different nutrition strategies, but I’ll spare you for now. The most crucial factor, in our opinion, is to drink way more water than you want to or think you need. We’ll often carry up to three liters per person at one time, which is heavy, but strongly incentivizes us to drink a ton to get the weight off our backs. It generally doesn’t matter too much for hours 1-12 but pays big dividends on hours 18-24 and beyond.
I hope that some of you find this interesting, and let me know if you have follow-up questions.
Sam Hennessey grew up in Port Angeles, WA, and had his first misadventures on skis in the Olympic Mountains. He moved to Bozeman, MT after college, where he currently works as a mountain guide and has a very nice storage unit
