Much ink has been spilled defending contenders for ‘best pizza.’ Toppings, crust, cheese, and location no doubt all factor heavily into the bestowal of such a crown. Often overlooked, however, is the most significant factor of all: what did you do just before biting into that slice?
One Sunday afternoon this past April, I found myself in the parking lot of the Tesoro gas station in Girdwood, Alaska eating a slice from Coast Pizza. Coast can be described as a utilitarian yet classic neighborhood pizza shop. Their sign has an outsized ‘T’ at the end of ‘coasT,’ a holdover from when the same strip mall location made ‘Tacos.’ Three days of sunshine, an icefield crossing, and superb spring snow in the heart of the mountains made it the best piece of pizza of the year.
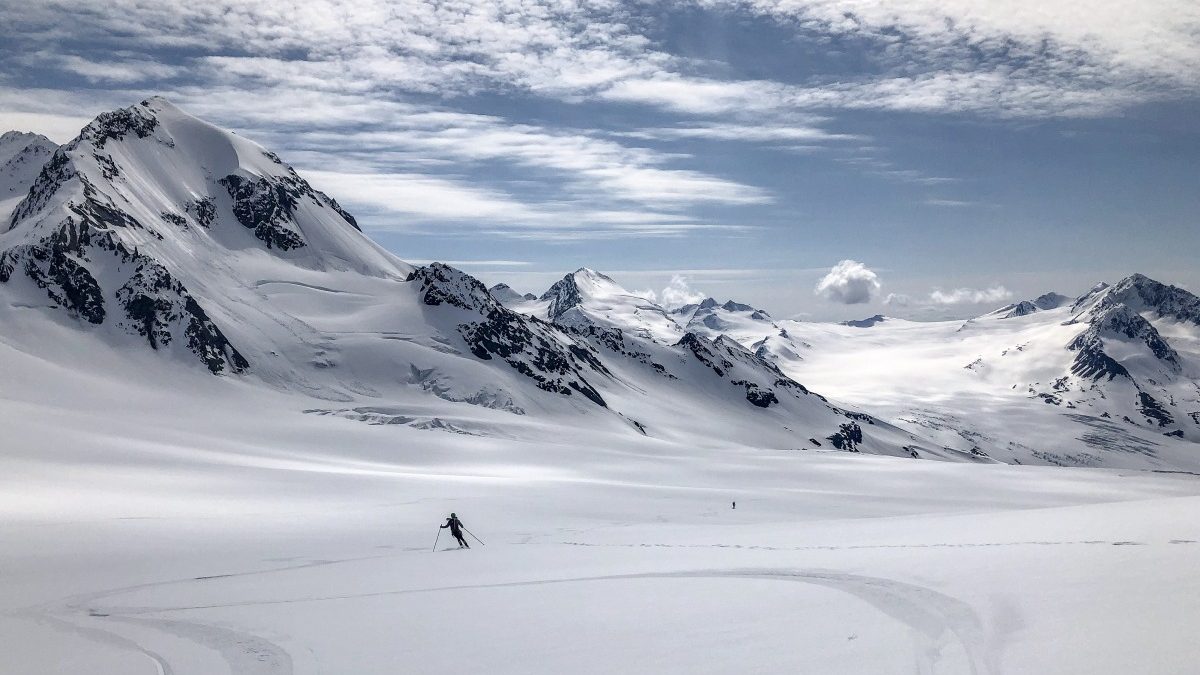
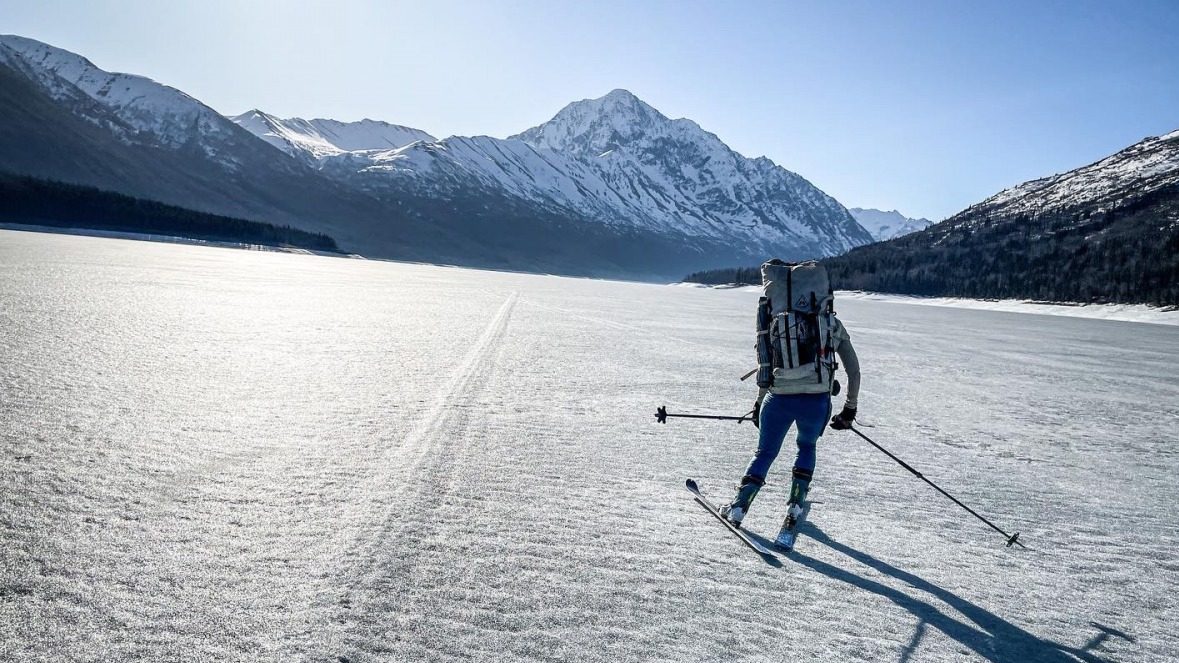
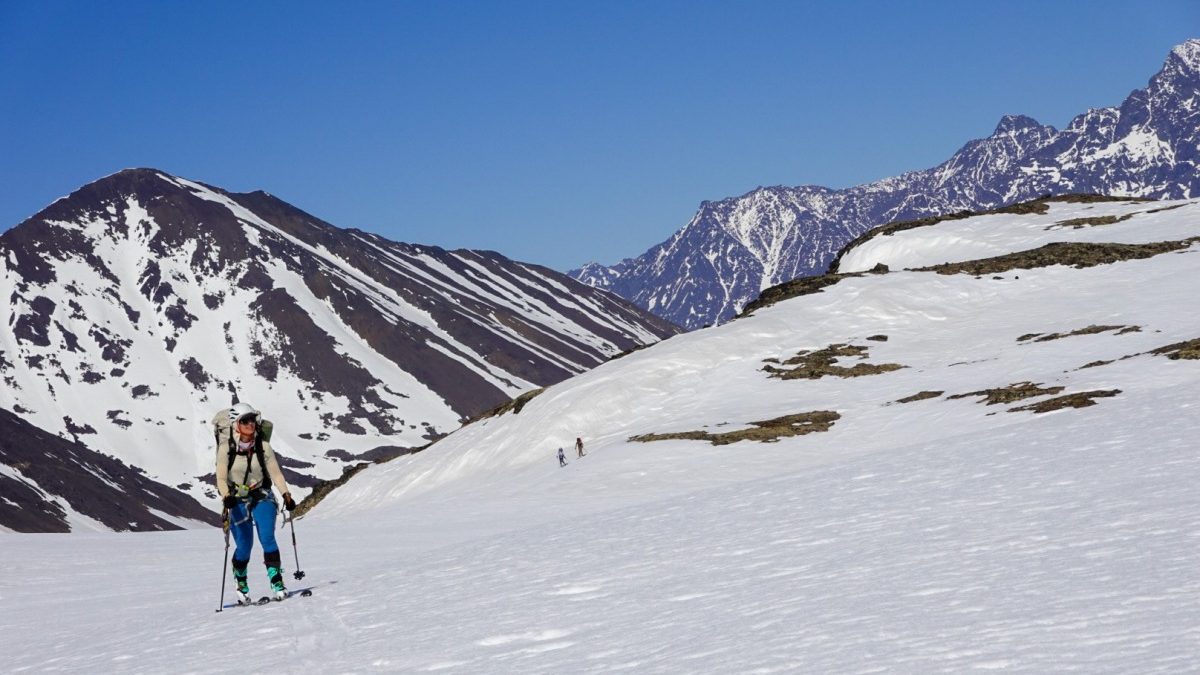
Forty miles northwest of Girdwood and half an hour north of Anchorage sits Eklutna Lake. Providing power and water to Anchorage, a popular trailhead, and access to the Chugach State Park, the lake is one end of the ‘Eklutna Traverse’. The Crow Pass trailhead in Girdwood, half an hour south of Anchorage, marks the other end of the traverse. The route connects a series of icefields across the western Chugach Mountains. While the traverse is a local must-do, it has all the hallmarks of a North American ultra-classic. Big glaciers, sweeping views, just enough spice to keep you on your toes, as well as ample opportunities for peak bagging and pow turns make this a top notch traverse for any ski mountaineer.
Here are the details.
The classic Eklutna Traverse is book ended by the Crow Pass trailhead on one side, and the Eklutna Lake trailhead on the other. Each end has two common variations for starting or ending the traverse. There are arguments for going either direction, with pros and cons coming down to conditions, comfort with different aspects of travel, and timing (also, importantly, there is no pizza shop in Eklutna).
Leg One: The Lake
Eklutna Lake Parking Lot to Serenity Falls Cabin
~13 miles by trail
~11 miles if you can ski the lake
We arrived at the lake sometime around 8am. Luckily it was cold the night before, but was quickly warming. This was our first decision point. An easy 8-mile trail wraps around the lake, but if it’s still frozen you can save 2 miles by skiing across the lake. This time of year the trail can be a mud fest, while the lake can be slushy – pick your battle.
We were fortunate to have good morning conditions. This is one argument for going north-to-south. Frozen early morning conditions made for a super-fast crossing. Had we come out this direction, likely arriving at the lake in the afternoon, we would have had a muddy walk down the road. We skated 6 miles across the lake in an hour with fairly minimal effort (last year I biked in along the road and it still took longer than the skate).
After the crossing there is 4 miles of easy trail to Serenity Falls, where a public use cabin (link to more info at the end of the post) offers a possible first stop on the route. Expect spotty snow through here. We cruised past the falls on solid refrozen slush and were soon hiking up the valley below the toe of the Eklutna Glacier.
Leg Two: Onto the Ice
Serenity Falls to the Eklutna Glacier
~5 miles
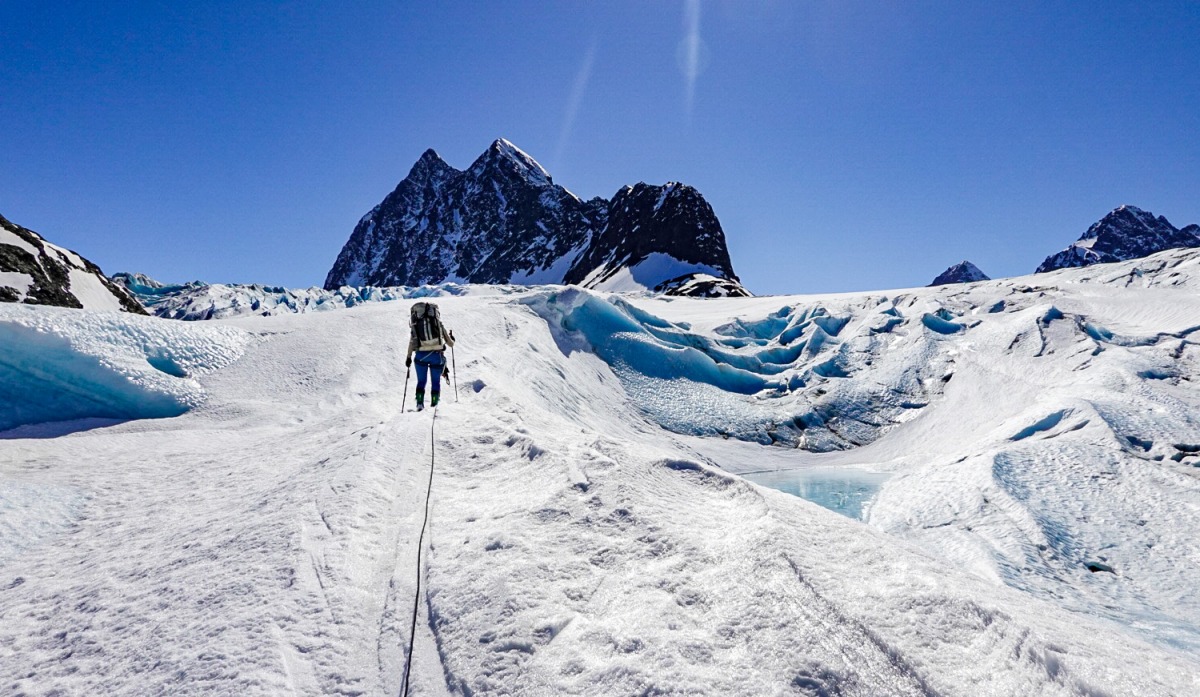
Climate change has made gaining the glacier unpredictable the last few years. After some crisscrossing along the upper stretch of the Eklutna River, you either have to head up an outflow canyon through a gun barrel debris gauntlet, or navigate a route climbers left of the creek. With good snow, there can be a straightforward snow route, but in late spring or summer conditions this involves scrambling through surprisingly sketchy rock bands. Most trip reports I’ve seen out there undersell how much of a crux this can be. My last trip up here required stemming across rotten snow to a move of 5.7 in ski boots. Fortunately this year, we found the canyon well filled in and chose to book it through the shooting gallery as fast as our lungs would allow.
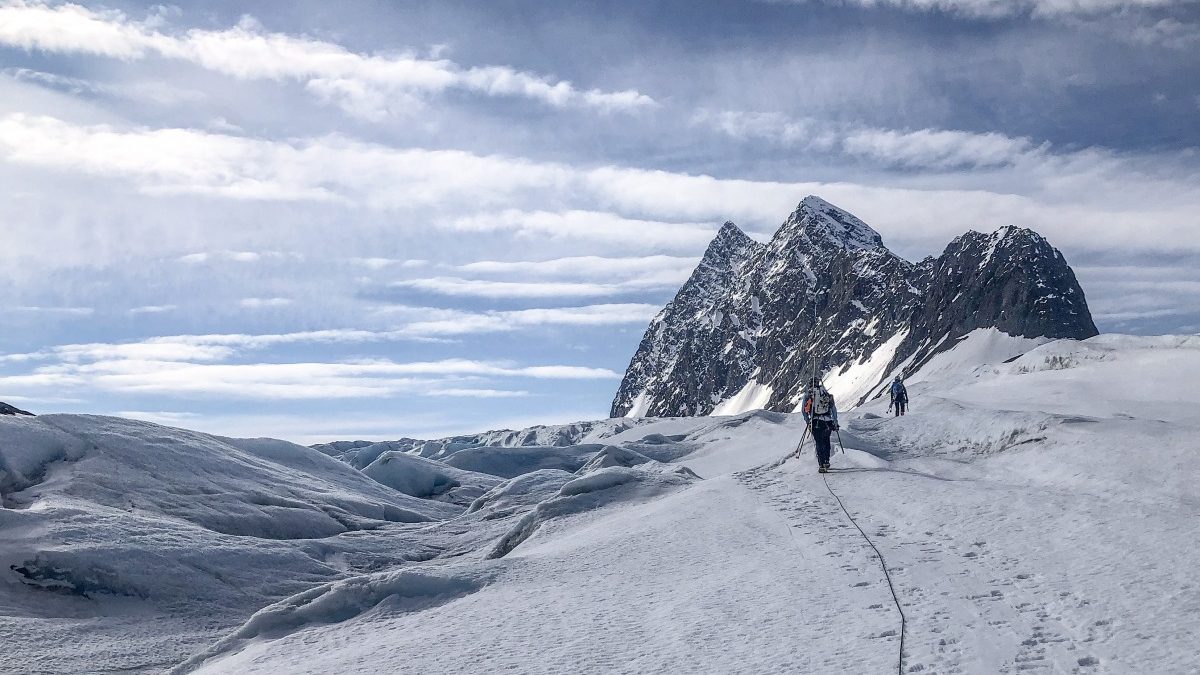
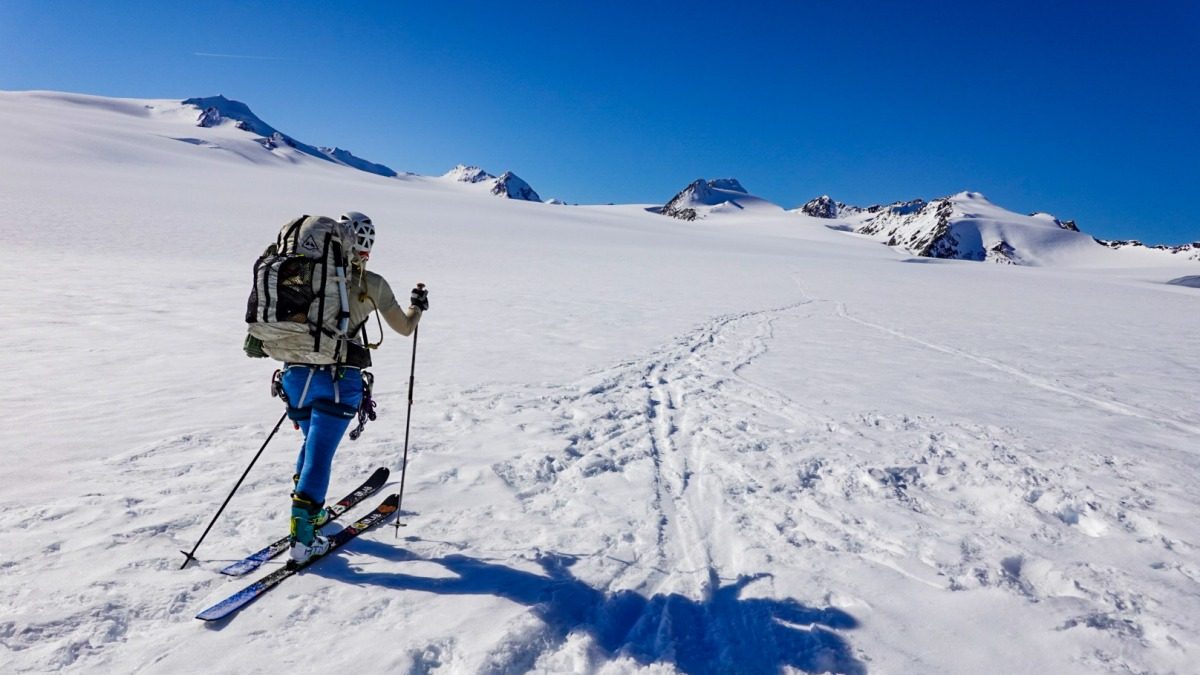
Much of the year, the lower glacier is windswept blue ice. A great snowpack in the Chugach this season meant this section was short, but we still donned crampons and roped up through the lowest stretch of the glacier (the same was true last year). The next half-mile or so gains the upper Eklutna by winding through a crevasse field below Peril Peak. This stretch is the second reason I prefer the southbound route. The crevasses are real-deal; readily apparent in the fall and early winter, but tricky to navigate with a bit of windswept snow. The horizon makes it far less obvious where the best route through will be from above than from below.
The views open up quickly and you get the first feeling of being properly on the icefield here. Plenty of ski objectives abound on the upper Eklutna and the Pichler’s Perch Hut, run by the Mountaineering Club of Alaska offers a good destination roughly 16 miles from the car. The hut is available to anyone with a MCA membership, but is first-come-first-serve, so you probably won’t want to forego the camping gear.
[Dear MCA – The MCA hut system is suffering from its own popularity. Frankly, it makes little sense to pay a membership fee to access huts that you can’t count on during the ideal spring mountaineering season. The weekends that make the most sense to use them, are the same weekends everyone else wants to use them. Just make a google calendar, give members access, and ask everyone to post hut plans. I am not advocating for a ‘reservation’ system, just a place to see who else is planning to go where, so you can plan accordingly. Last time I was up there, 10 people showed up at Rosie’s Roost. Everyone was friendly and it worked out, but only because 2 of the groups, mine included, just camped elsewhere….]
Leg Three: Whiteout Pass
Eklutna Glacier to Hans’ Hut
~9 miles
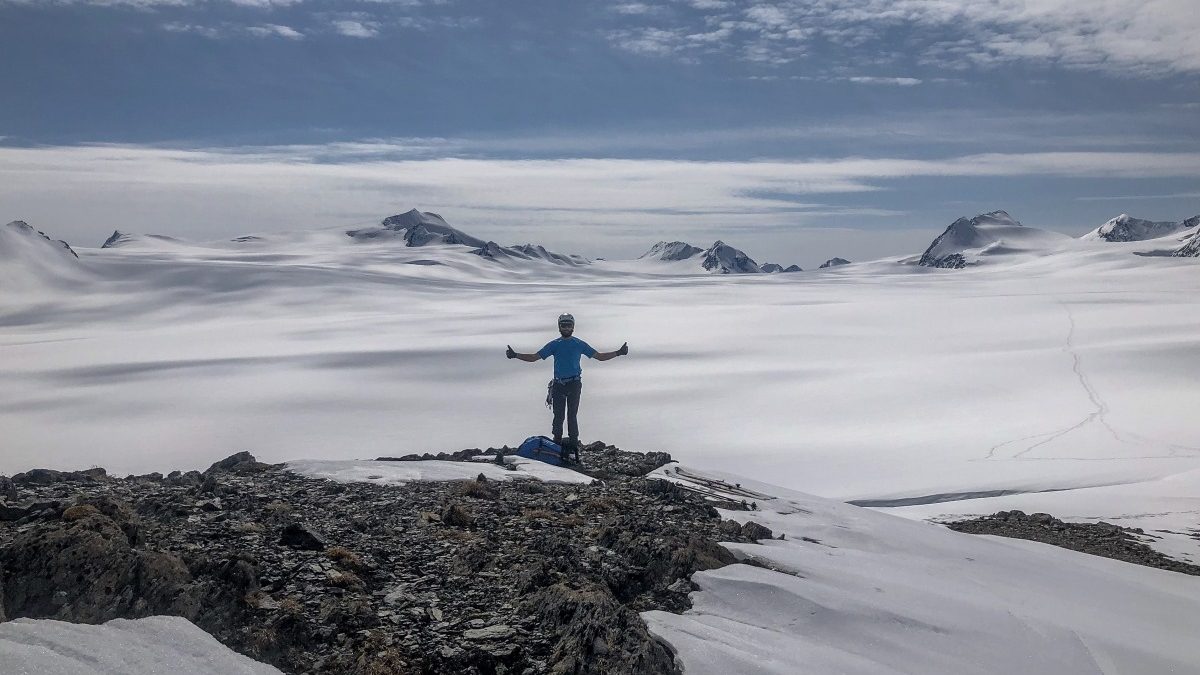
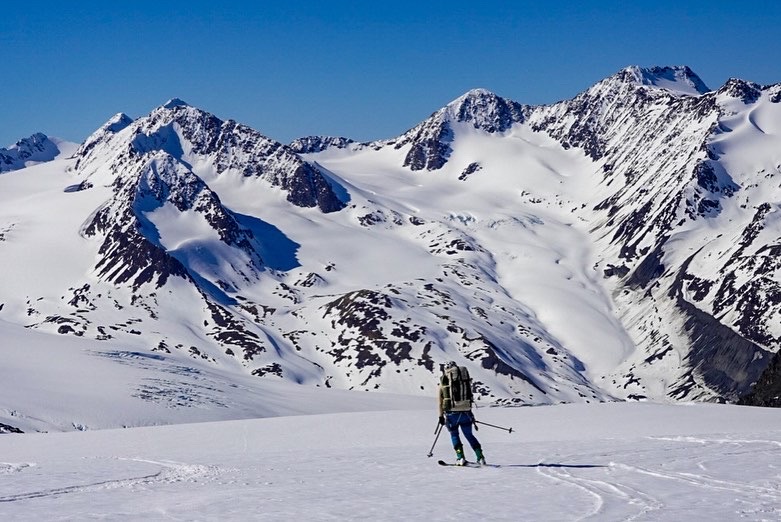
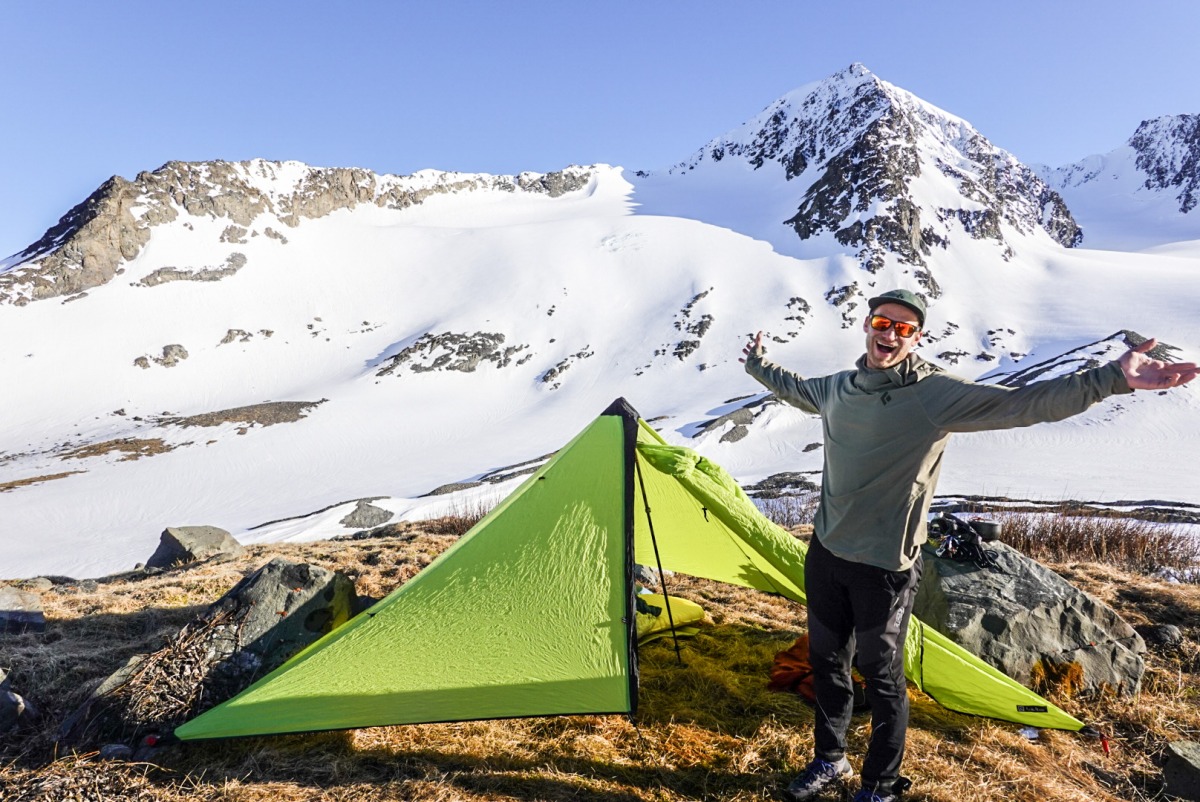
We toured up the Eklutna and set up camp on Whiteout Pass. This is only a good spot in the best of weather, but Antarctic views, ice to the horizon, a peek into the high central Chugach, and windswept tundra make it an ideal spot when conditions allow. Barefoot, we played cards and sipped whiskey.
From the car heading south, the pass is about 20-miles (a bit less if you skate the lake, a bit more if you take the road).
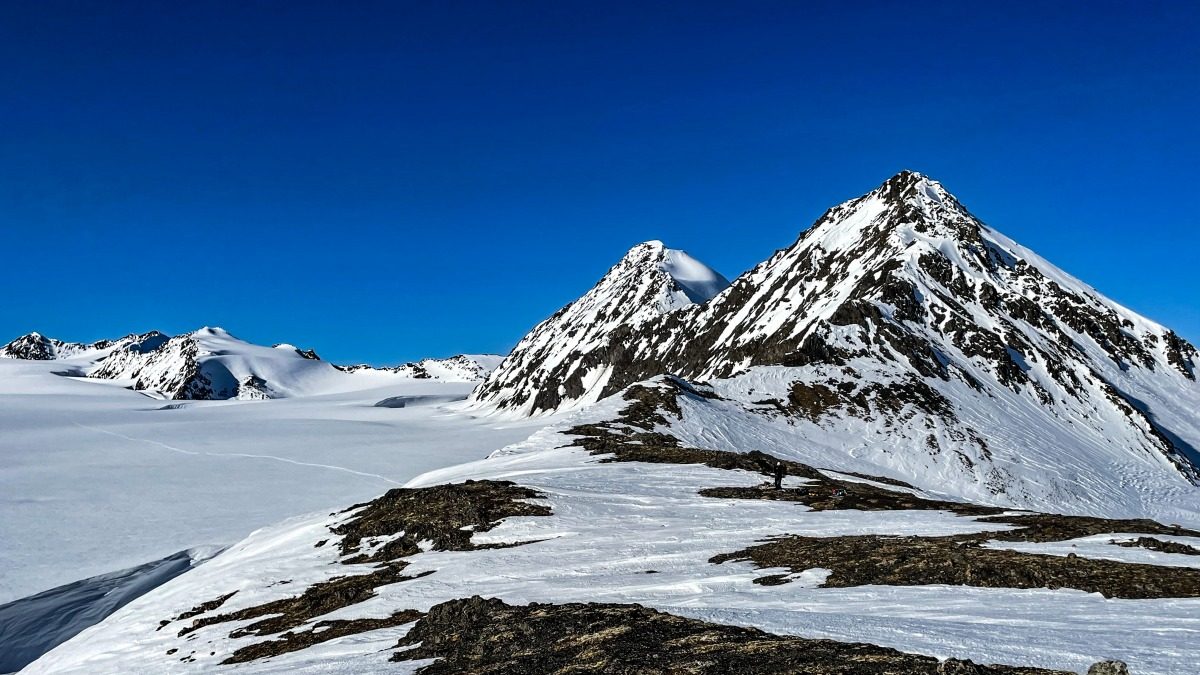
The south side of Whiteout Pass drops onto the upper Whiteout Glacier. This stretch is both the best access to high peaks and the most straightforward if you have good visibility. In flat light or whiteout conditions, beware of moats below the Pass and on the slope to the hut. Four miles of relatively easy travel across the Whiteout leads to Hans’ Hut below Hut Peak. From here, Hut Peak, Whiteout Peak, ice dropping off in every direction, and a number of 6000 to 7000 foot ridges belie the fact that Anchorage is only 30 crow miles West. We woke up to fox tracks on the upper glacier, wondering aloud over our morning coffee where he was going and why.
Leg Four: The Eagle Glacier
Hans’ Hut to Rosie’s Roost
~ 5 miles
Half a mile from Hans’ Hut, an ice divide splits the Whiteout Glacier from the East Branch of the Eagle Glacier, a short, steep, ramp down to the main Eagle. This presents the next crux of the route. The glacier has substantial cracks through this section (only getting worse as the glacier shrinks). If you ditched ropes across the upper Eklutna or Whiteout, consider roping up through here.
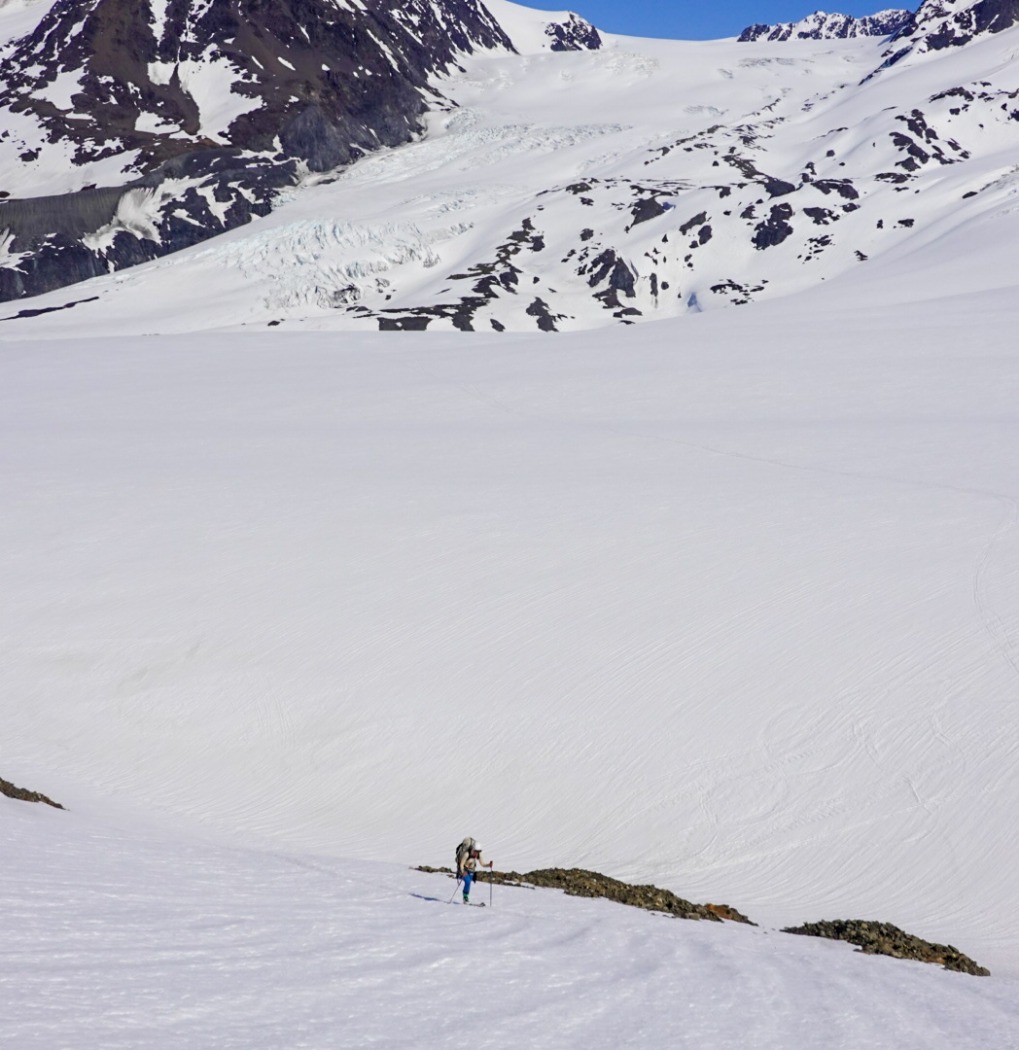
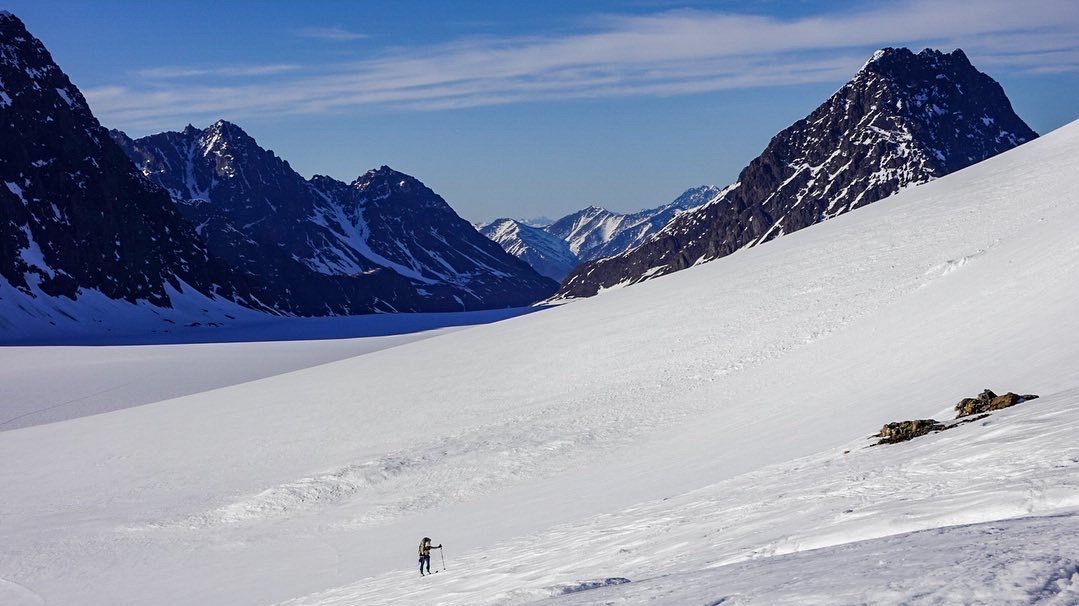
Looking back across the Eagle- the route down from the White Out Glacier starts in the middle of the glacier across the valley, angling onto the large moraine to skier’s left.
Up high on this stretch, a smooth lane has split two groups of small cracks the past couple of seasons. About half-way down, the glacier starts to open up. At this point, you can cut to the Southeast and pick up a moraine that runs alongside the lower glacier. Beware of some sneaky crevasses here, cracks run into the moraine in a couple of spots. They are straightforward to navigate around, but can be easily hidden. This year, a small hole sitting right where we hit the moraine made for a stressful moment of skiing as a foot partially punched through. From the bottom of the moraine, a steep roll drops onto a lateral moraine of the main Eagle Glacier in a larger open valley rimmed with an impressive necklace of snow, ice, and mountains.
Straight across the Eagle sits a small valley dropping below Raven Peak. On top of the moraine at the bottom of the valley, Rosie’s Roost is the next stop on the classic traverse. Crossing the moat below the hut could be tricky in certain conditions, but you are likely to see tracks here (this is probably the most popular hut) and a quick stretch from Hans’ (about 5.5 miles).
Leg Five: The Fork in the Road
Rosie’s Roost to Raven Headwall [or ‘Goat Shoulder’]
~2 miles
** ‘Goat Shoulder’ alternative route (~9.5 miles from Rosie’s Roost to Crow Creek Road)
At Rosie’s you have reached a fork in the road between two routes that each have their own very real objective hazard, the headwall or the shoulder.
We took off ski boots at the hut, made tea, ate chocolate, and watched as dots of skiers approached from distant directions towards the hut while discussing our next bearing. One group had just come in via Goat Shoulder, a chossy ridge that leads from upper Crow Creek to the upper Eagle Glacier. They reported sketchy avalanche terrain down low, poorly covered talus in the middle, and cornice cracks up high. We opted to head out the ‘Raven Headwall’ instead.
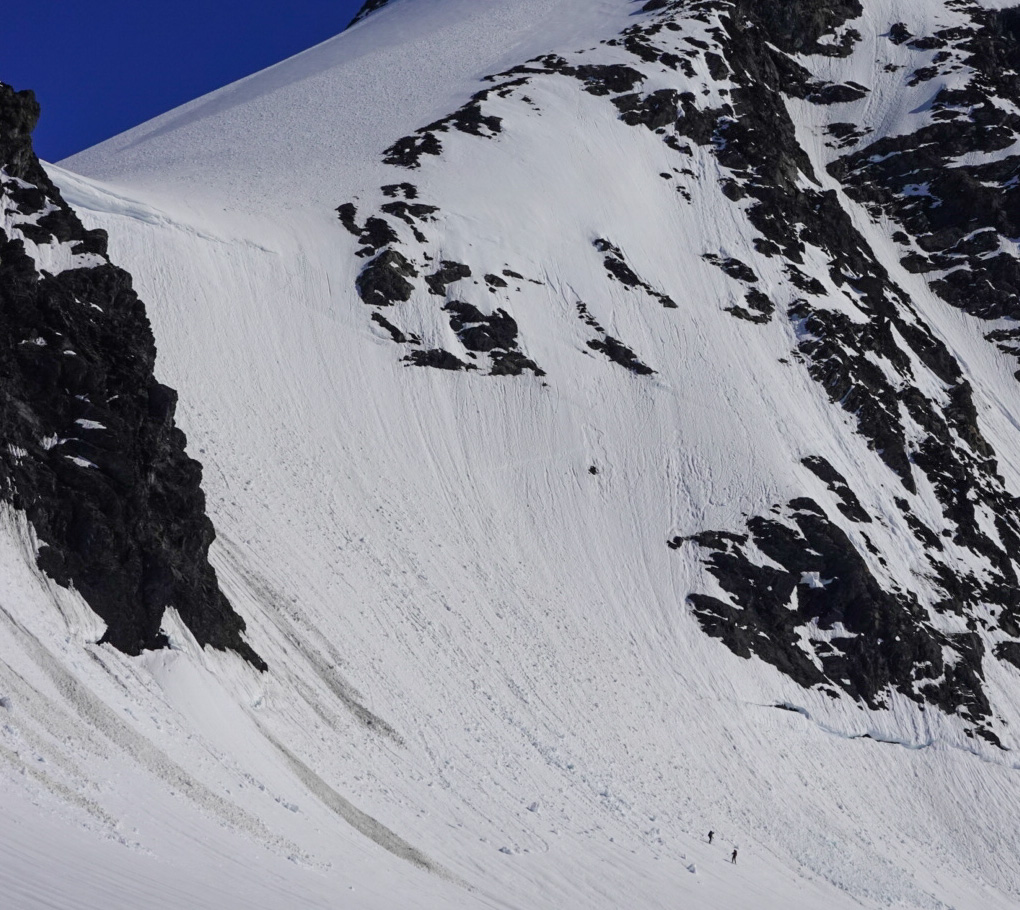
The headwall is not ‘easier’ or necessarily more straightforward. A steep roll drops from the head of Rosie’s valley (West Fork Eagle Glacier) two miles past the hut down onto the Raven Glacier. The drop changes quite a bit year to year, but in my experience it is more than 50 degrees at the entrance with a cornice running across part of the top. It is also a fairly clean line once you find the right entrance and the slope quickly mellows. A bergschrund is not uncommon later in the season, wind often loads the lip, and lower down the Raven exit requires traversing under a considerable amount of avalanche terrain above a creek terrain trap to get back to the car.
Expect a bit of deliberate decision making and spice when picking your route here: When considering the Headwall, think about the cornice, bergschrund, and wind effect, as well as the conditions on the Raven Glacier. Also think about what time of day you will be skiing a high south face and then traversing under large sunny west-facing slopes. When considering the shoulder, think about cornice conditions, comfort levels scrambling down a dry, partially covered, or windswept ridge, and avalanche terrain below the ridge.
We chose the headwall this year, because we felt good about the avalanche conditions at higher elevations and felt that skiing down through lower avalanche terrain would be much faster than navigating cornice cracks, partially snow covered talus, and avalanche terrain on the route from Goat Ridge to Glacier Gulch. In our conditions, I likely would have chosen to go up the Shoulder had we been going the other direction.
We arrived at the top of the Raven Headwall in the late morning from our camp a short ways out the moraine from Rosie’s Roost (too crowded at the hut). A cold wind whipped over the crest of the roll and the sun only just hit the slope. It was bullet proof and wicked steep. Fortunately we didn’t wait for the slope to warm up. I’ve skied this in bullet proof conditions before, and it’s just not that fun — we booted in over the roll before making any turns.
Leg Six: Back to the Car
Raven Glacier to Crow Creek Road
~6.5 miles
The Raven glacier was a spectacular ski to Crow Pass. Folks often take this stretch lightly, but it’s worth noting that while in the spring this looks like a European groomer, by midsummer the Raven is a labyrinth of crevasses. There is a line that avoids much of this hazard, but unless you see the glacier naked, it can be tough to avoid a run where there be dragons beneath.
Just before the toe of the Raven Glacier, we took a short ramp off to the south, cutting a corner across a short plateau Crow Pass (bypassing the Crow Pass Cabin–a National Forest cabin rarely used as part of the traverse). We were back on one of the most popular trails in Alaska and just a couple miles from the car. This is also where I think the crux of the entire route begins.
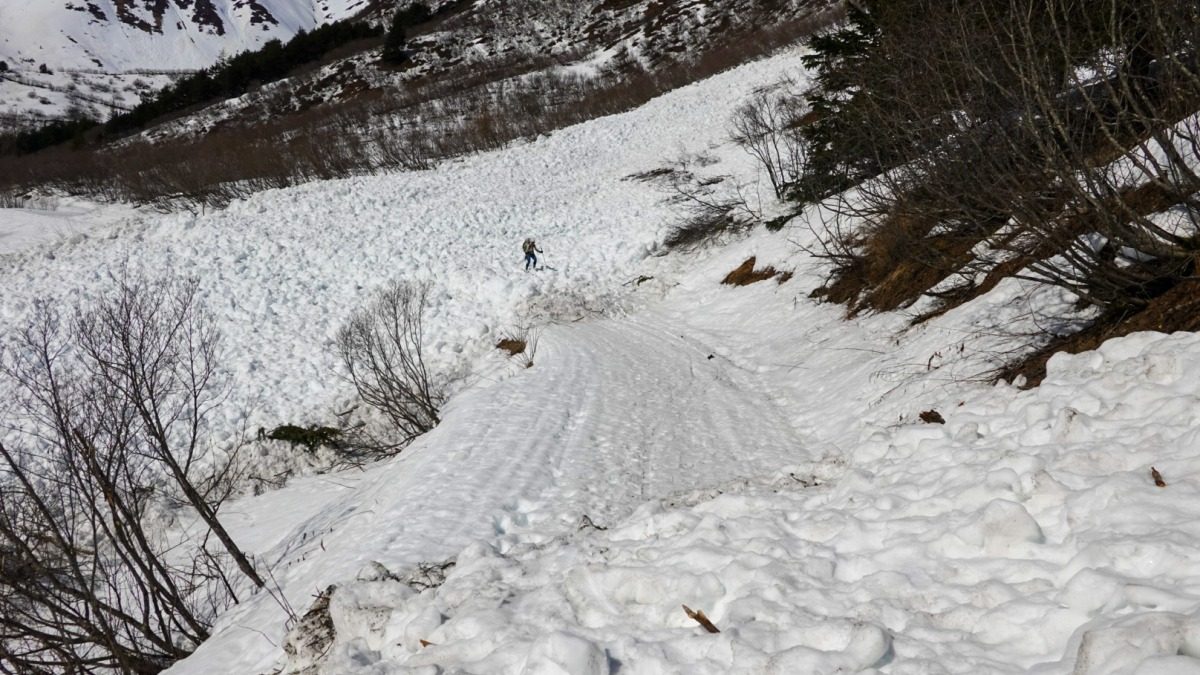
The Raven Headwall is often best skied after the sun has softened it a bit, but the Crow Pass Trail is best done before the sun has done any work – a predicament. The trail side hills across Jewel Mountain and Barnes Mountain. Avalanche terrain is unavoidable and the terrain traps are ever present. Whereas Margi found crevasses and the steep headwall stressful, my mental low point was here. We were there mid-afternoon and I found myself unavoidably spooked skiing across softer and softer snow in a mad dash to get back down past this final hazard (also, bear tracks).
From below the headwall it’s about 6.5 miles to the car. Evidence of large avalanches litter the road in the final mile below the summer trailhead. Flip-flops and a clean t-shirt offered much welcomed relief at the end of this final push.
A short drive to Coast Pizza made for the perfect book end to the traverse.
You need a car shuttle or a ride back to town, but otherwise the logistics here are pretty darn straightforward. The Eklutna is both well-known low hanging fruit, and a grand adventure. 3-days was an ideal ‘classic traverse’. I’ve also done it in lycra in 12 hours, making for an awesome euro-style skimo grand traverse. Take a week and ski a bunch of peaks or head in one end for a weekend – possibilities abound. Alaska abides. If you’re in search of a springtime ski traverse, this one should be high on your list!
Stats
Crossing the lake, I clocked 38.5 miles car to car with 7400ft of vert. Taking the trail around the lake, my track has measured 40.8 miles with 8500 ft of vert (I am not sure if the vert difference was the trail in or a difference in routing on the ice though).
Red tape: No permits needed!
There is also route info in Joe Stock’s The Alaska Factor
Dr. Alex Lee lives in Anchorage, Alaska. Alex is a professor at Alaska Pacific University, teaching philosophy and environmental studies. He also works as a sometimes guide, naturalist, writer, and photographer.

