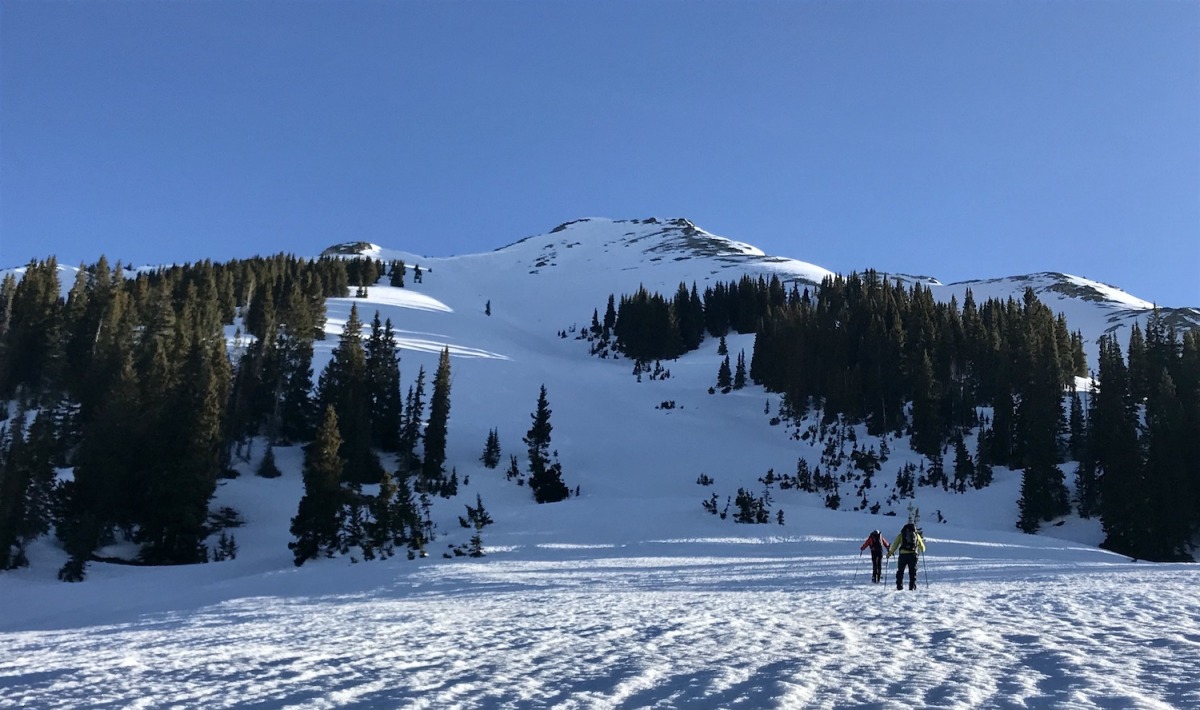
On a recent early morning tour near WildSnow HQ, I faced an abrupt reminder of spring. The bowl my partners and I kick turned up had had a hard freeze the night before and we were early. The result was concrete, just edge-able snow.
A member of our group paused and I continued up the slope, tensing my body on each step to maintain the most balance and surface area with the slick snow under my skins. A few minutes later I heard the tell-tale clink, click of ski crampons behind me. Smart man, I thought glancing back at Jeff and regretting that in the rush of our pre-dawn departure, I had completely forgotten to pack mine.
Fortunately the snow remained edge-able enough that my lack of extra traction didn’t end the day (though our early timeline did make for some very hard packed turns on the descent. Time to dial sun timing!), but it served as a good reminder. While our friends in the Pacific Northwest, Sierras and Northeast may have been packing ski crampons all season, they’re something we typically can get by without in the winter months in Colorado. Not so now: spring is here and it’s time to add to the tool box.
In the spirit of good reminders, here’s a repost from a few early season’s past. Spring is the best time for ski mountaineering; don’t forget the traction!
Tips to make the most of the ultimate traction tool
On a recent early November morning in Colorado, I thrutched up Aspen Mountain like it was my first day on skins. Frozen manmade, cat compacted snow can be a cruel skinning partner but that was the best I could get as my skins slipped around on the early season crud. A few gingerly executed kick turns kept me from fully wishing that I had rescued my forgotten ski crampons from my mountaineering pack, and brought me back to spring missions when the extra traction spikes were essential.
Depending on where you live, ski crampons are likely one of those things you rarely need and are supremely bummed when you don’t have. Hopefully you will never need them for a casual resort training day (except for Maritime zones), but here are some tips on, the what, the how, the when and the when not to use them.
Ski crampon basics
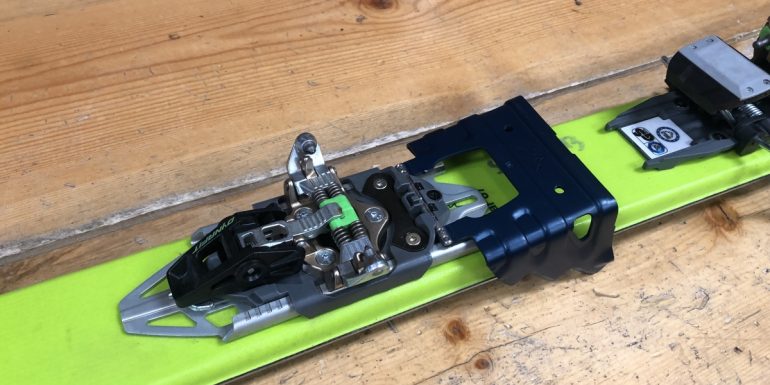
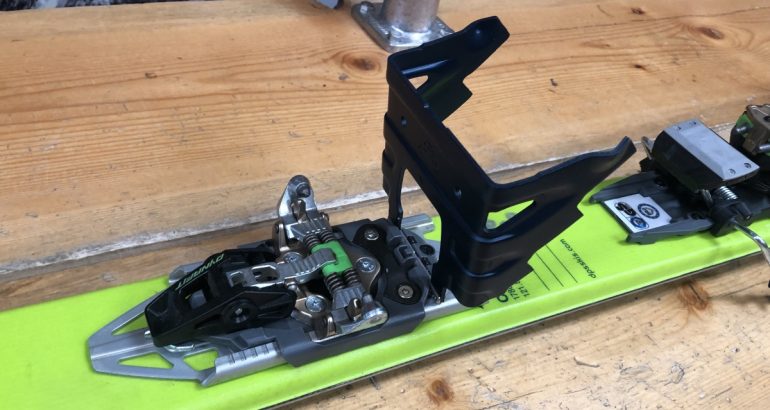
Like a boot crampon, a ski crampon gives you the extra edge in hard or icy conditions. They’re generally u-shaped metal pieces with teeth that attach to your binding and insert directly under your boot. Dynafit pioneered the slot behind the toe piece of the binding and like many other features of the tech binding, this has become standard as many other companies have followed suit. The binding attachment point is hinged so the crampon teeth can release from the snow when you lift your foot and bite into it when you step down.
Ski crampons are sized in 10 mm increments. So if you have a 95mm waist ski, you’ll want a 100 mm crampon. A crampon that’s too narrow won’t fit over the width of the ski, and one that’s too big will be sloppy and more prone to breaking.
Not every binding is compatible with every crampon, so make sure you have a match before embarking on an early morning tour. A growing list of manufacturers including Plum, B&D, Fritschi, ATK, Salomon, Atomic make ski crampons based on the Dynafit toe piece slot design. However, these slots can have different radius so to remove all doubt match your binding manufacturer with crampon manufacturer whenever possible. I immediately snapped a Dynafit crampon while using it with Salomon MTN binding on my first tour in South America, a place where it’s nearly impossible to find replacements.
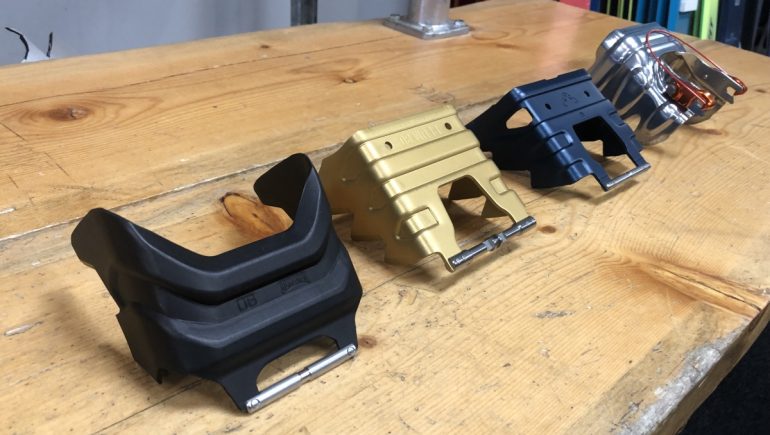
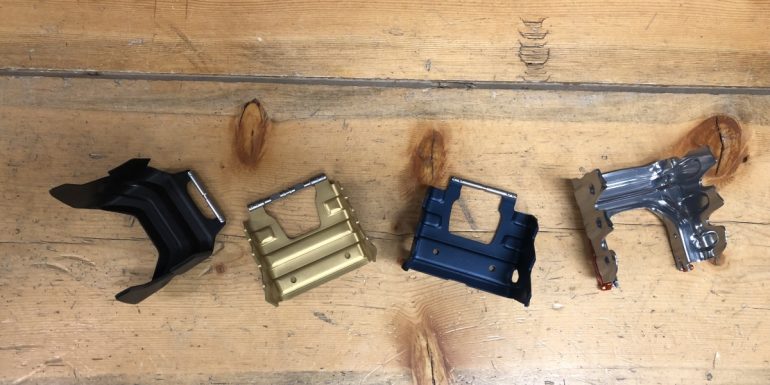
There are many varieties of ski crampons. The most important thing is to make sure your chosen crampon is compatible with your binding.
Spark R&D and Karorakoram make splitboard specific crampons that work on the same system, but are even wider to accommodate board width and asymmetry. I often reach for these earlier while split skinning as the asymmetrical and shorter effective edge on a splitboard create extra problems while side-hilling.
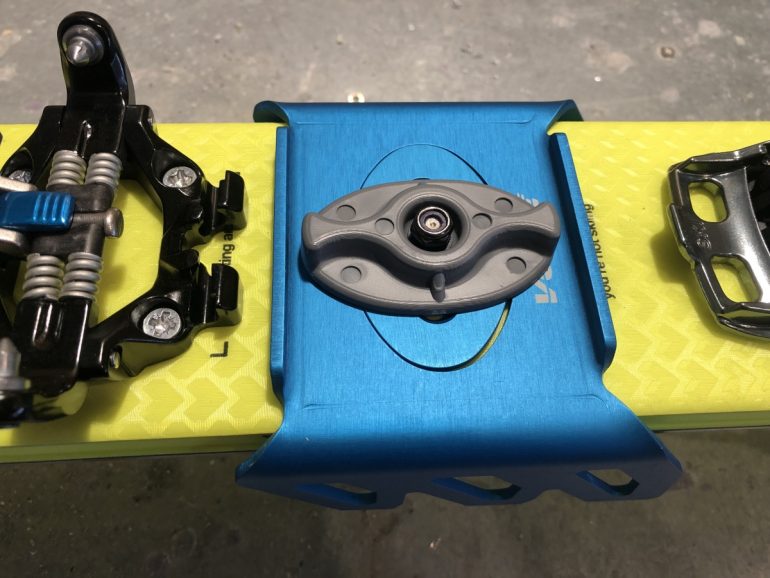
22 Designs (telemark) G3 (formally telemark) and B&D offer some universal systems for attaching your ski crampon directly to any ski which avoids many compatibility issues. G3’s design is one of the slickest for easy-on, easy-off. It’s important to note that you should not use the wood screws included in the packaging to mount directly to a ski that already has a G3 alpine touring binding on it. This will interfere with the plastic plate under the toe piece. Just use the included machine screws for this.
Voile makes a crampon that mounts directly to a ski with a pivoting puck to hold it into place. Although this prevents the crampon from sliding up while you move forward, it does offer firmer footing and avoids the riser height issue described below.
The basics on how ski crampons work
It is easiest to take off your ski and slide the crampon vertically into its position until it falls flush with the ski. With some practice, you can put on your ski crampon without taking off your ski. By taking a stride forward and dropping to your opposite knee you can unweight the target ski, lift your heel and slide the crampon into its position. Be sure to practice this on flat, non-consequential terrain before trying it in a more precarious position.
The crampon slot required for this is sometimes an extra piece in the binding box or even an after market upgrade. Last spring I encountered the perfect conditions for ski cramponing up Mount Hood, but instead was left on the boot pack of shame as I neglected to install the piece on my race skis. I particularly enjoyed the irony of my packed skis pressing the sharp points of my useless ski crampons into my back for the next 5000 vertical feet!
Ski crampons that mount to your binding rely on the pressure of your boot to force the teeth into the surface below. You’ll get the most bite when your boot is flat on the ski. The more heel riser you employ, the less traction you’ll get. If you know you will be skinning up steep icy terrain you can ad a block of wood or cork to increase pressure while your heel risers are being employed. We will publish a full DIY riser kit closer to the spring, but feel free to leave a comment on what you find to be the most effective method.
The rarely needed tool you’ll be happy to have
Ski crampons can be likened to putting chains on a truck and settling into four wheel drive low. That said, their application is minimal but crucial. Years ago, I was in the anchor position of a four-man rope team skinning across a glacier in the North Cascades. As we rounded a corner on firm snow, the ground began drastically sloping away towards open crevasses below. The snow was gradually becoming too steep to skin, but could have been easily crossed had we all had ski crampons. Unfortunately we were short on ski crampons by exactly four pairs and opted to side slip down the convexity onto flatter terrain just above the open crevasses. There was nothing like being pulled by the harness — against my will — towards the open abyss to make me a believer that ski crampons should be in every spring mission pack.
On early starts where there’s been a deep overnight freeze, you’ll want to have them. This is most common on spring tours (especially in volcano country) but can occur any time there have been long lapses in precipitation punctuated by freeze thaw cycles. Most certainly you’ll want them on your tenth spring tour when you didn’t bring them, after nine tours of packing them without ever putting them on.
Sometimes it’s a toss-up whether the ski crampon or the boot crampon is the best. It’s nice to have both along if you know conditions could be firm and your skins will be sliding. Boot crampons offer nimbleness that can be preferred when the terrain gets technical or dicey. If the snowpack did not receive a deep freeze the night before, boot crampons may leave you wallowing in post holes; this is the time when ski crampons really shine!
When to not use ski crampons
Don’t bring ski crampons while early November skinning up the resort; there has to be a better way. They should rarely be an agent for putting a skin track that is straight up. When a well-traveled skin track gets icy from sunny days, cold nights and general overuse, it will usually be more efficient to put in your own, more mellow trail. Your partners will thank you.
Also refrain from walking on rocks with ski crampons on, even if its just a few steps. Like most modern ski touring gear, these things are light and do break or get dull. Lastly, they do not do well in super soft snow and just increase your uphill drag.
It may be months before official spring ski cramponing is here, but it is an essential piece of gear for the aspiring ski mountaineer. Consider picking a pair up at the same time as you upgrade your touring bindings as they tend to be harder to find when you need them most. A little preparation, practice and pitfall avoidance could save the day that one in ten tours when they suddenly become your most useful piece of gear.
Shop for ski crampons
Doug Stenclik is an avid skimo racer and ski mountaineer who lives for sharing the amazing sports of ski touring and splitboarding. Since his first time on skins he was hooked and the obsession has taken him all over the United States and the world pursuing the human powered ski turn. He founded Cripple Creek Backcountry in 2012 and took over the Colorado Ski Mountaineering Race Cup in 2014 to spread knowledge and the love of the sport. In 2019 he took a step back from the ski shop and race promoter life to become a publishing partner with WildSnow.

