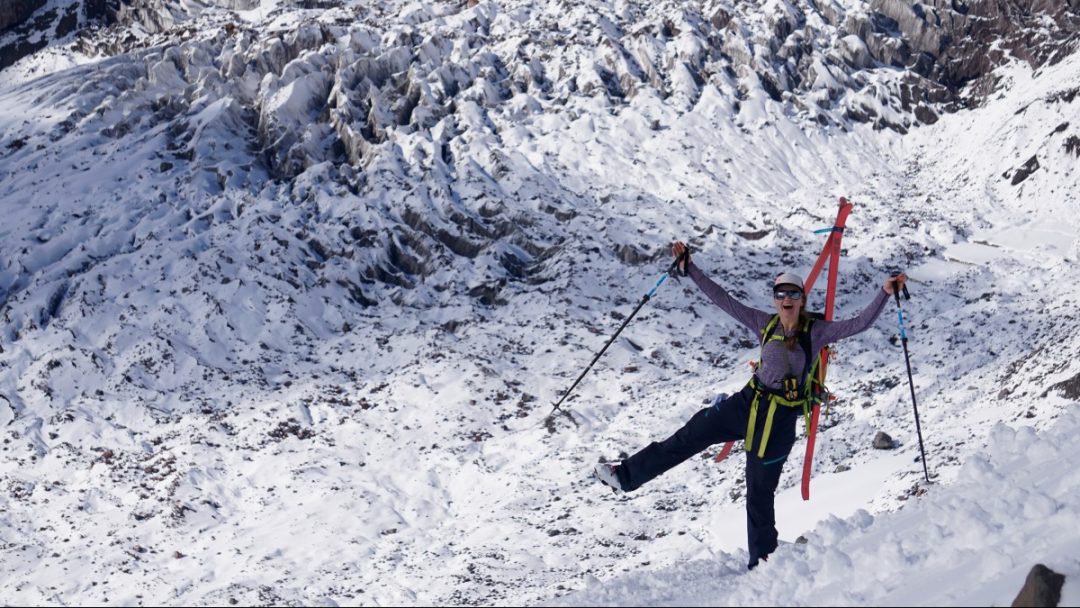
First time ever skiing in October, testing out lighter skis and bindings, but still rocking my fave Gea RS boots.
After the extra warm summer in the PNW, I cannot wait for winter. I find myself vigorously refreshing webcam resort pages, as if my excessive clicking can turn rain into snow. Over the years of skiing in the Cascades and continuing to grow as a backcountry skier, I have become quite the gear snob. I can blame the continuous stream of outdoor products for that; well, and maybe the rain? As we are all gearing up for the new season, I wanted to share a bit of my journey with you.
I am not big on season goals, since weather is not always our friend, and I don’t want to set myself up for disappointment. I am a “go with the flow” goal maker, setting general direction milestones instead of season-specific objectives.
Over the years, I have clung to my fairly heavy setup, not feeling ready to explore too much outside my comfort zone. This past season I zoned in on making my spring setup lighter, figuring out how I can reduce weight without affecting ski performance. I purchased a pair of ski boots that looked and felt like hiking boots, the Fisher Traverse. A friend of mine who joined us on a spring tour to Silver Star Mountain at Washington pass last April laughed when he saw me walk out of the car wearing the bright yellow “sneakers”. He continued to make fun of me as he watched me adjust them throughout the tour and then flip them into ski mode. Snow conditions that day were quite challenging, and I was surprised that my friend didn’t comment about my skiing on the descent, given how little faith he had in my sneaker-looking boots.
It was possibly one of my best ever early spring ski adventures, with my feet happy and comfy in my new lightweight boots. A few days later, I found myself laughing, because the same critical friend messaged, informing me he had purchased a pair of ski boot sneakers; apparently, seeing me ski in my brand new yellow hiking boots in variable conditions and surviving convinced him it was time to make the switch.
This year I plan to focus on finding a lighter weight binding, and explore how that affects my up and downhill performance. As far as “lightweight” goes, I have tried a Dynafit TLT Speed Radical and the G3 Zed, and they sure are not as heavy as some touring bindings, but they are far from the lightest. The Dynafit LTL Speed Radical is not compatible with a brake, which makes them lighter, but otherwise felt similar performance-wise to the standard Radical binding. G3 Zed is impressively light even though it does come with an optional brake, which I opted to have; it’s a better all around touring option if the G3 Ion feels too heavy.
In case you are wondering: no, I am not ready to compromise when it comes to my primarily heavy freeride skis – maybe next year!
I have been fortunate enough to have an opportunity to keep a few ski kits over the years, but I do acknowledge that there are people who may not be able to afford to have multiple. Depending on the general direction of one’s goal, I think there is a possibility to continue to enhance your one setup. I’ve come up with a few categories that I have gone through over the last few years and wanted to share what I have learned, focusing on gear selections, and caveats of the said single “magical gear-corn”.

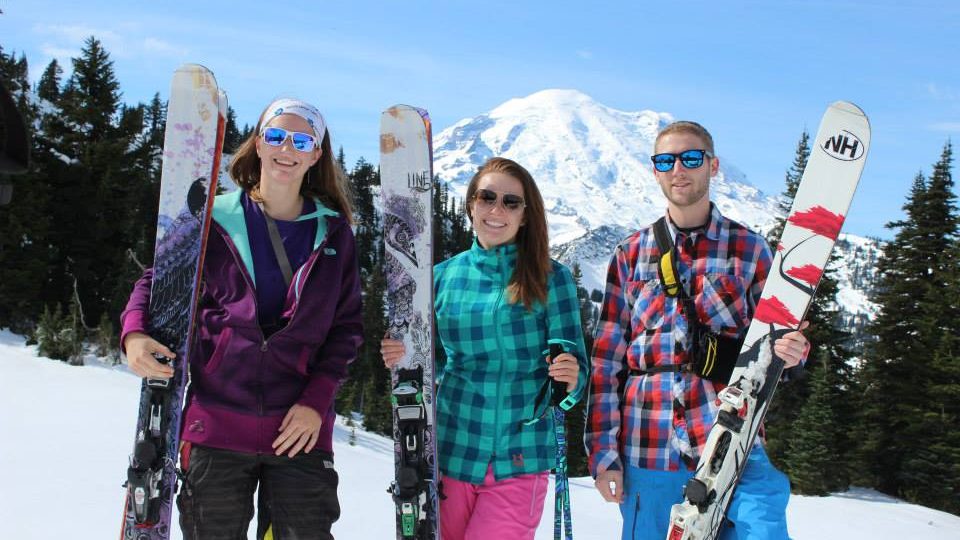
Here I am (on the left in the photo) on my first ever spring tour. I am wearing a cotton tall t-shirt, insulated pants, holding a pair of 110 width skis with Marker duke bindings. It is not visible in this photo, but I do have alpine boots on my feet!
From alpine skiing to sidecountry
I started skiing my senior year of high school and spent almost five years skiing exclusively inbounds. I spent my first year focusing on perfecting “pizza” and “french fry”, while making sure I used the correct shape at the right time for a fun time on the slopes. As I progressed, I found myself feeling more confident skiing steeper and more challenging terrain. During this time, I had a pair of boots that were too large (size 27) and a pair of skis that were too short (162cm, 85 mm underfoot). As my skills grew, I understood that to have more control I needed a snug boot(size 25) and skis that would allow me to float on top of the snow (172, 100mm underfoot).
When I moved to Washington nine years ago, backcountry skiing was starting to be “cool”. Quickly, I realized that I didn’t need anything special to venture to the side country resort terrain – I could simply loosen my ski boots, throw my skis over my shoulder and head up the hill. I spent a whole season exploring various bootpacks around Stevens pass and Crystal. The more I explored, the more psyched I got.
Initially, I struggled with investing money into a brand new full backcountry setup. An effective way to save money is to buy used. For my first setup I purchased frame bindings (Marker Duke), to continue to use my alpine boots in the backcountry, and then moved to a heavier touring boot, for solid performance in all types of downhill conditions.
Here you can find some helpful tips for buying used ski set ups.
From sidecountry to backcountry
In my second season in Washington, I signed up for an AIARE Level 1 avalanche class and started mellow touring around the general areas where I had skied in the resort. I purchased all of the necessary avalanche safety equipment and learned how to use it. Back then, I didn’t have the confidence to know what safety gear to buy used, so I purchased new gear. Looking back at it, I think there were more opportunities to save; you can find some tips on buying used avalanche equipment here.
Unfortunately, that season was cut short due to an ACL injury. Bummed not to have the chance to get out, I spent quite a bit of time researching ski equipment of all sorts through my recovery. I found a deal on a pair of lighter skis (107mm underfoot, 171cm) and got lucky to win a pair of less bulky frame bindings (Marker F10). I chose to keep my previous setup for at least a season, enjoying my wide-ski option for deep pow days.
In retrospect, my “new rig” was far from light, but compared to what I knew, the difference felt incredible. The following year, I met Louie, and we started skiing a lot together. Louie waited to get to know me a bit better before he started dropping hints that I should consider switching up my gear, and probably ditch the frame bindings. I joked with him that I wasn’t going to get any faster uphill, in case he was hoping for that: I was wrong.
At the end of my third winter in WA, I had sold my heaviest setup and finally purchased Dynafit Radicals. I was lucky enough to get a cheap used pair of skis to mount the new shiny Dynafits. I kept my newer frame binding and heavier skis but only used those while skiing in the resort. Once I experienced tech bindings, skiing my first volcano, Mount St Helens, my life changed forever on that glorious spring day.
My other revolutionary addition that season were adjustable poles, gifted to me after volunteering at a ski demo. As much as I love my adjustable poles, that is the one piece I don’t consider truly essential since most poles work just as well – they sure are nice, though!
Over the next few seasons, I hustled and had opportunities to try a few other kinds of skis, bindings and skins. However, it wasn’t until last year when I finally retired my first ever backcountry setup with tech bindings by passing it over to my little sister.

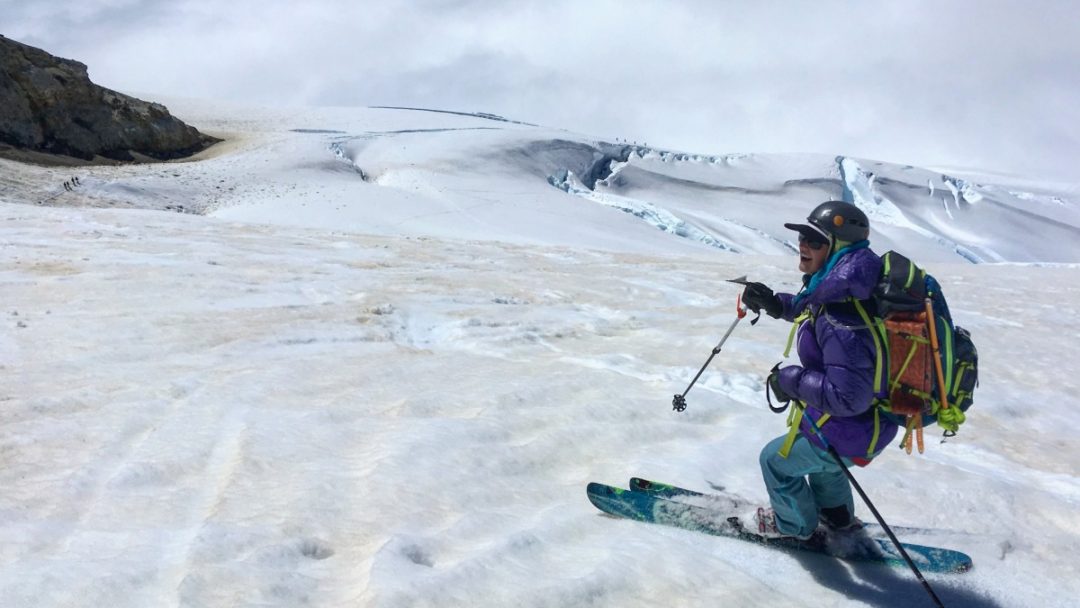
My first and longest lasting touring ski setup pictured on Mt Baker: Line Pandora 110, Dynafit Radicals and Scarpa Gea RS boots! Oh, and of course the grippiest Black Diamond skins on the market!
From backcountry to longer/overnight tours and hut trips
The only gear that remained constant in my ski quiver to this point were ski boots. I owned a pair of Scarpa Gea RS that I loved but were slowly disintegrating. As I started touring longer distances, I began to notice I needed a boot upgrade. Ski boots are my least favorite piece of equipment because they are so much work to get right due to the nature of my moody feet. If I find a pair of boots that work for me, I tend to wear them until they completely fall apart. When I first upgraded boots, I stuck to what I knew, the Gea RS. By that time, Scarpa had redesigned the boot but the fit still worked.
After a few longer tour experiences, I eventually invested in what I thought was a lighter binding (dynafit TLT speed, no brake) and a slightly narrower ski (95mm underfoot). I went with a lower width ski to reduce more weight for spring touring. Since I downgraded my ski width but kept the same length, I cut my old skins to fit the new skis. I felt a large difference from my Dynafit Radicals and 110mm underfoot skis; even though the weight difference was not monumental, it was apparent on the uphill.
I found that I used my heavier and wider setup more in the mid-winter months, and my lighter and smaller one in the spring and early summer. The year after I invested in that setup, I upgraded my skins for my wider skis, going with more glide vs grip. I didn’t feel this affected anything besides my stoke on having new skins!
From longer/overnight tours to lightweight spring skiing
Aren’t these categories “technically” the same? Ummm, kind of; I am sure for some, these two categories may merge into one where organically the skier shifts towards a lighter setup fairly early in their skiing career.
For me, that wasn’t the case – I thought for a long time that gear wouldn’t make that big of a difference, until I finally realized spring skiing is not actually about ideal downhill skiing conditions (at least in PNW). You may get that one line in perfect corn, but realistically, getting there could be icy, and getting out could be some of the worst skiing of your life. Spring skiing is about 80% uphill skiing. Weight and comfort for the uphill matter here! I have finally decided it is worth sacrificing ski performance and speed for that uphill comfort, at least for my feet.

Walking back to the car after a tour near Tromso, Norway. Finally upgraded the boots, but rocking the same lighter ski/binding combination.
Getting started backcountry skiing with no prior ski experience.
I encourage anyone who wants to get into skiing to not start with backcountry terrain, even what some consider “safe” terrain. The best recommendation would be to leverage uphill policies at local ski resorts, working on getting comfortable with turns before heading into the real backcountry. When it comes to gear, I recommend buying used items that are low priced. As your skiing progresses, you will likely figure out what you like and how you would change your setup.
Snowpack specific thoughts
As a PNW skier, I have learned that wider is better; generally, a 100-105mm underfoot ski will be more enjoyable in our oh so famous Cascade concrete and will still be just as fun in fluffier snow.
There is so much gear out there, have patience and maintain sanity (and, of course luck) as you navigate your next exciting purchase!
WildSnow Girl, Julia Dubinina, is a weekend warrior chasing snow in winter and sun in summer. A lover of long tours and steep skin tracks, she explores the Pacific Northwest and beyond. When she is not out adventuring, she is working away at her corporate desk job for a software company to make her next adventure happen.
